Times Tables Spinning Wheel

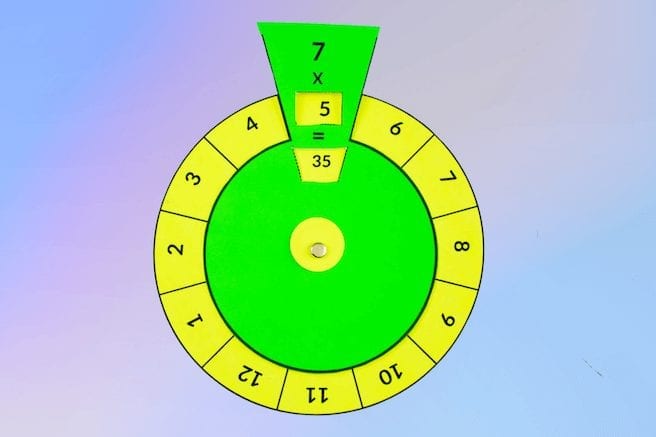
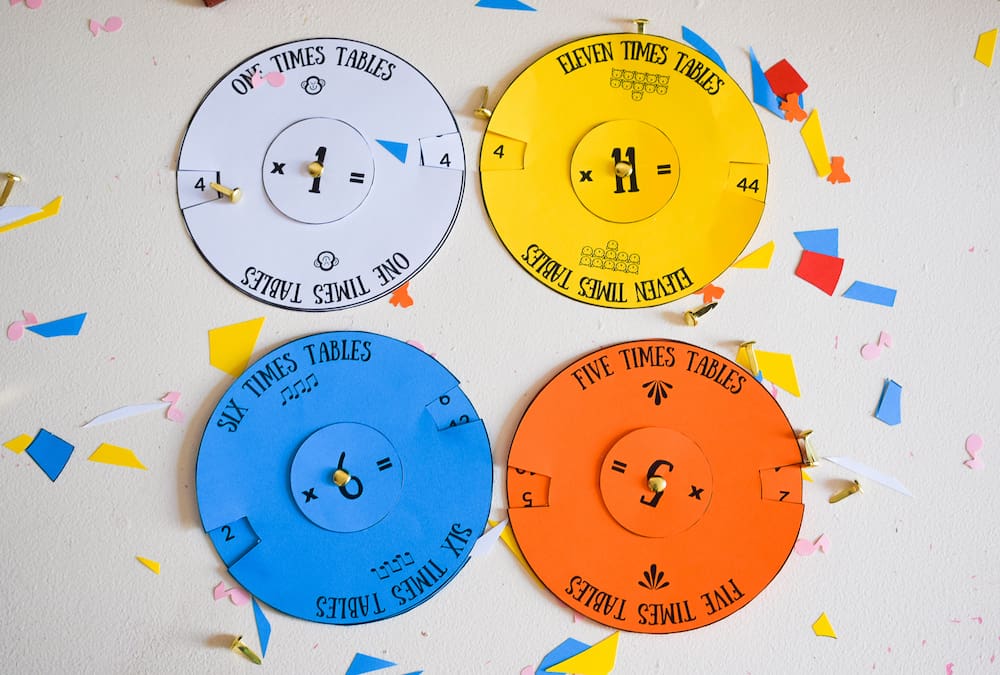
Times Tables Spinning Wheel

A times tables spinning wheel is a great visual learning aid to help learn and master the times table.

Still on the multiplication tables front, this kids educational craft is similar to the Multiplication table spinners. The only slight difference is that this spins like a wheel.

This is great to refer to in class, before a drill or simply used to memorise the times tables.

It is a great idea to make the spinning wheel showing the multiplication tables with them so that they know instantly how to use it and also take ownership of them.

The simple act of spinning wheel for mulitplication table is fun and they get to learn.

Using The Times Tables Spinning Wheel

  • Individual spinning wheels and can be made and used anywhere. To prevent quick wear and tear of the paper, use strong cardstick paper and put in a folder when not in use.
  • The spinning wheels can be arranged on a board and hung on a wall. This means it will be there when needed for drills or practice.

Materials need

Tools

  • Wooden Skewer
  • Craft cutter Knife
  • Scissors.

How to make Your Times Table Spinning Wheel

Print out the templates you want on card stock paper. Use different coloured ones to make your times tables spinner eye catching.

Using scissors, cut out the wheels from the templates.

Using a wooden skewer, poke a hole through the bottom circle.

Place the top of the spinner on the bottom and align so that you can see the numbers through the cut outline.

Holding both top and bottom parts in place, poke a hole through the top part. (make sure you go through the previous hole but this time piercing the top part of the wheel).


Here are some more educational crafts for kids

Multiplication tables spinners

Alphabet Spinners


Multiplication Tables Spinners

These multiplication tables spinners will help your kids learn and master the times table in a fun way.

Multiplication tables are one of those rites of passage we all had to go through at school.

We had to learn them at school and also practice them at home.

I remember the times tables were boldy printed on the back of exercise books so there really couldn’t be any excuse for not practicing. I tell you they were not fun.

Times tables spinners however, are a great way of making learning and practicing the times table fun for kids. Making the multiplication table fun is a sure fire way to make kids master the times table.


Fun Ways to Teach Times Tables

Start with simplest to the hardest. Start with the easy numbers like the 1 times tables and 10 times tables. They are straightforward and will build the child’s confidence and reassure them they can take on the much difficult tables ahead .

Show them tricks or patterns that can aid the fast learning of the tables. For example, the 2 times tables is basically adding any number twice so 2 X 6 is the same as 6 + 6. 

Introduce problem solving scenarios that will require involve multiplication.

Add significance to certain number to create memory hooks. eg The twins are both 5 years old and their combined age is 5 X 2 =10.

Point out the obvious (but not necessarily to them) eg 2 X 9 is the same as 9 X 2.

As your child improves, drill them a few times a day and make it fun.

 Don’t forget that pat on the back. When they do well, give them a well deserved praise. If they don’t do well, encourage them. Don’t throw negativity their way through criticism.

How Make Your Own Multiplication tables Spinners

Materials needed

Instructions

Print the template. Get the Free multiplication times table template 1, 2, 3, 4 and 5 times table below.

Cut out the round templates.

Cut out the left and right sides of the middle part of the multiplication table spinners.

This is the part that reveals the numbers.

Using a wooden skewer, poke holes in the dots in the middle of the circles to ensure your spinners are in alignment. 

I had to redesign the template and added the dots as i discovered i couldn’t just accurately pinpoint where the centre is to poke the hole.

Note: The dot on the smallest circle is a lighter shade than the other two but is still visible on any paper.

Insert a paper fastener through the top, middle and bottom circles and close it up by spreading the pin apart. And you are done.


More Educational Crafts 

Alphabet Spinners

Alphabet Paper Boxes

Paper Dice


Exit mobile version