Paper Gingerbread House Craft

Paper Gingerbread House Craft: Printable pdf template

Making Christmas crafts like this paper gingerbread house is the perfect way to indulge in festive creativity during the holidays with the kids with minimal mess.

The kids not only express their creativity, cuttings skills and fine motor skills, the end product can be hung on the christmas tree on the mantlepiece as a christmas decoration.

This is not just a christmas craft for kids. Adults too can join in with the kids. This delightful craft offers something for everyone.

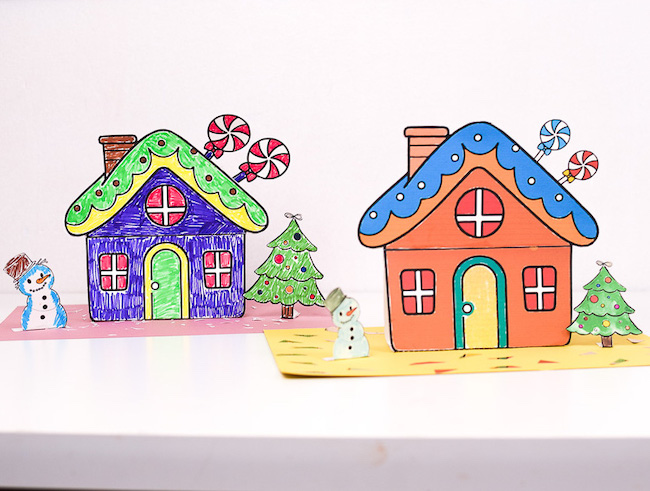
The plain gingerbread house templates add extra fun to your crafting session because the kids get the decide the colours to use to design their templates.

Gingerbread house are usually brown but they can also be blue. The kids get to bring their own idea of what a gingerbread house looks like on paper. It is all in good fun.

Whether it is the pre-coloured gingerbread house template or a plain one that can be coloured in by the kids, this is simple Christmas crafts that everyone can make at home or at school.

Preparing Supplies for your Paper Gingerbread House

To start creating your paper gingerbread house, you’ll need to gather the necessary materials.

You can create this craft with simple craft materials you already have at home. This includes cardstock paper, glue, crayons or markers, scissors and of course a printed gingerbread house template.

You can also use decorative items like stickers, glitter glue, or cotton balls to add extra flair when building gingerbread houses for Christmas.

Once you have all the materials for building gingerbread houses ready, make sure you have a clean work surface with enough space to spread out comfortably without feeling cramped or cluttered.

You can now begin this fun activity with the kids.

How to make a Paper Gingerbread House

Materials needed

  • 2 Cardstock paper (white)
  • 1 Cardstock paper (any colour)
  • Glue
  • Scissors
  • Markers or Crayons
  • Printable gingerbread house template

Instructions

Print out the gingerbread house templates whether pre-coloured or black and white.

The templates should be printed on two white cardstock paper.

Once printed, layout all your crayons or markers if you are using the black and white templates because it is time to start colouring.

The template is exactly like the pre-coloured except the kids get to have extra fun colouring in the gingerbread house.

 Use markers, coloured pencils to decorate each piece the template.

Get creative with colorful candies, christmas tree and the snowman.

Consider using a variety of colors to make your gingerbread house truly stand out.

With colouring complete, now cut out the templates with a scissors.

Cut the roofs, walls, the candies, christmas tree and snowman.

Great scissors or cutting skills will be exercised here as there is a fair bit of cutting required.

Cut neatly along the line and edges of all the items.

Now it is time to assemble your gingerbread house.

Take the wall of the house as pictured.

Crease and fold along the dotted lines.

This is why you should use cardstock paper as this will make your gingerbread house craft sturdy.

If you use plain printing paper, it will not sit up when placed on a flat surface.

Now take the front roof of the house.

Apply some glue and stick on to the inside of the front of the house.

The front roof is indicated where the glue is to be applied.

Now glue the back roof to the back of the house.

Make sure to align the roof to the house by making sure the white part of the roof is not visible.

Now glue the front roof to the back roof together.

Your 3d gingerbread house is done.

Now it is to make your gingerbread house more festive.

Grab your coloured cardstock paper.

Apply some glue to the centre.

Place the gingerbread house on the surface where the glue was applied.

Press firmly from either side to make sure it has stuck to the paper properly.

Cut tiny pieces of a different coloured paper.

Stick to the surface of the paper all around the gingerbread house.

Take the snowman and the christmas tree.

Fold along the dotted lines.

The dotted square is where glue is to be applied.

Take the snowman and the christmas tree.

Fold along the dotted lines.

The dotted square is where glue is to be applied.

Glue the christmas tree to one side of the house

Do the same with the snowman

Finally add, the candies on the side of the roof.

Your gingerbread house craft is done

Once you’ve finished decorating your paper gingerbread house, it’s time to create a festive display.

You can set up your creation on a table or countertop, surrounded by other holiday decorations like fake snow, miniature trees, or twinkling lights.

Consider adding small figurines of people, animals, or even Santa Claus to bring the scene to life.


Exploring More Christmas Papercrafts for Kids

Looking for more Christmas papercraft ideas? In addition to the paper gingerbread house, you can explore other fun activities. Create 3d paper snowflakes by folding and cutting paper, or design your own holiday cards using colorful construction paper, markers, and stickers.

Get creative with a Rudolph Reindeer Box Craft or Gingerbread man puppet. You can also try making paper ornaments for the Christmas tree by cutting out festive shapes from printable christmas tree ornaments and adding glitter or sequins for extra sparkle

Christmas crafts you may like

Christmas tree baubles

Elf headband Craft

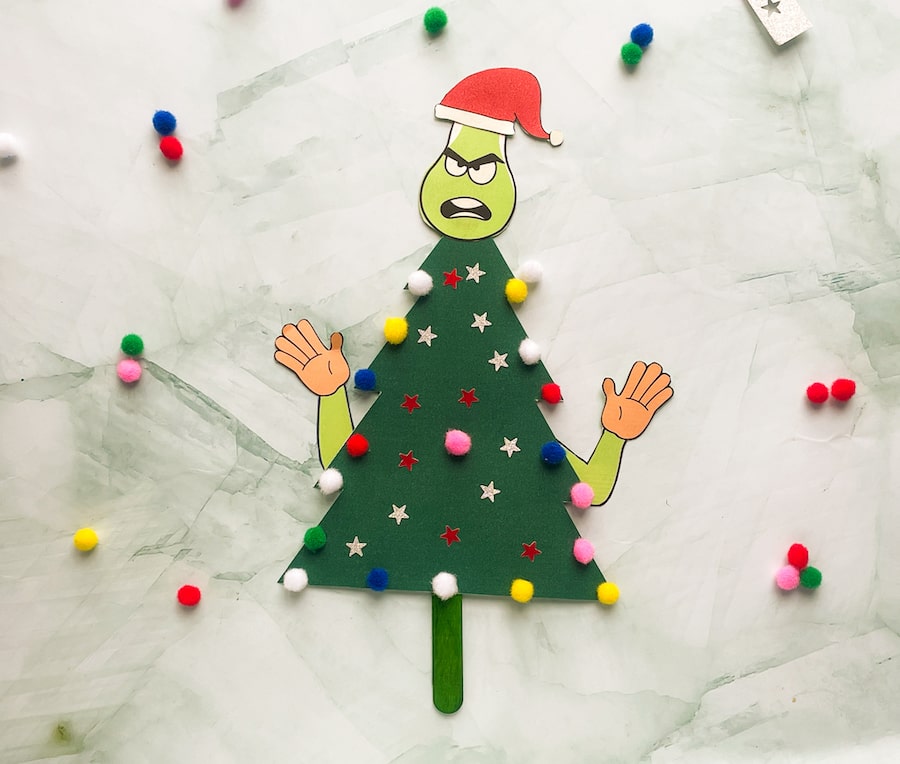
Paper plate grinch

Folded paper christmas tree

Toilet roll christmas tree

Festive Dot Painting Activities You May Like

Gingerbread man Dot Painting

Christmas Dot Painting

Thanksgiving Dot Painting

New Year Dot Painting


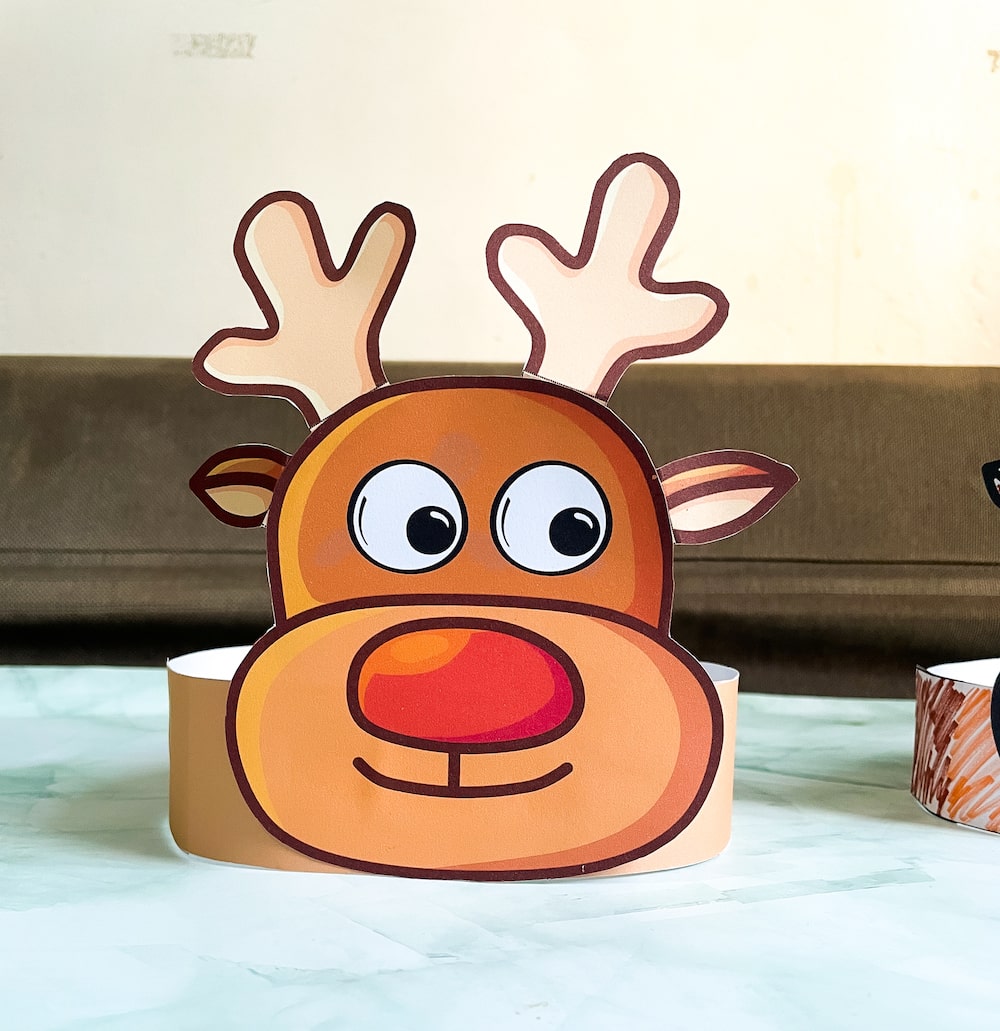
Rudolph Reindeer Box Craft

Rudolph Reindeer Box Craft

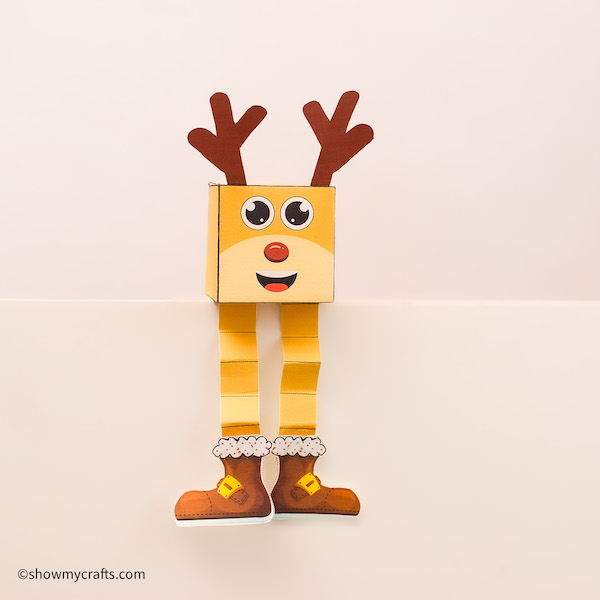
Get ready for some festive fun with this adorable Rudolph Reindeer Box craft – a perfect play thing for preschool , kindergarten kids who love Christmas crafts and enjoy getting crafty.
This delightful paper craft for kids is designed to captivate young imaginations and encourage play outside of the iPad and phones.
You could even place this Rudolph reindeer craft on the christmas tree in place of the star of David or the usual angel ornament.

Rudolph Reindeer Box Template

Get this printable template below and you are on your way to making your very own Rudolph Reindeer box craft.

This template has the main outline to be cut out as well as the legs, shoes and antlers of the reindeer.

Don’t forget to embellish even further after making your reindeer craft.

How to make Rudolph Reindeer Box Craft

Materials needed

  • Plain white card stock paper
  • Scissors
  • Glue stick
  • Printable template 

Instructions

Print out the Rudolph box template on the Cardstock paper.

The complete template comes in two pages.

Using a pair of scissors, cut out the box template along the thick black lines.

Also cut out the the two strips, two shoes and two antlers.

This is the time for the kids to exercise some cutting skills.

Some kids may need supervision and you may need to do the cutting for the younger kids.

With the white side up, start folding the all edges as pictured.

Make sure the crease is along the black lines.

Once all the edges have been folded, now its time fold along the inside lines.

Your box should now start to take shape.

Grab your gluestick.

Apply some glue to the folded edges and glue them to the corresponding side.

Join all the sides of the templates together to form a complete box.

To make the legs of your Rudolph Reindeer Box Craft, fold the previously cut strips along the dotted lines.

Fold to make a zig zag shape.

Glue the cut out shoes to one side of the folded legs.

Now glue the legs to the head of the reindeer.

This Rudolph craft is almost complete.

Now take the antlers and fold where it is indicated on the cut out pieces.

This is where the brown colour meets the white colour on the antlers.

Now glue the antlers to the top of your reindeer.

Try not to glue the antlers too close to each other.

Now your Rudolph Reindeer christmas craft is complete.

Congratulations, you’ve just made a delightful Rudolph Reindeer Box Craft – a perfect addition to your preschool or kindergarten Christmas crafts!

This fun and easy project provide a wonderful opportunity for kids to express themselves while celebrating the holiday season.


Here are some more Christmas kids crafts for you to try

Printable Christmas Tree Baubles

Elf Hat Craft

Gingerbread Man Puppet

Folded Paper Christmas Tree

Printable Christmas Tree Baubles


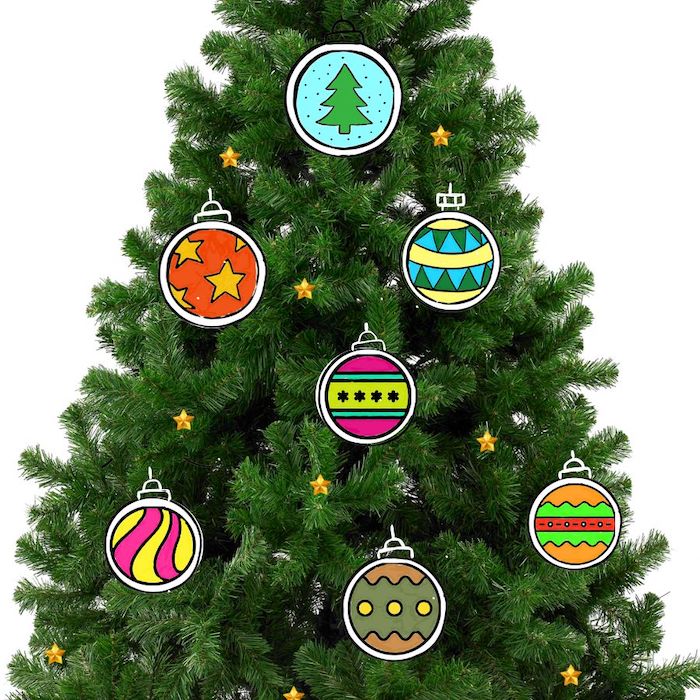
Ho, ho, ho! Get ready for some festive crafting magic as we dive into the world of Printable Christmas Baubles.

This easy and delightful tutorial is perfect for kids who love to add their personal touch to holiday decorations.

A fun christmas craft that exercises the cutting skills of the kids.

These christmas baubles include popular Christmas characters and symbols the kids will recognise.

These include Santa Claus, snowman, gingerbread man, Rudolf the reindeer.

Also on these printable christmas baubles are things associated with christmas like candy cane, sprig of holly, christmas bells and much more.


With just a printer, some cardstock, and a few other craft supplies, as kids’ crafts go, you can easily create cute christmas baubles.

So let’s get creative this holiday season and make your Christmas tree sparkle with printable Christmas baubles.

Making your Printable Christmas Tree Baubles

Supplies needed 

  • Christmas baubles templates
  • Scissors
  • String
  • Marker or Crayons
  • Cardstock paper (white)
  • Hole punch
  • String for hanging


Instructions

Download and print the Christmas tree bauble pdf template.

There is the option to print the coloured template for a quick activity for the kids.   For even more fun, opt for the plain Christmas baubles template.

This will enable the kids to personalise their own christmas baubles as they colour and embellish their baubles. 

Either way, it is good enough to decorate your tree at home or as a creative christmas craft in the class room.

Now pull out the scissors and cut out each individual bauble.

Depending on how young the kids are, some supervision maybe required.

Try not to cut of the tip where the hole is to punched through.

Cut as cleanly as possible then punch a hole through the baubles.

If you don’t have a hole punch, you can use the tip of your scissors.

You don’t need necessarily need a strings if you do not have one.

Simply hang the bauble on any needle on the christmas tree.

All done. 

If you want more mixed printables Christmas crafts for your christmas tree, you can try this printable christmas tree accessories.

However, if christmas tree crafts is what you are after, Christmas tree card, Christmas tree card parallel cut and folded paper Christmas tree are great christmas crafts to get the creative juices flowing.

Printable Christmas Bauble (Pre-coloured) template

Printable Christmas Bauble (Black and white) template

Have fun crafting.

Gingerbread man Dot Painting

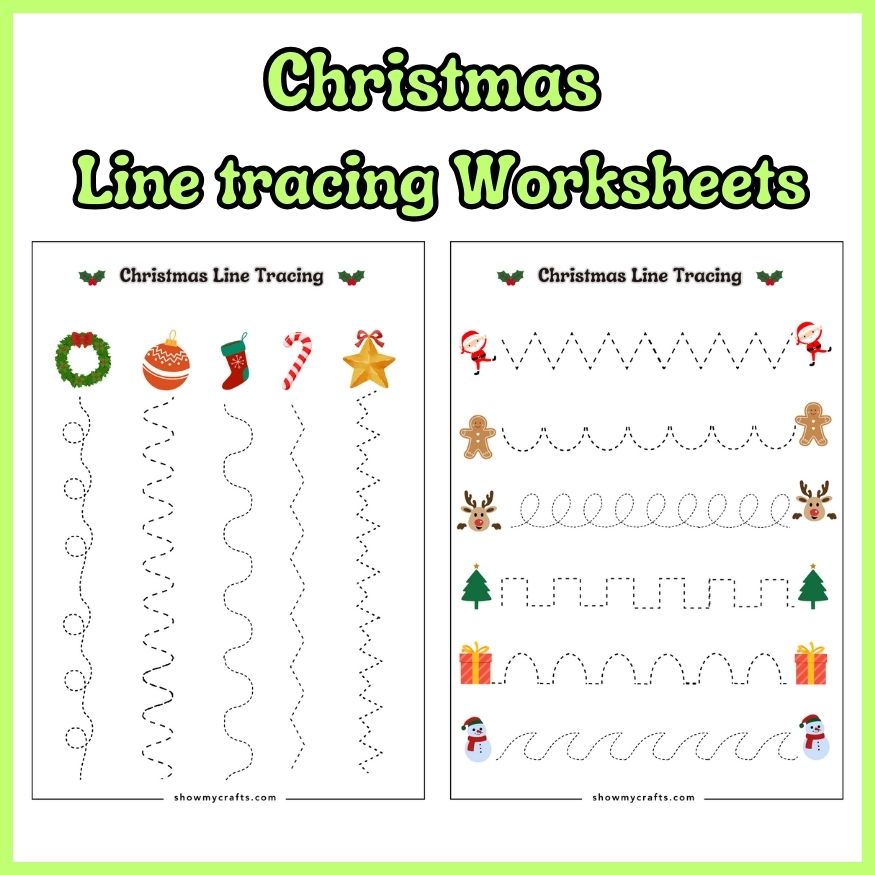
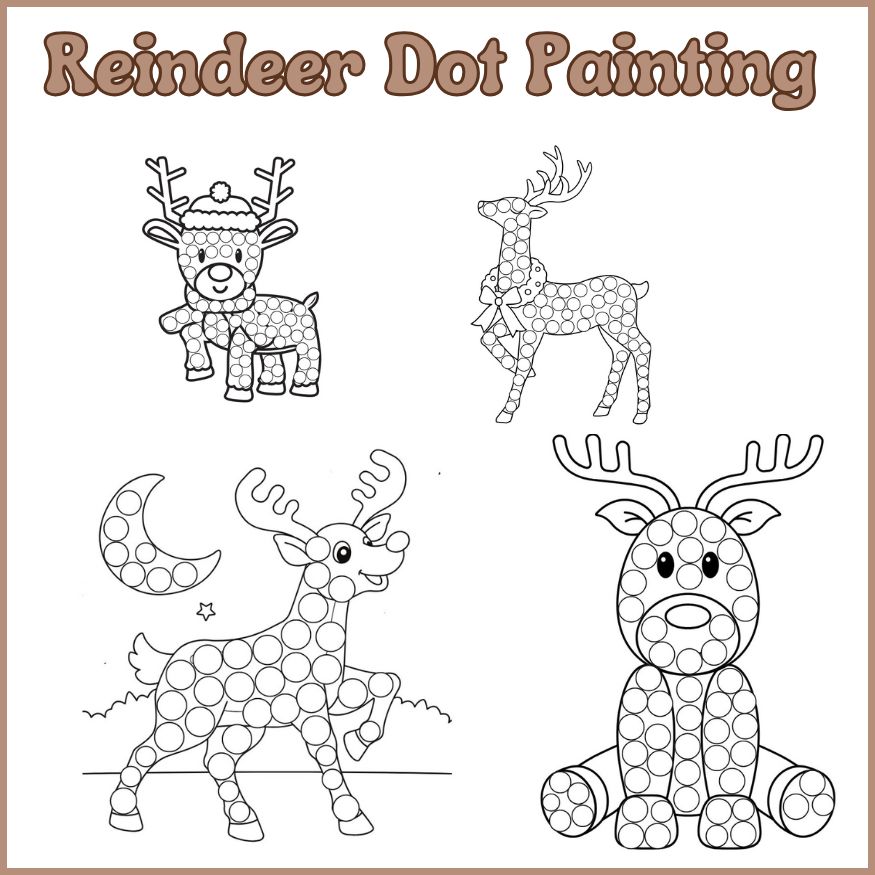
This Gingerbread man dot painting printables is perfect if you have gone through our Christmas dot painting worksheets.

These do a dot printables are easy kids activities to set up and also mess free so you don’t have to worry about clean up.

The small circles the kids have to dot are the right size for dot markers or Do a dot markers.

Supplies for Gingerbread Man Dot Painting Activities

To  ensure the kids have fun with this gingerbread man dot painting activity, there are a few essential supplies you’ll need to gather. These supplies will ensure that your dot painting activity is fun and successful.

  • Dot Markers
  • Paper
  • Printable worksheets

Perfect for Christmas preschool activities for the home or in school as the markers are easy for the kids to grab and dot with.

Dot marker activities like this one is not only a fun and creative activity for kids, but it also offers numerous benefits for their development.

Ideal for toddlers and preschool kids, one of the key advantages of dot painting activities is its ability to enhance fine motor skills in children.

There is also hand-eye coordination and control over their movements when doing do a dot activities. By manipulating the dot markers, preschoolers can strengthen their finger muscles, improving dexterity and fine motor skills.

Start by printing your gingerbread man dot painting worksheet on a piece of paper.

Once you have your printable ready, gather your dot markers in various colors. Encourage the kids to start filling in dots with the markers.

As the kids continue dotting, let them get creative as they want.

Encourage them to use different colors for each part of the gingerbread man’s body.

For example, use brown dots for the body and head, red dots for buttons etc

All these free Gingerbread man dot painting printables should be more enough than enough dot marker fun as there six free worksheets in total.

Expand your child’s artistic horizons by exploring a variety of other Christmas crafts and colouring activities during this festive season.

While gingerbread men are a popular choice during the Christmas season, there are many other holiday-themed characters and events that can inspire creativity.

You could try this new year dot painting activity to usher in the new year. If however, the kids just prefer Christmas colouring pages, there is more than enough seasonal colouring worksheets to enjoy.

Here are some Christmas crafts you may like

Elf Hat Craft

Gingerbread Man Puppet

Exit mobile version