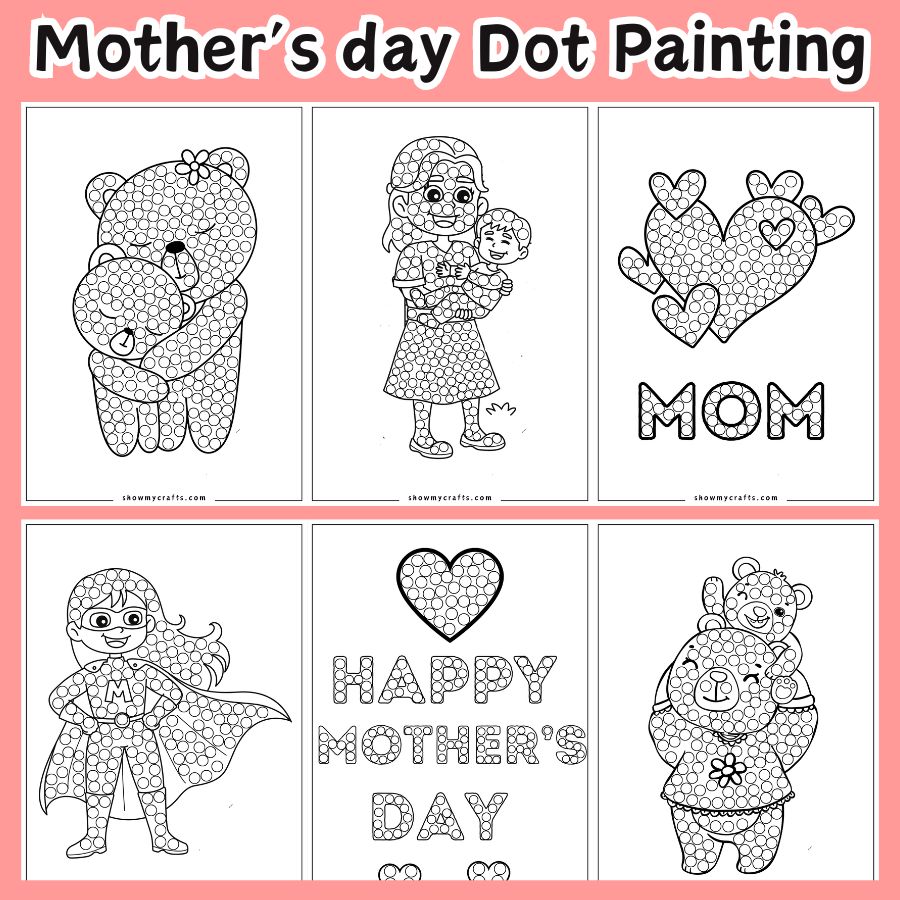
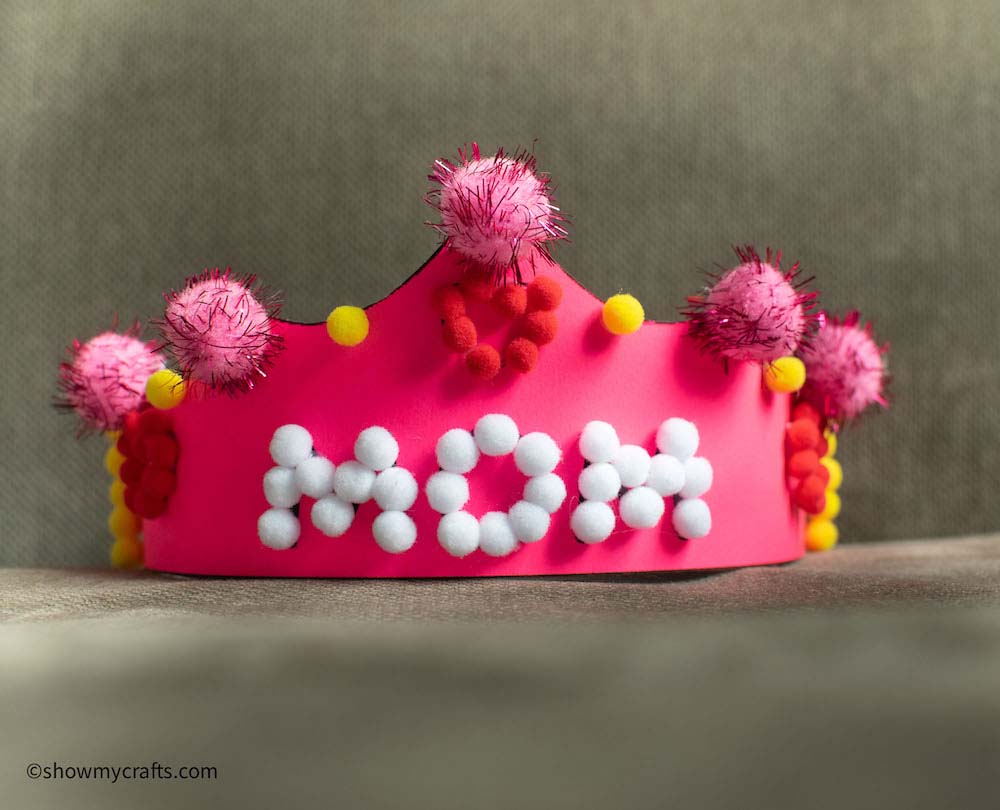
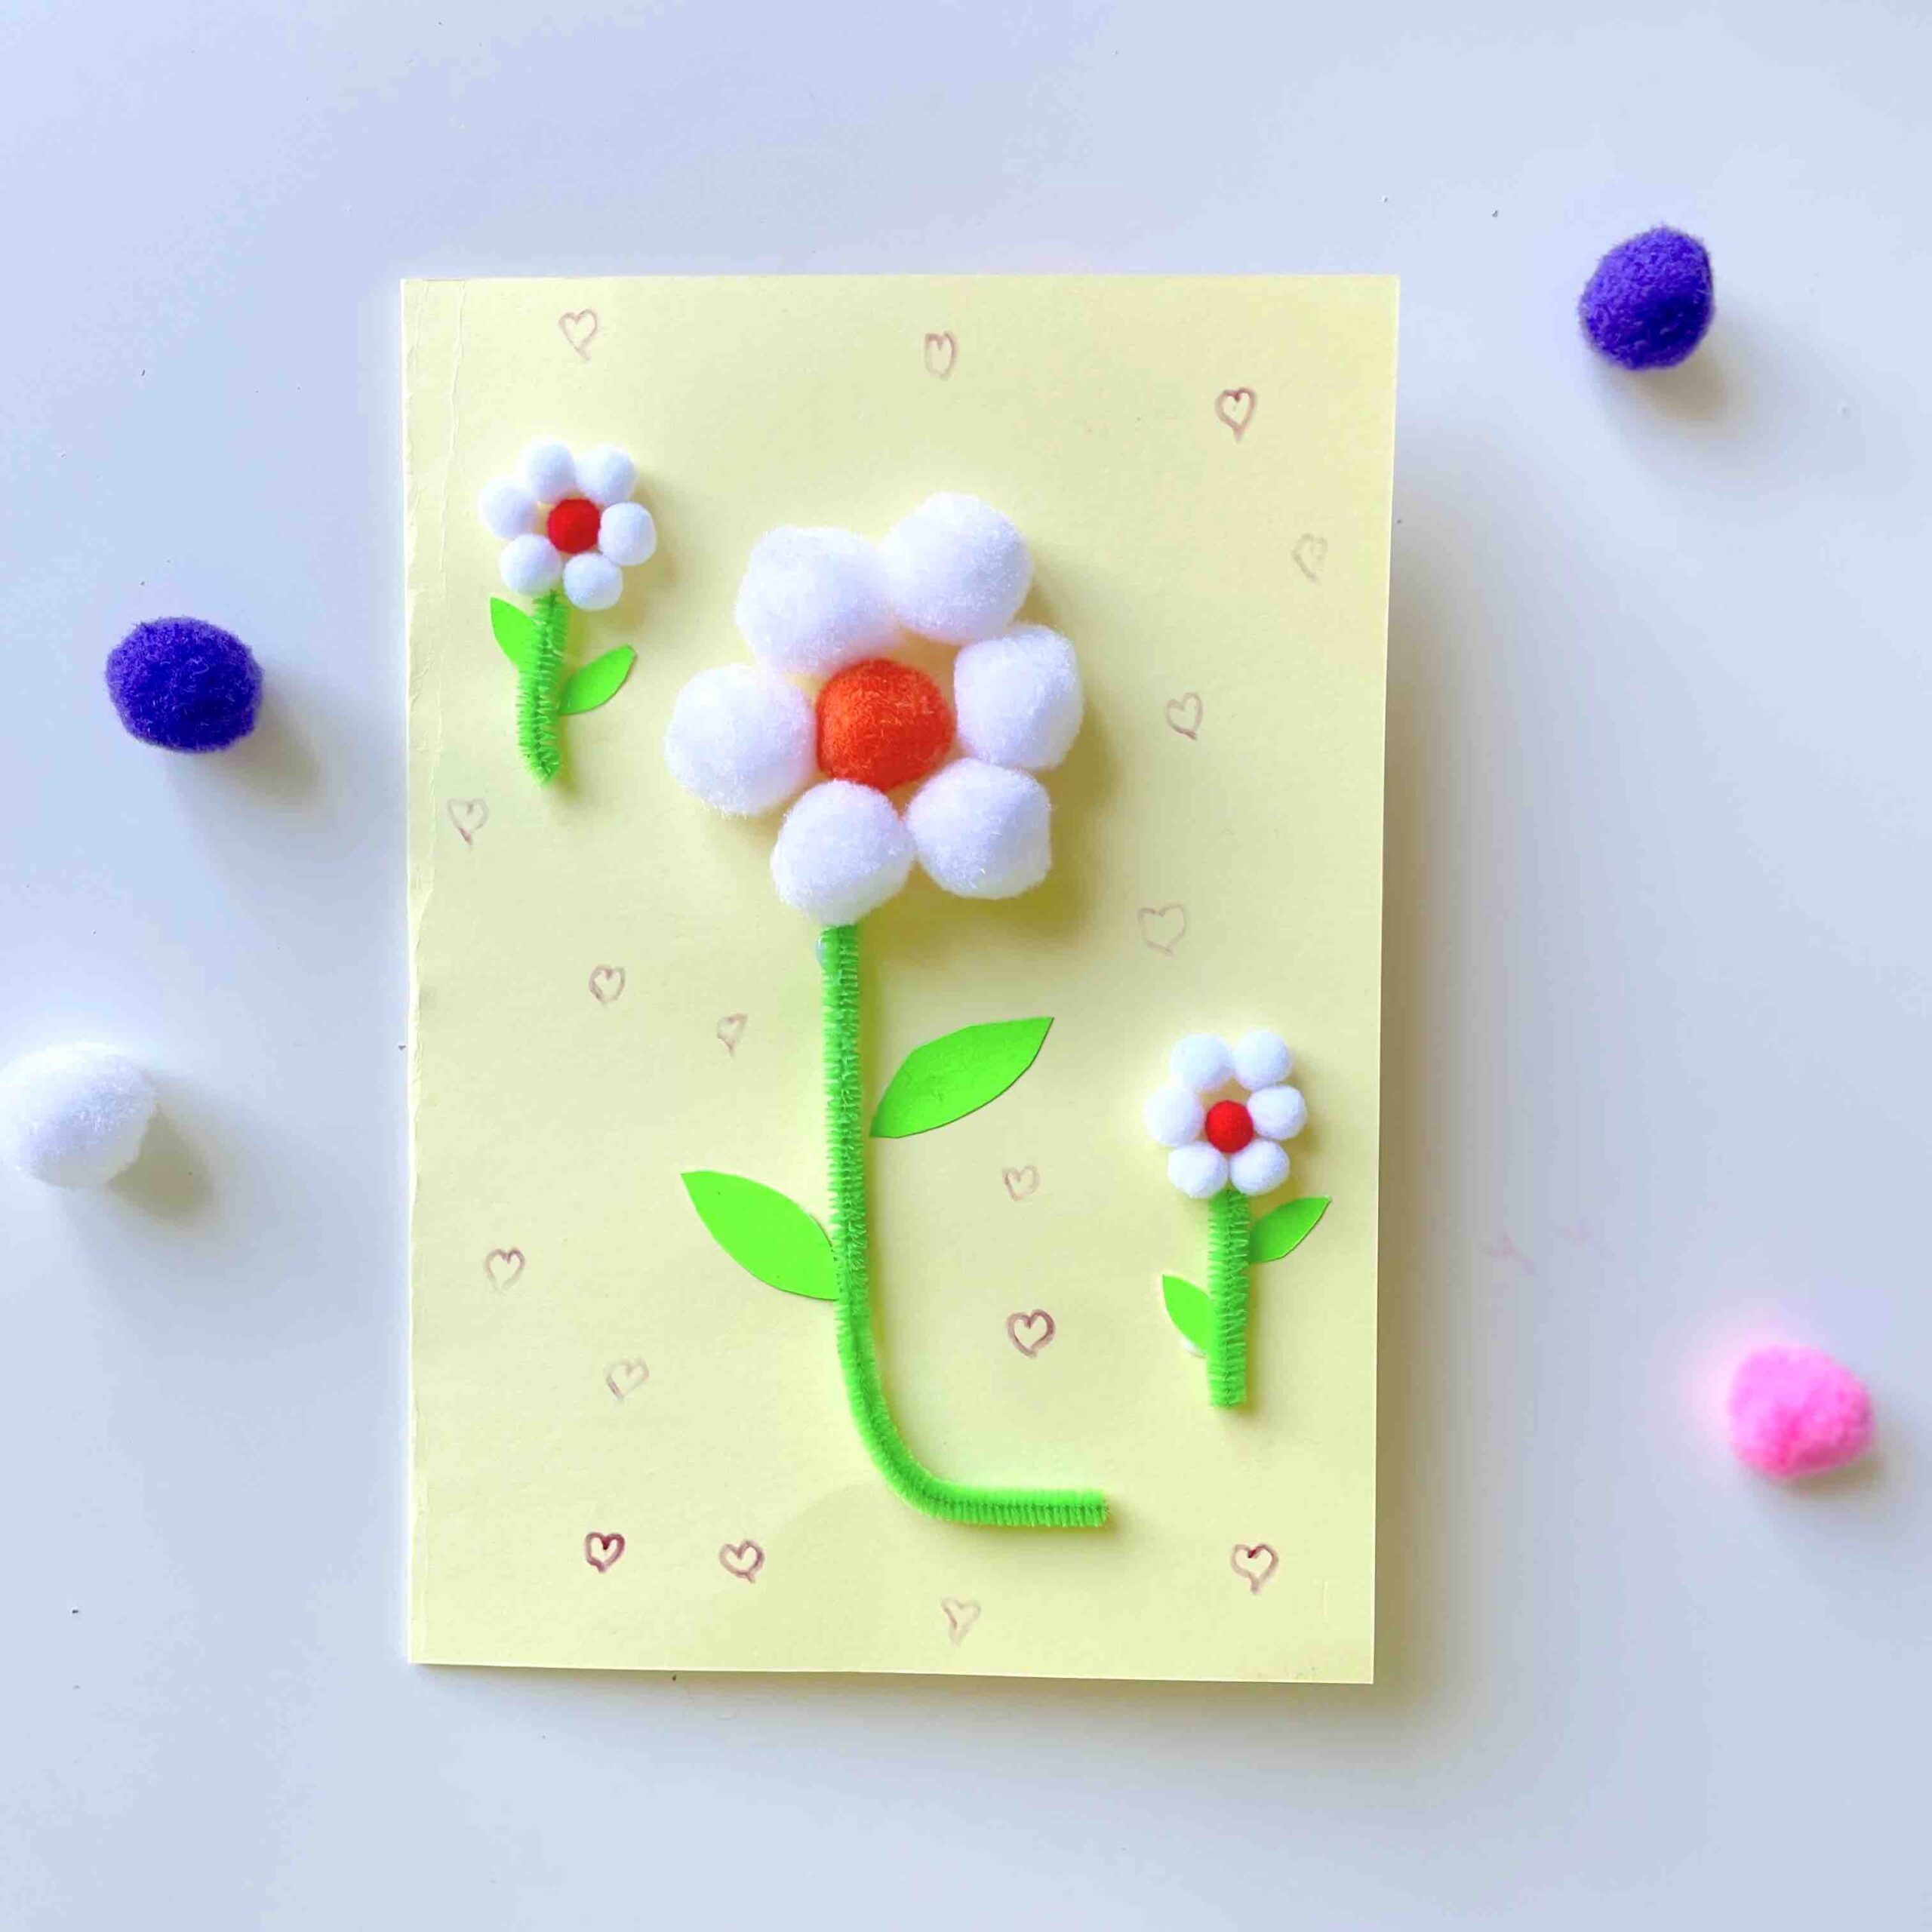
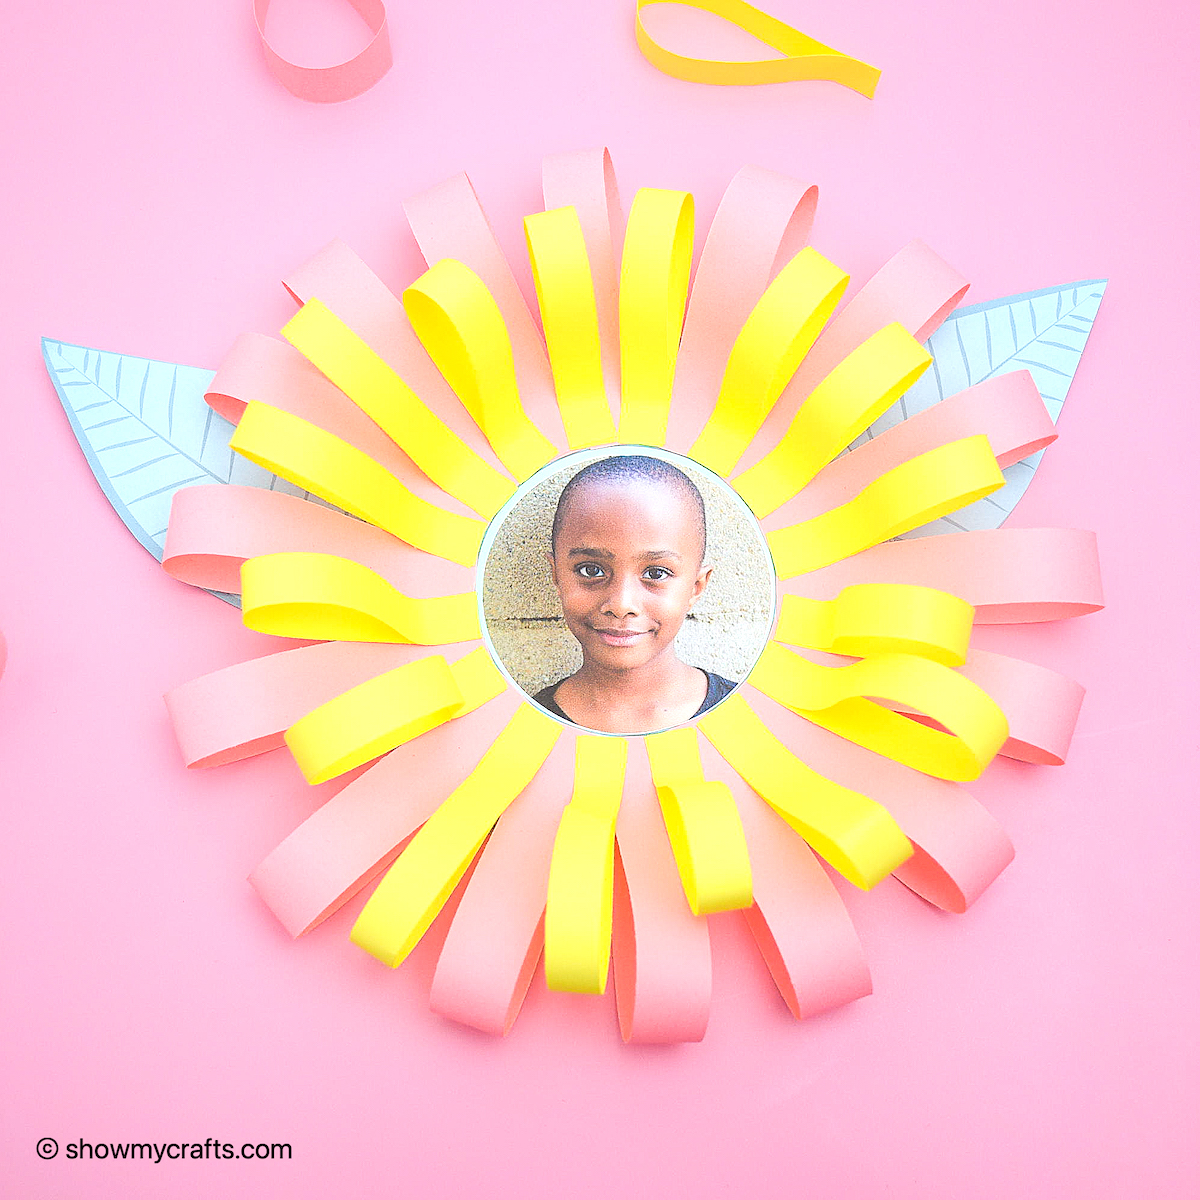
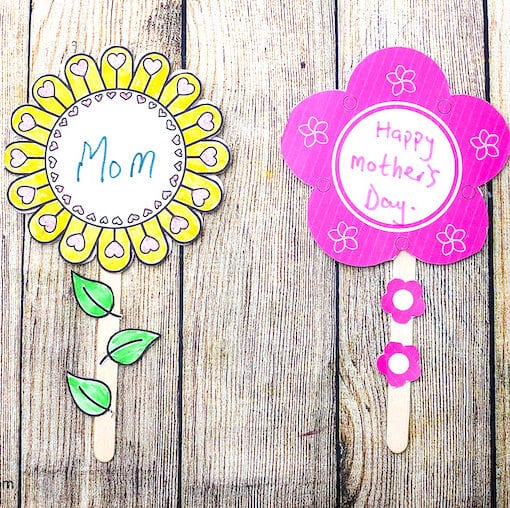
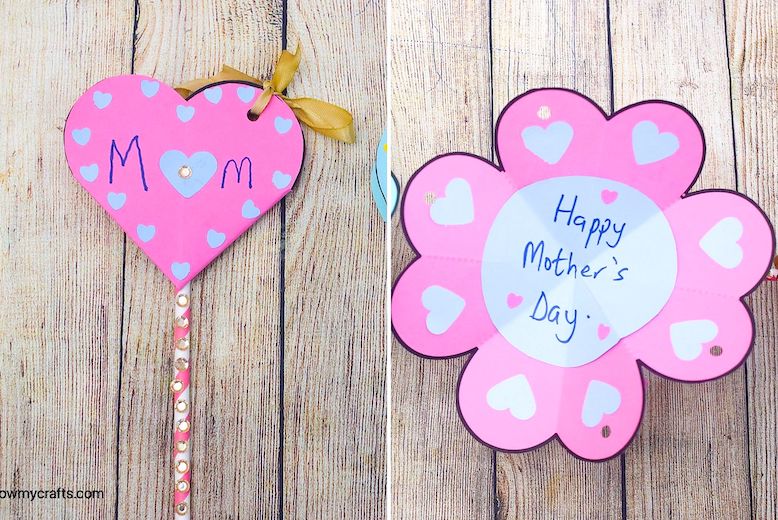
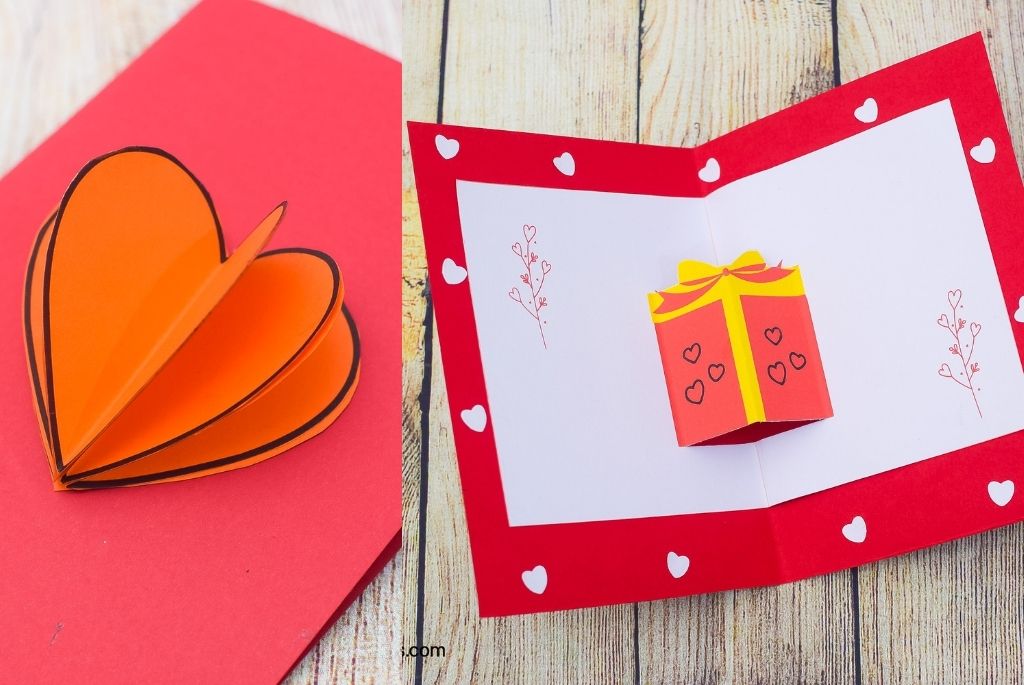
Mother’s Day Flower Petal Craft
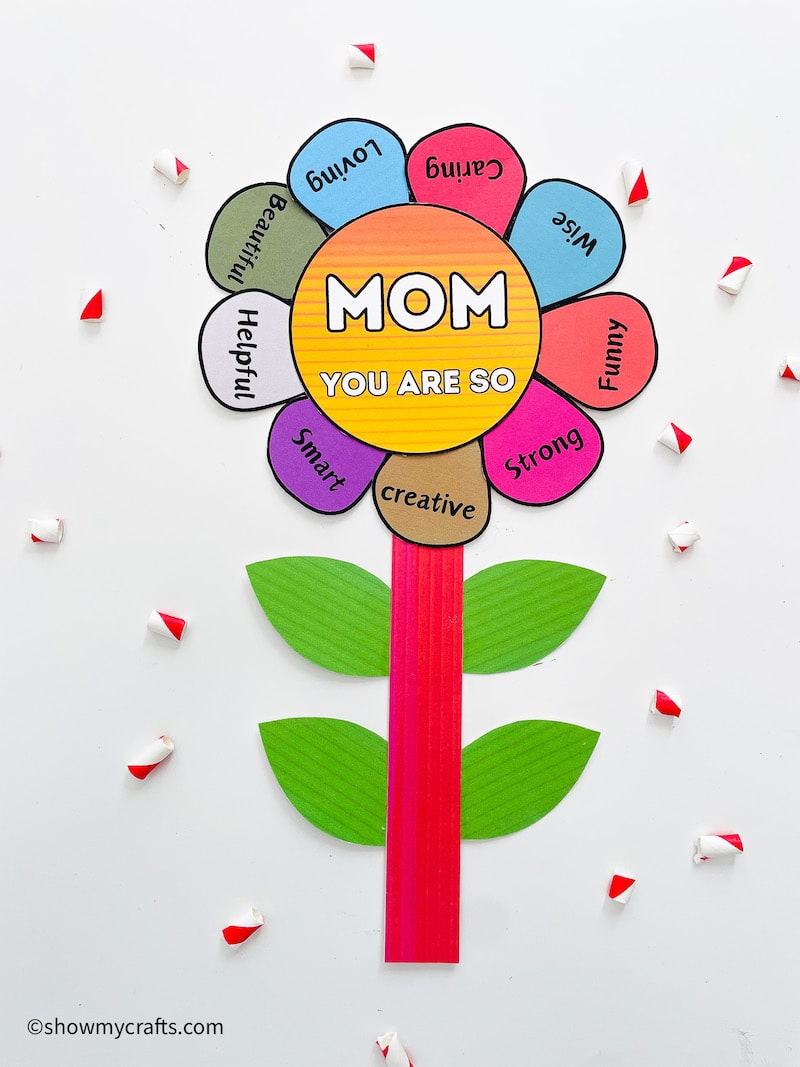
Get crafty this Mother’s Day with a simple yet heartfelt DIY project. Perfect for preschool, kindergarten kids and even older kids, this flower petal craft puts “MOM” at the center of everything, surrounded by petals that showcase all the wonderful things she is. Although some supervision will be required for the younger kids as some … Read more