DIY Paper Mache Bowl
Get into your paper mache art by making your very own paper mache bowl using a balloon.
Paper mache as a building material is cheap, quick to make and easily accessible.
Its versatility inspires many paper mache diy ideas like cups, plates, animal figurines and more.
It is also a great beginner project for kids and adults who want to get into paper mache crafts.
Materials
- Balloon
- Newspaper
- Flour paste
- Stiff cardboard or round plastic container
- Paper mache pulp (optional)
- Glue gun
- Acrylic paint (white)
- PVA Glue
You will also need the following equipment
- Container for flour paste
- Scissors
- paint brush
- Potato stamp
How to make your own paper mache bowl
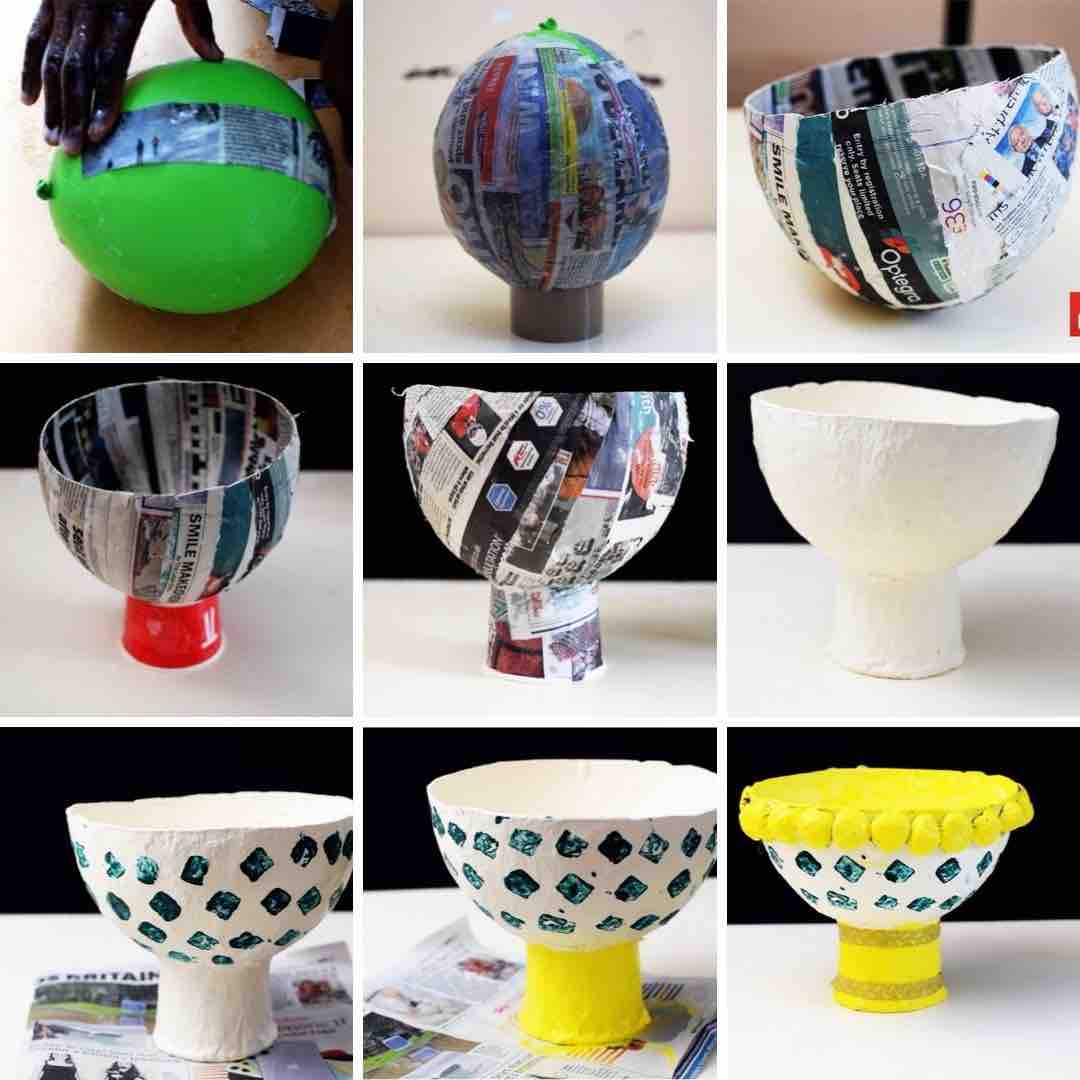
- Fully blow up the balloon. This will serve as the mould for the bowl.
- Tear the newspapers into 2.5cm strips and using the flour paste, glue the newspaper strips on the balloon leaving some space around the knot area. Leave to dry and repeat four more times.
- Burst the balloon when completely dry and remove. Using your scissors trim the paper mache bowl to the preferable height
- Using glue gun, glue the base of the balloon to the base of your plastic container. Then cover the base with newspaper strips using pva glue.
- Add 2 coats of white acrylic paint both inside and outside the bowl. Let it dry.
- Using a potato stamp or any stamp, decorate the bowl as you wish and paint the base with a different colour
- Glue painted balls of paper mache pulp around the rim of the bowl. This is optional of course.

You may adorn the base with any kind of design or embellishment.

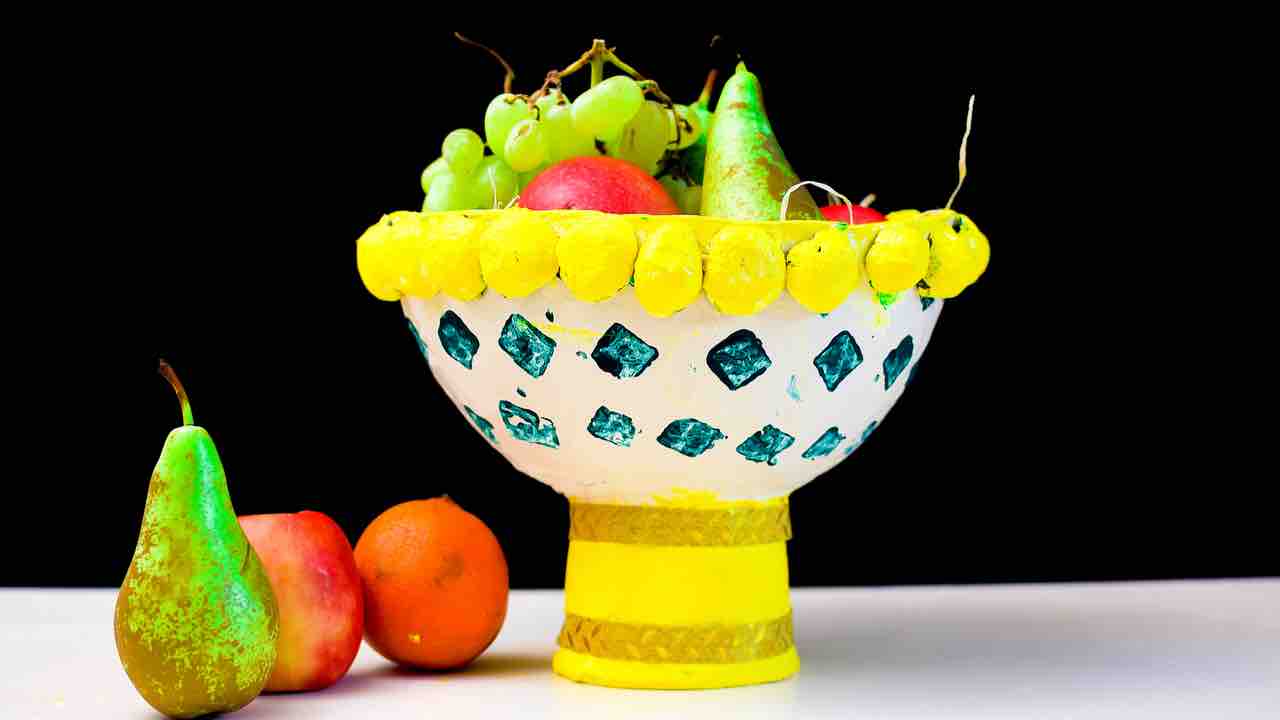
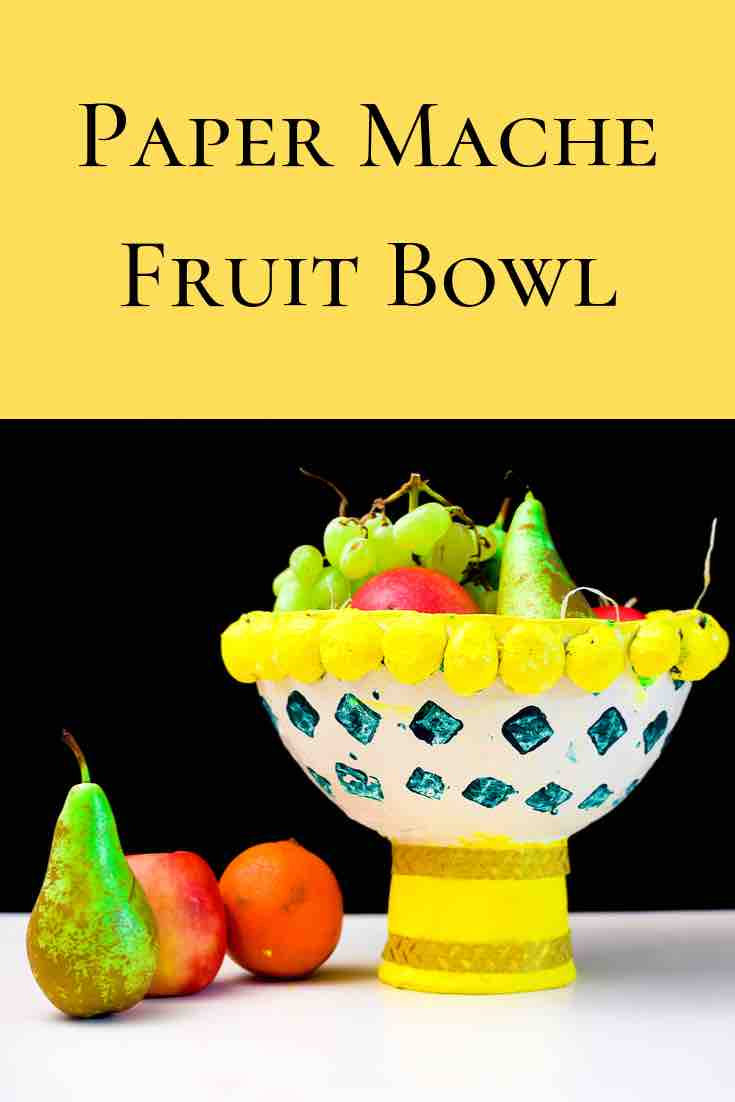
Once completely dry, it is perfect as a fruit bowl on the table or as a decoration on the shelf.
For smaller paper craft projects try these
Gift wrapping with brown paper
Share and pin this project

