Rudolph Christmas Card Craft
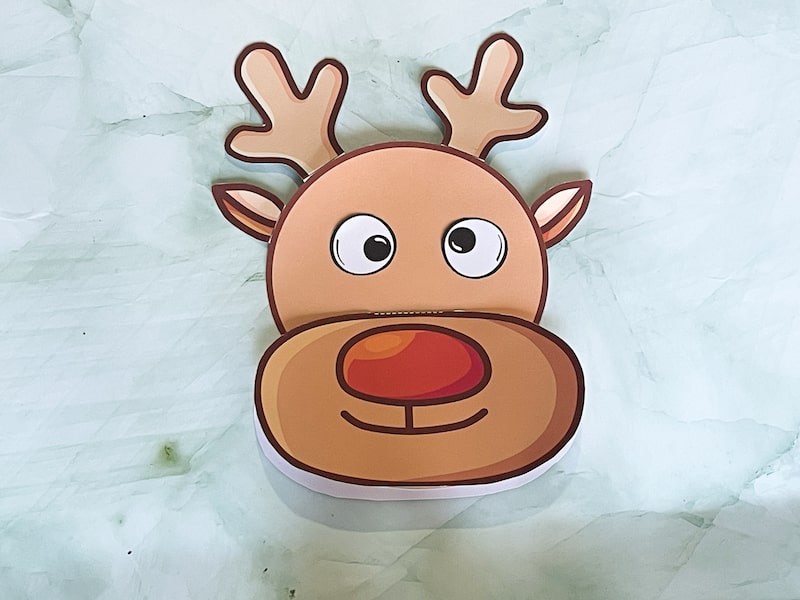
Looking for Christmas card ideas that are both fun and educational? This Rudolph Christmas card craft is perfect! With this simple project, kids can make an adorable reindeer card featuring Rudolph, complete with a mouth that opens to reveal a message inside. This reindeer card craft template is a fantastic choice for little ones learning … Read more