Paper Mache Recipes & Techniques

Paper mache recipes come in variations but nevertheless are very easy to make and with easily accessible ingredients.

Paper mache is simply the craft of modelling with pieces of torn paper glued together and often shaped using moulds of all kinds, painted and varnished.

Basic supplies needed for paper mache

  1. Newspaper : It is easily accessible and is perfect for paper mache. It has a grain that makes tearing in one direction. Tear paper 1 inch in width and long enough depending on your project.
  2. Glue : A choice of PVA glue, flour paste or wallpaper paste
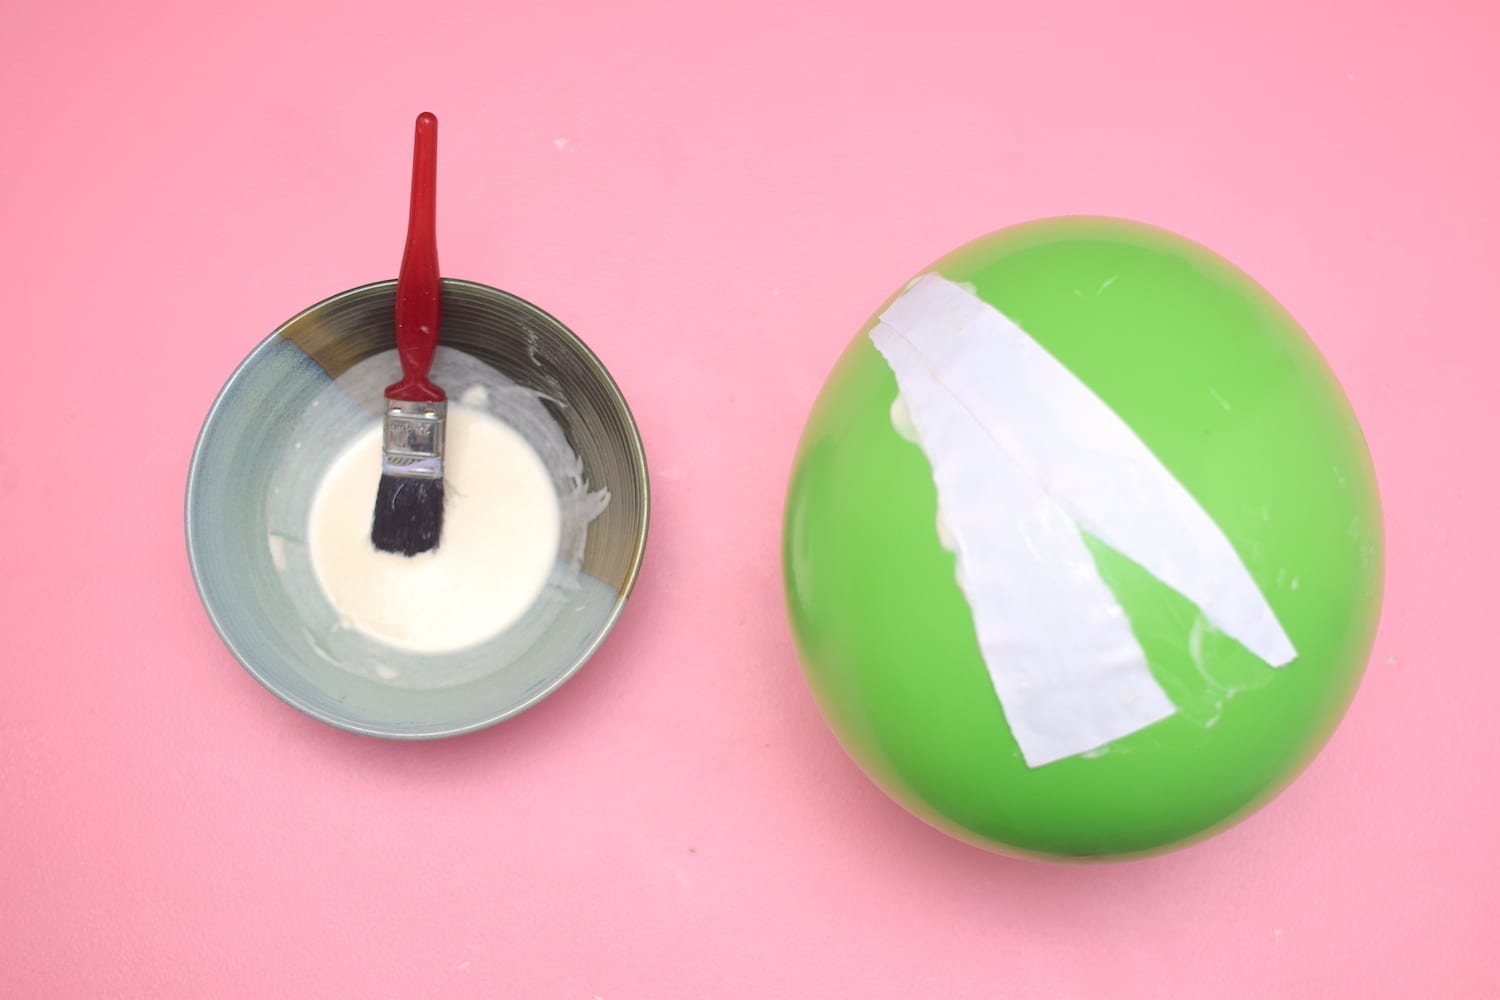
  3. Moulds :  Dishes, inflated balloons are just examples of moulds that are frequently used.
  4. Paint : White emulsion for at least two coats on the fried project and acrylic paint for any decorations.
  5. Sandpaper : To smooth the dried surface of your paper mache project before coats of paint
  6. Paint brush : Different types of brushes to either apply paint or to decorate with acrylic paint
  7. Varnish : to give an excellent finish to your paper mache project

Methods of making paper mache

You may decide to use strips of paper and glue or making your paper pulp.

  • Paper and glue method. Tear as many strips of paper as needed, apply glue and lay the strips. Smooth each strips ensuring there are no air bubbles.
  • Paper pulp method. Tear strips of paper into pot and simmer for half an hour. Using a blender, blend into a pulp. Drain any excess liquid if required. When ready to use, add some PVA glue.

Paper mache recipes

There are a few choice of glues or adhesive for paper mache projects.

Flour paste recipe

Supplies needed

  • All-purpose flour
  • Salt
  • Water

Directions

  • Mix one cup flour with one cup of water
  • Add one tablespoon of salt
  • Stir until smooth and no more lumps.

PVA Glue

If the PVA glue you have is undiluted, you may use as is. However if it is undiluted, it is 2 parts glue and 1 part water.

Wallpaper paste

Wallpaper paste if thick can be thinned with water with a little salt added.

Liquid Starch

Liquid starch can be used as is.

Paper mache tips to remember

  • Considering multiple layers of paper strips if the project calls for it. This will prevent it from cracking open.
  • Allow sufficient time for drying. Let the paper mache dry out completely before proceeding to the next stage.
  • You may use sandpaper to gently buff the dried surface before applying paint.
  • Apply at leats two coats of emulsion paint.
  • When done with coats and paint decoration, apply a a coat of varnish
  • If using moulds, sometimes they would need to be held together to hold the shape that you want. Try using masking tape or glue from a glue gun
  • In humid weather conditions, try using a less water in your flower paste or use other types of glue.
  • If applying strips to a balloon, try sitting it atop of a small bowl, large sellotape or something cylindrical.

Try these paper mache projects

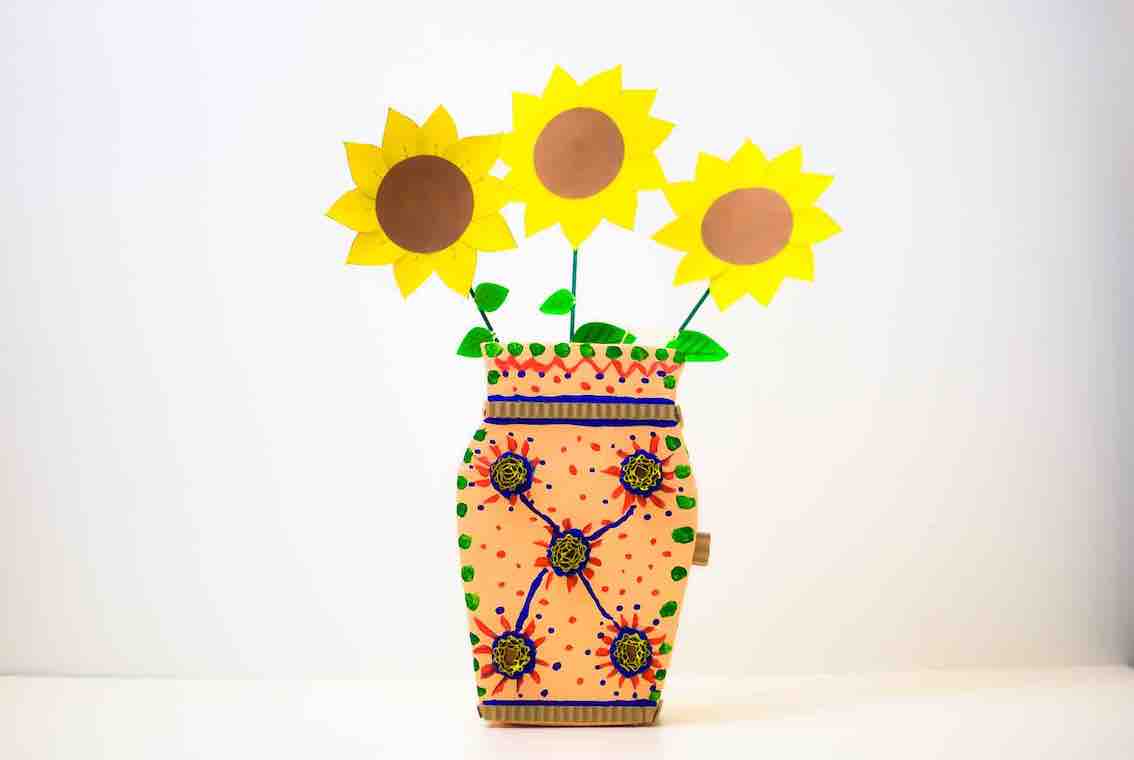
Paper mache flower vase

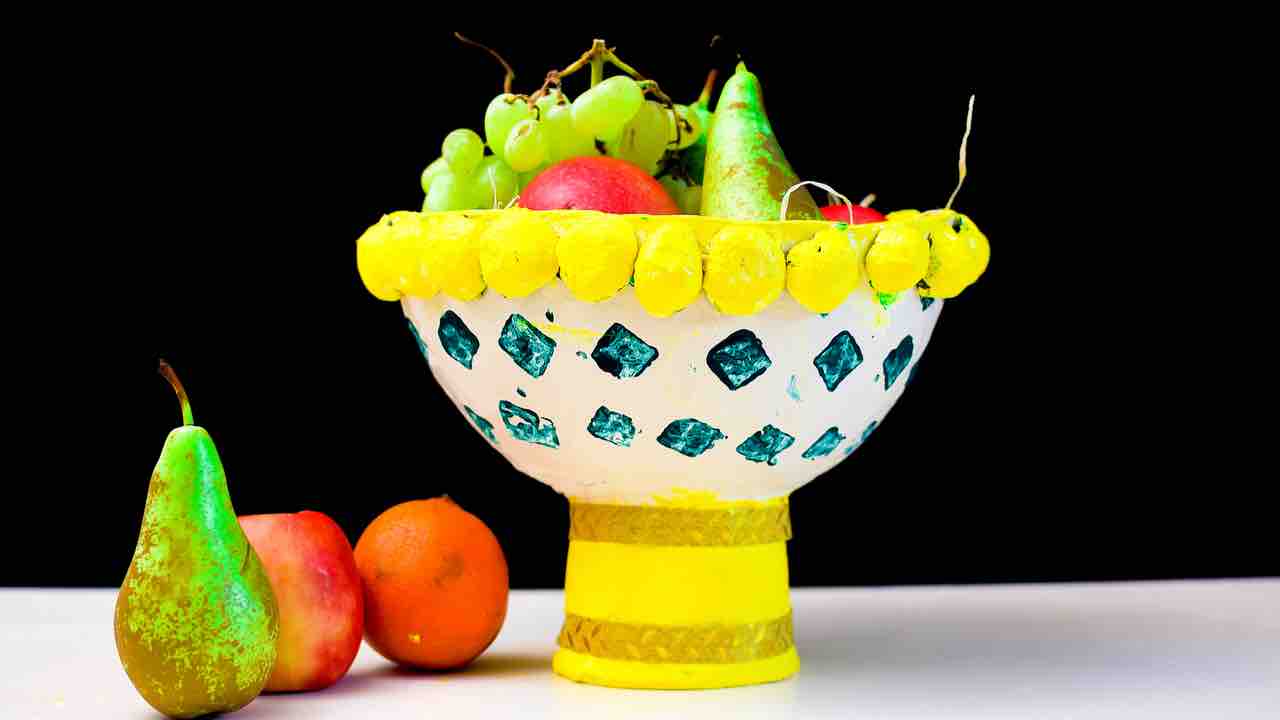
paper mache fruit bowl

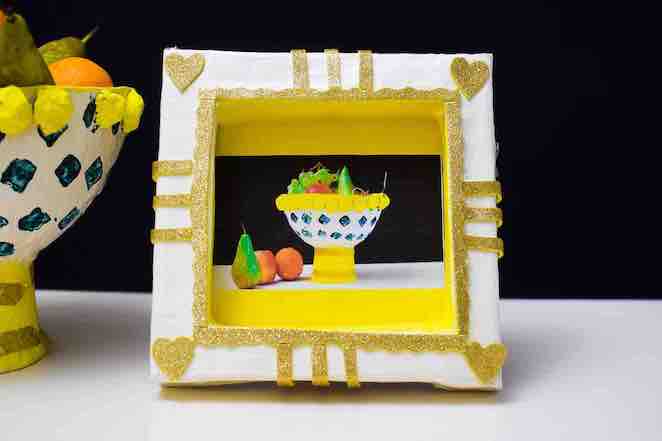
Paper mache picture frame


Paper mache flower vase

How to make Paper mache flower vase

Why not take your paper mache crafting to the next level by making this paper mache flower vase.

This flower vase craft is a very practical idea for home decor. It can be used as a flower vase to hold artificial flowers.

It can also simply be an art piece that would look great on a shelf or mantlepiece.

This paper mache flower vase is made using cardboard cut out from a printable template, glued together and decorated.

Materials needed

  • Corrugated cardboard
  • Masking tape
  • Newspaper
  • Diluted PVA glue
  • Different colour paints
  • White paint
  • Clear glue

How to Make Paper Mache Flower Vase

  1. Download the pdf template of the vase, scale it up to the desired size and print out two copies.
  2. Glue the printed templates unto a cardboards and cut out in the shape of vase.
  3. Cut out a strip of cardboard 7cm in length and width long enough to go round from the top left side of the cut out template to the top right. (Ensure the corrugation of the cardboard run vertically down the width of the strip. This makes it easy to bend the cardboard)
  4. Using masking tape, glue the strip around the template to hold it in place
  5. Tear some newspaper strips and paste them all over the pieces of the vase. Cover in four layers and let it dry completely.
  6. Glue the back of the vase to the wall.
  7. Add one more layer of paper mache, let it dry completely
  8. Sandpaper the vase lightly and cover in two coats of paint. Let the flower vase dry completely.
  9. Decorate as you choose.
  10. Apply a coat of varnish.

\


Craft tips

  • You may paint patterns on the flower vase.
  • Draw on the vase
  • You could glue beads or faux stones.

Looking for more paper mache inspirations

Paper mache Photo Frame

Paper mache Fruit Bowl

Please share and pin this craft


Paper Mache Photo Frame

Paper Mache Photo Frame

Paper mache photo frame is a great way to display your art. This picture frame can take pride of place on a mantlepiece, desk or on a wall.

This paper mache project can be taken all skill levels and the main materials needed are cheap and easily accessible.

The photo frame’s skeleton is basically cardboard folded in the shape of a frame, covered in paper mache, painted, decorated and embellished.

Materials needed to make your paper mache photo frame

  • Cardboard
  • Masking tape
  • Flour paste
  • Newspaper
  • White paint (emulsion)
  • Acrylic paint (any colour)
  • Gold foam sheet (optional)

You will also need the following equipment

  • Tracing paper
  • Ruler
  • Craft knife
  • Paint brushes
  • Pencil
  • Glue gun


Subscribe for craft tutorials here

How to make Paper Mache Photo Frame

  1. Print the photo frame template  trace the template on the cardboard and cut out the frame. (Be sure to scale up or down). Cut out the square in the middle and keep it as it will be used to hold your picture.
  2. Score the lines using a craft knife. Ensure you don’t cut through as you just want it be foldable.
  3. Fold each flab towards the square in the middle. Using masking tape, tape the entire frame together.
  4. If you want to hang the frame, stick a piece of rope or wire to the back of the frame.
  5. Cover the the entire frame in two layers of paper mache (newspaper strips and flour paste) and let it dry.
  6. Apple to coats of white emulsion paint and let it dry.
  7. Using acrylic paint colour of your choice, paint the insides of the frame
  8. Using a scissors to cut a zig zag pattern, stick on the sides of the inner square
  9. Also cut out strips of gold foam sheet and glue horizontally to the left and right sides of the frame
  10. Repeat the above step vertically to the top and bottom sides of the frame.
  11. Take the cut out cardboard, glue your image to it and stick it to to the back of the frame with your image showing on the front

It also looks beautiful handing on the wall

Looking for more paper mache inspiration, try this paper mache fruit bowl.

Pin or share this tutorial


How to make your own paper mache bowl

DIY Paper Mache Bowl

Get into your paper mache art by making your very own paper mache bowl using a balloon.

Paper mache as a building material is cheap, quick to make and easily accessible.

Its versatility inspires many paper mache diy ideas like cups, plates, animal figurines and more.

It is also a great beginner project for kids and adults who want to get into paper mache crafts.

Materials

  • Balloon
  • Newspaper
  • Flour paste
  • Stiff cardboard or round plastic container
  • Paper mache pulp (optional)
  • Glue gun
  • Acrylic paint (white)
  • PVA Glue

You will also need the following equipment

  • Container for flour paste
  • Scissors
  • paint brush
  • Potato stamp

How to make your own paper mache bowl

  1. Fully blow up the balloon. This will serve as the mould for the bowl.
  2. Tear the newspapers into 2.5cm strips and using the flour paste, glue the newspaper strips on the balloon leaving some space around the knot area. Leave to dry and repeat four more times.
  3. Burst the balloon when completely dry and remove. Using your scissors trim the paper mache bowl to the preferable height
  4. Using glue gun, glue the base of the balloon to the base of your plastic container. Then cover the base with newspaper strips using pva glue.
  5. Add 2 coats of white acrylic paint both inside and outside the bowl. Let it dry.
  6. Using a potato stamp or any stamp, decorate the bowl as you wish and paint the base with a different colour
  7. Glue painted balls of paper mache pulp around the rim of the bowl. This is optional of course.

Subscribe to my channel  

You may adorn the base with any kind of design or embellishment.

Once completely dry, it is perfect as a fruit bowl on the table or as a decoration on the shelf.

For smaller paper craft projects try these

3d paper stars

Gift wrapping with brown paper

Woven paper basket

Share and pin this project


Exit mobile version