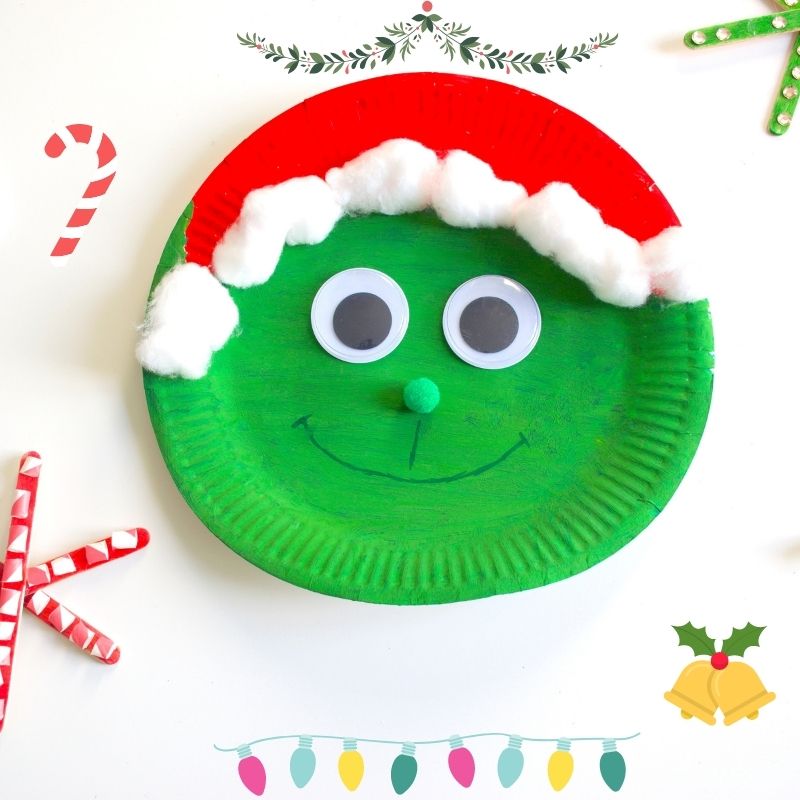
Grinch Headband Craft
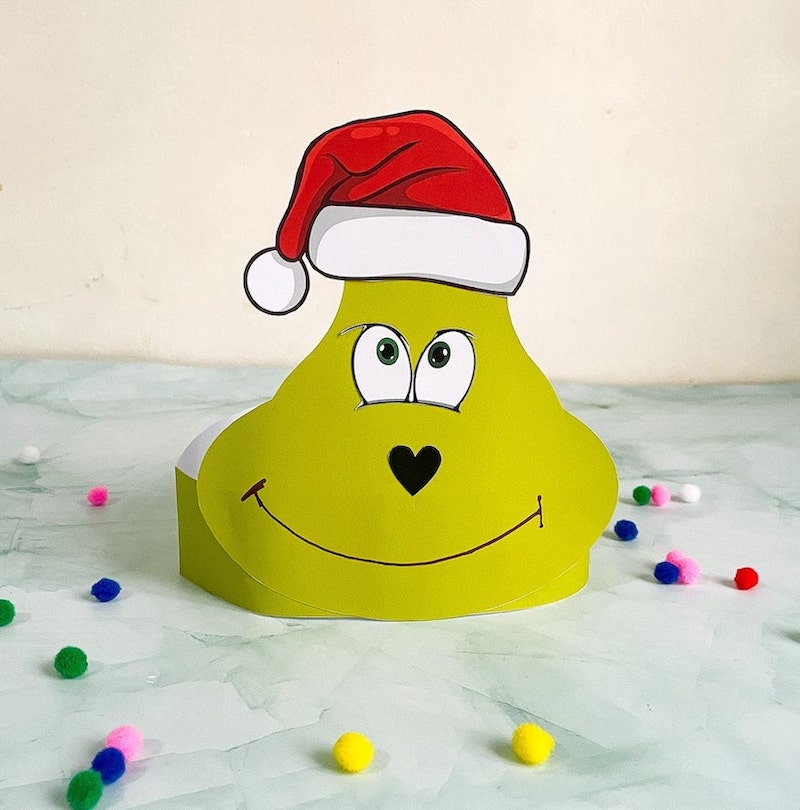
A Grinch headband craft is the perfect choice! With our free printable Grinch headband craft template, kids can easily make their own Grinchy accessory. This simple headband craft combines creativity and holiday cheer, making it an excellent addition to your collection of Grinch crafts and Christmas crafts for kids. The best part? This easy Grinch … Read more