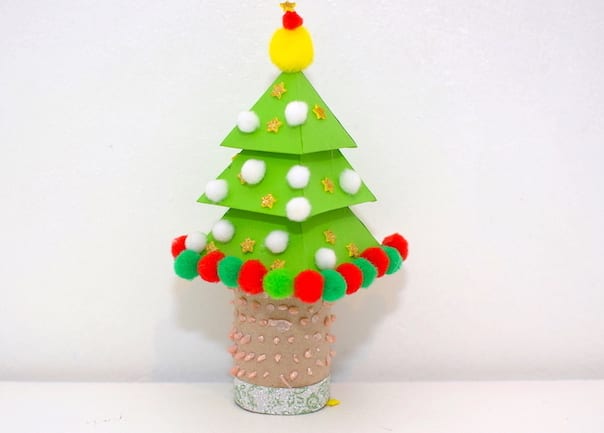
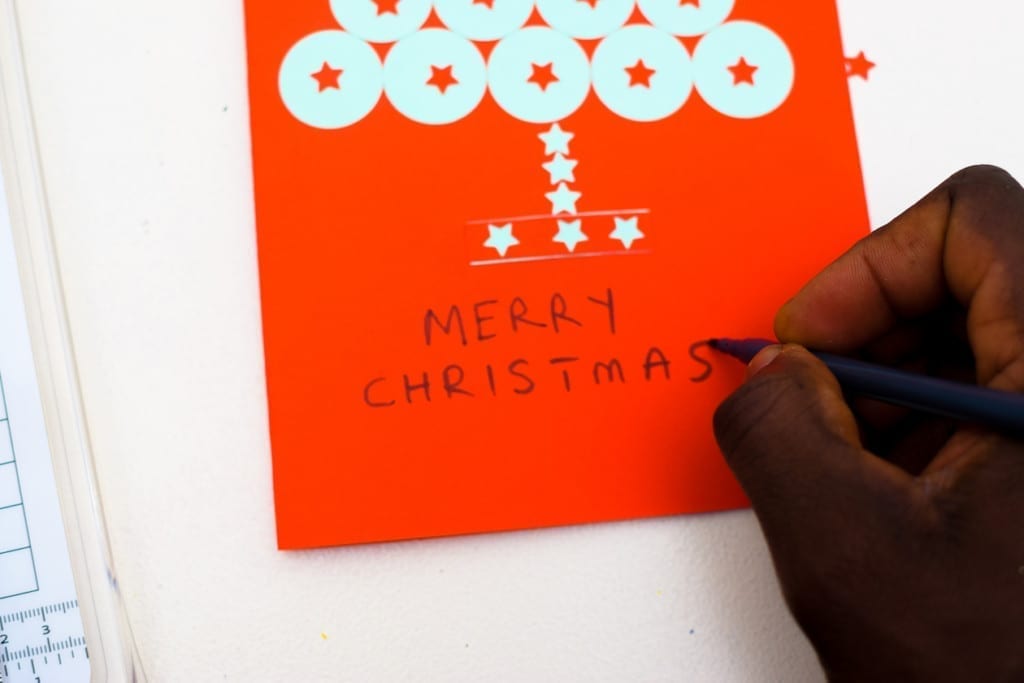
Get creative and turn your finished loo rolls into a Christmas decorative ornament.
This paper Christmas tree craft is a great Christmas craft idea kids can make to get them involved in the decorating the house for the Christmas season.
And once your toilet roll Christmas tree craft is complete, you can adorn your mantlepiece or the window sill with it.
Turn your everyday toilet rolls into a festive masterpiece with our Toilet Roll Christmas Tree Craft!
This creative and eco-friendly project is not only a fun way to repurpose materials but also a fantastic opportunity to bring the holiday spirit into your home.
Gather your empty toilet rolls, some colorful craft supplies, and let’s embark on a jolly crafting adventure!
How to make your Toilet Roll Christmas Tree Craft
Materials Needed.
Toilet paper roll
Green cardstock paper
PVA glue
Craft foam/ coloured paper
Craft punch
Mini pom poms
Instructions
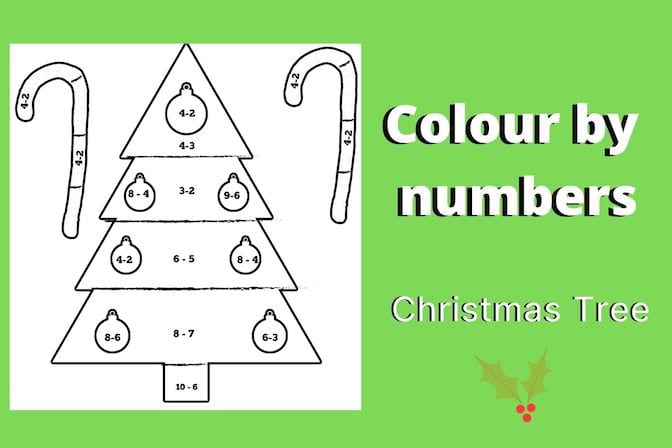
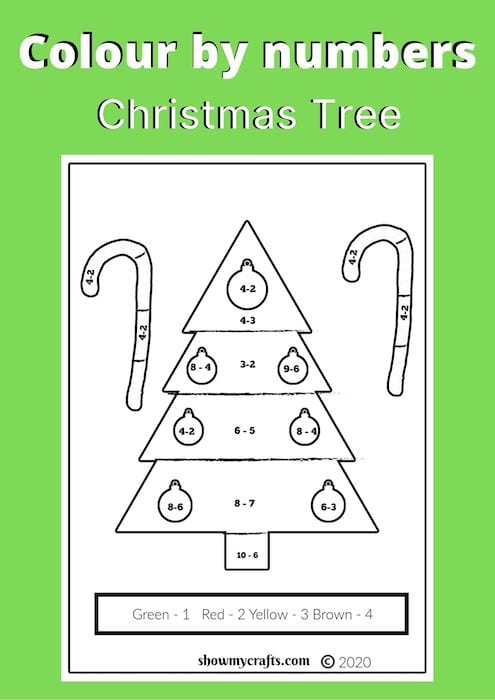
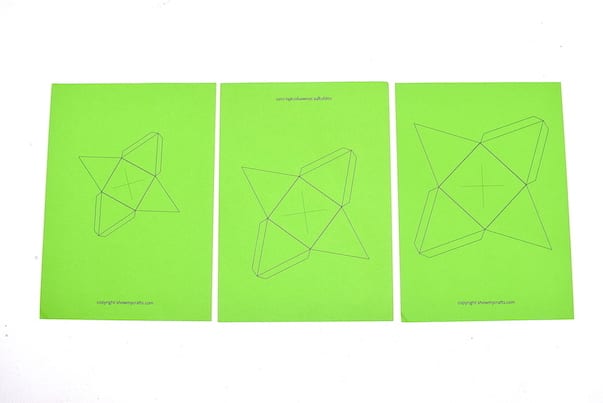
Print out the 3 different sized templates on the green cardstock paper. Print freetemplates here.
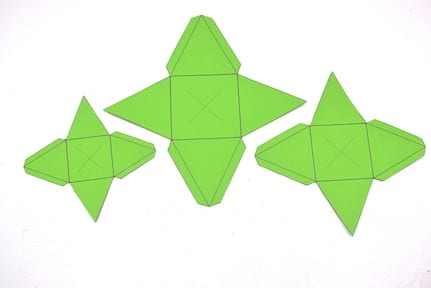
Use the scissors to carefully cut out the printed templates.
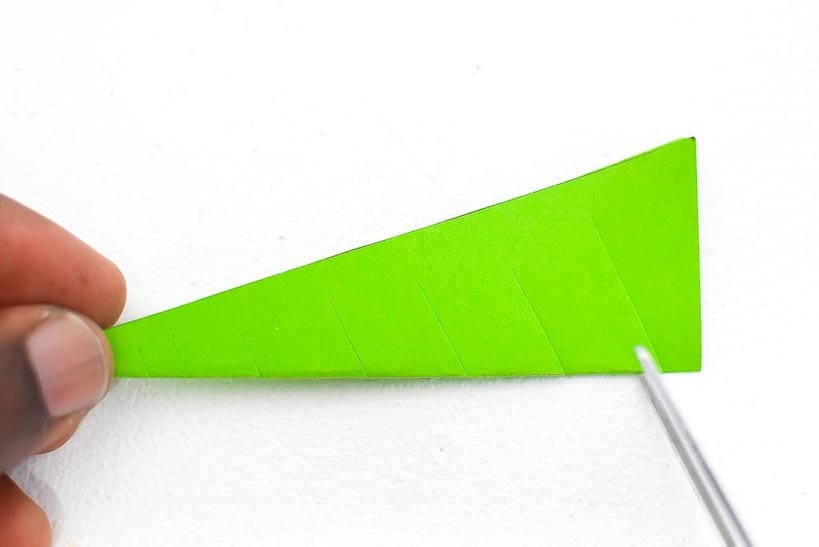
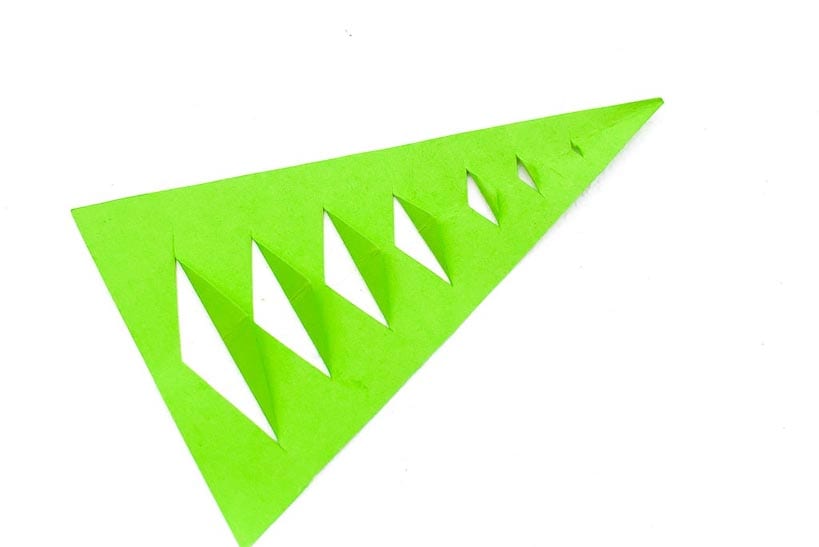
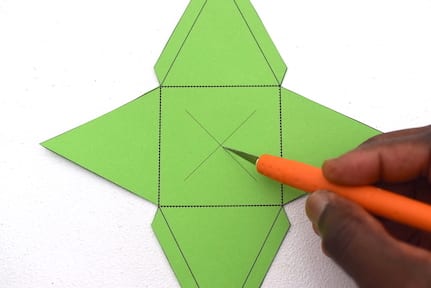
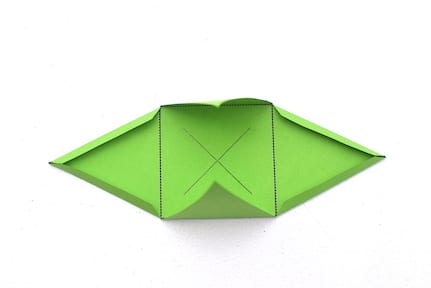
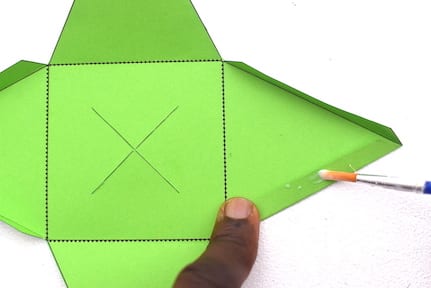
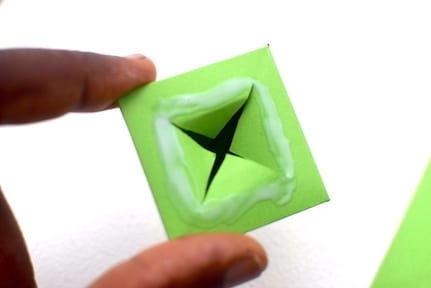
Using the X as a guide, cut slits using a craft knife on all three of the templates.
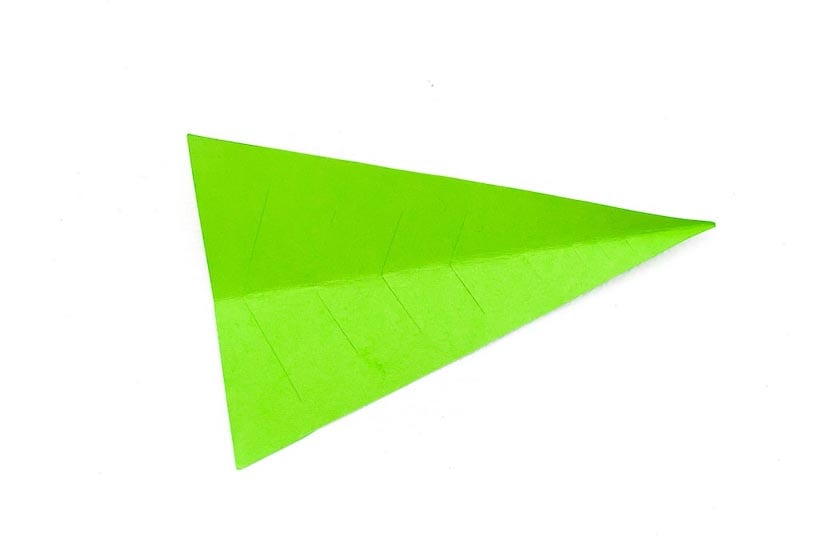
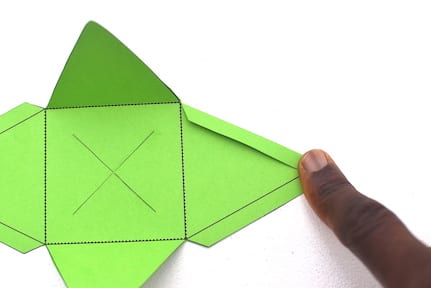
Fold all four wings of each pyramid.Ensure you fold into the printed side.
This way you have a plain surface when fully assembled.
Now fold the side tabs. This is where the glue is to be applied.
Now fully folded and creased.
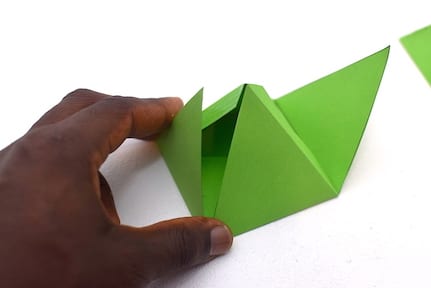
Apply glue to both side tabs one side.
Glue the side tabs to one side without tabs.
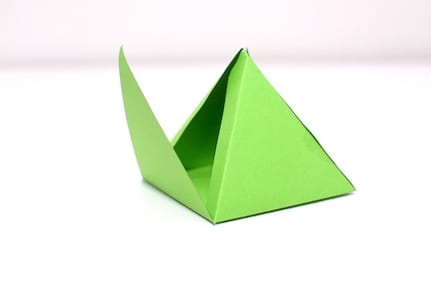
Repeat the process and complete the assembly of the pyramid.
Repeat the steps for the remaining two templates.
Take the smallest pyramid and gently push the slits inward. Apply glue around the slits.
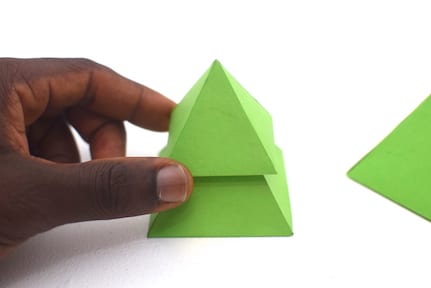
Now gently place it on top of the mid-sized pyramid.
This will be smaller of the remaining pyramids.Do the same for the largest (remaining pyramid).
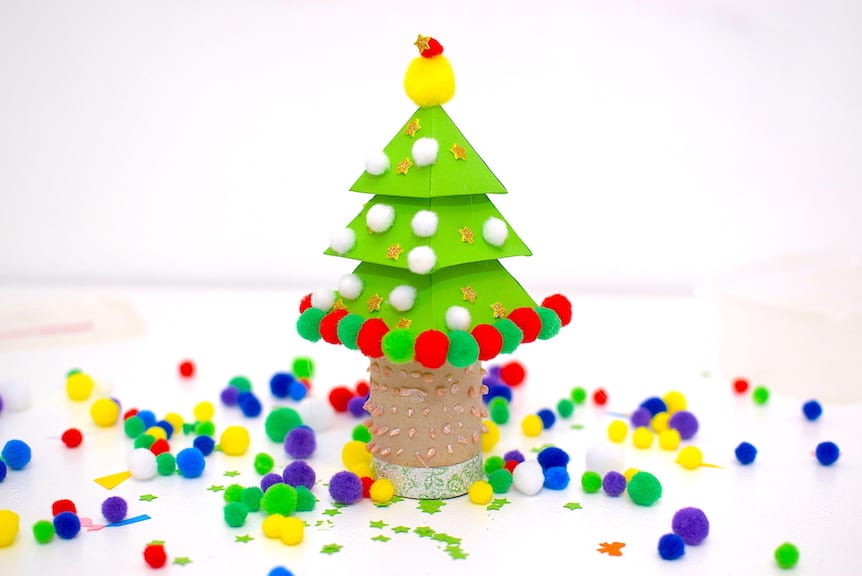
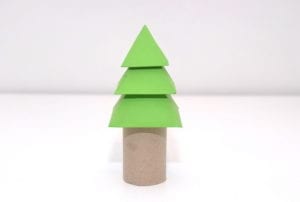
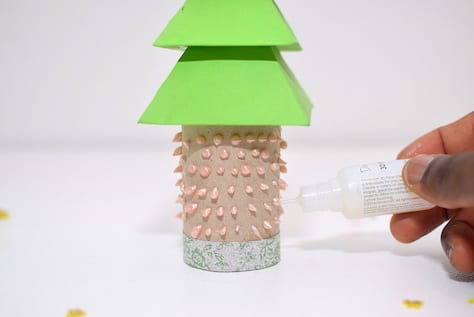
Apply glue to the base of the assembled pyramid and insert the toilet roll.This will serve as the tree trunk.
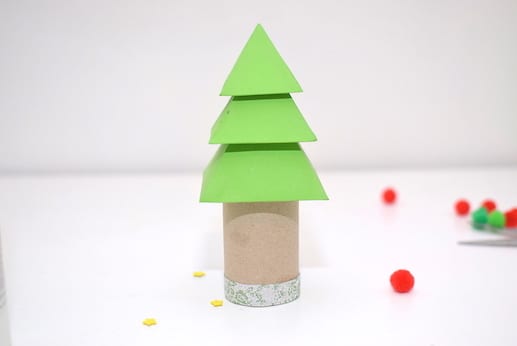
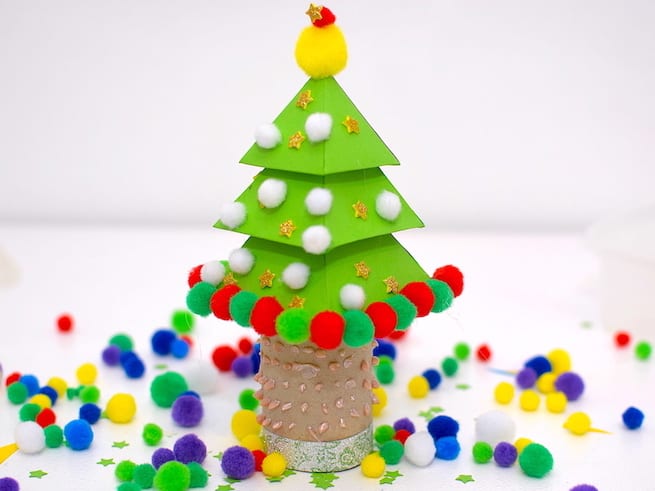
You may now decorate as you please.
You add a decorative or colorful tape to the base of the trunk.
Add texture to the trunk. You may use craft stones. Pearl effects hardening glue was used here.
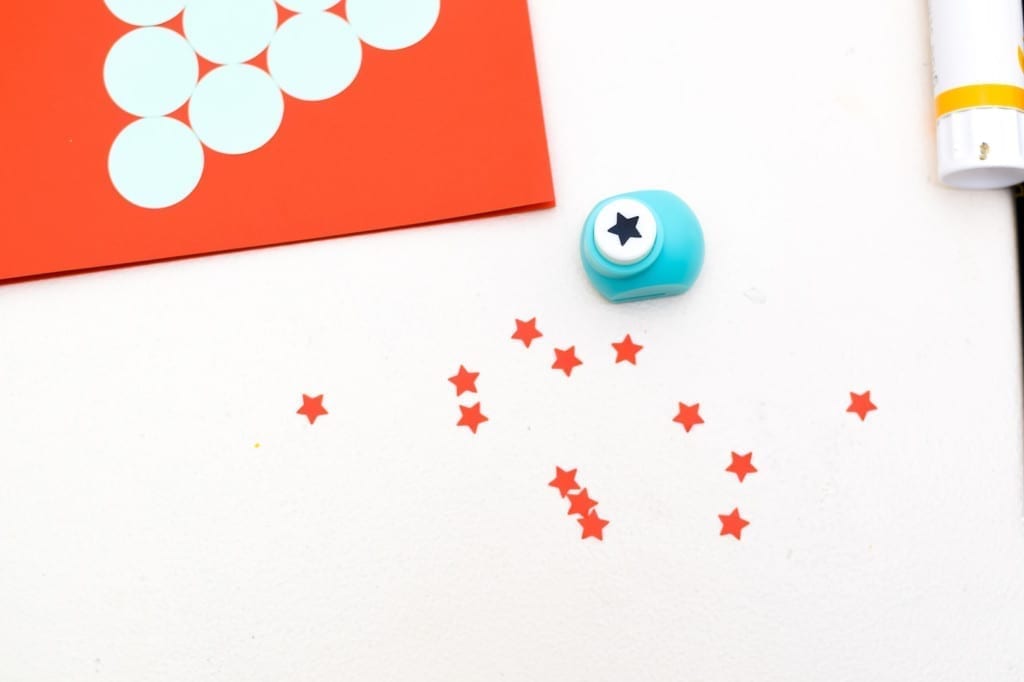
Use craft punch to cut out little stars on foam or paper to decorate.
Use the mini pom poms or craft stones to decorate as you wish.
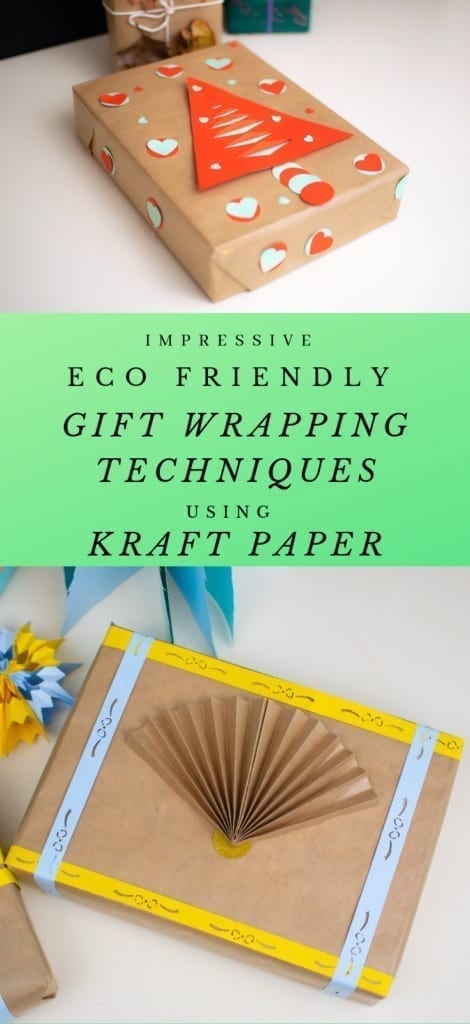
The humble brown paper or brown Kraft paper and some craftiness is all you need.
Below are some brown paper gift wrapping ideas that will transform your gifts into ones that will impress your family and friends.
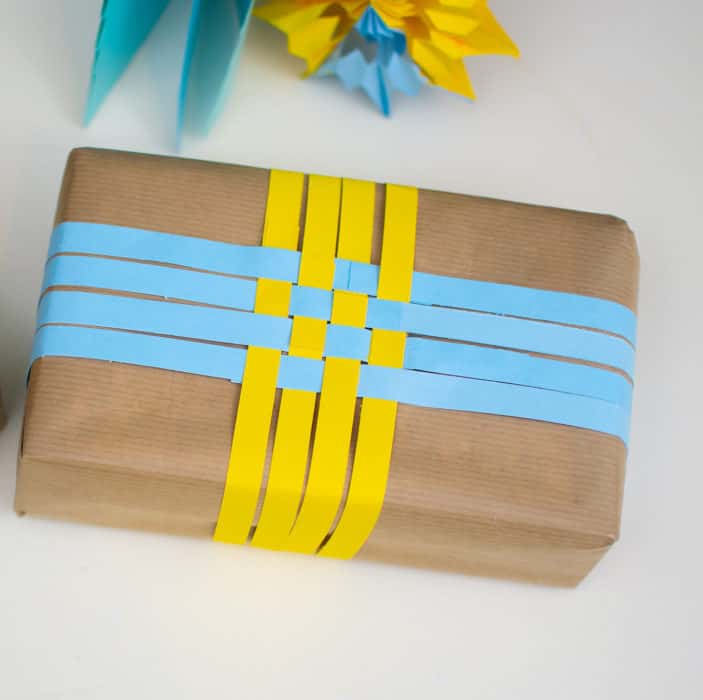
1.Basket Weave
One impressive method gift wrapping with brown paper is to simply place a basket weave pattern on your gift. Very easy once you have your materials ready.
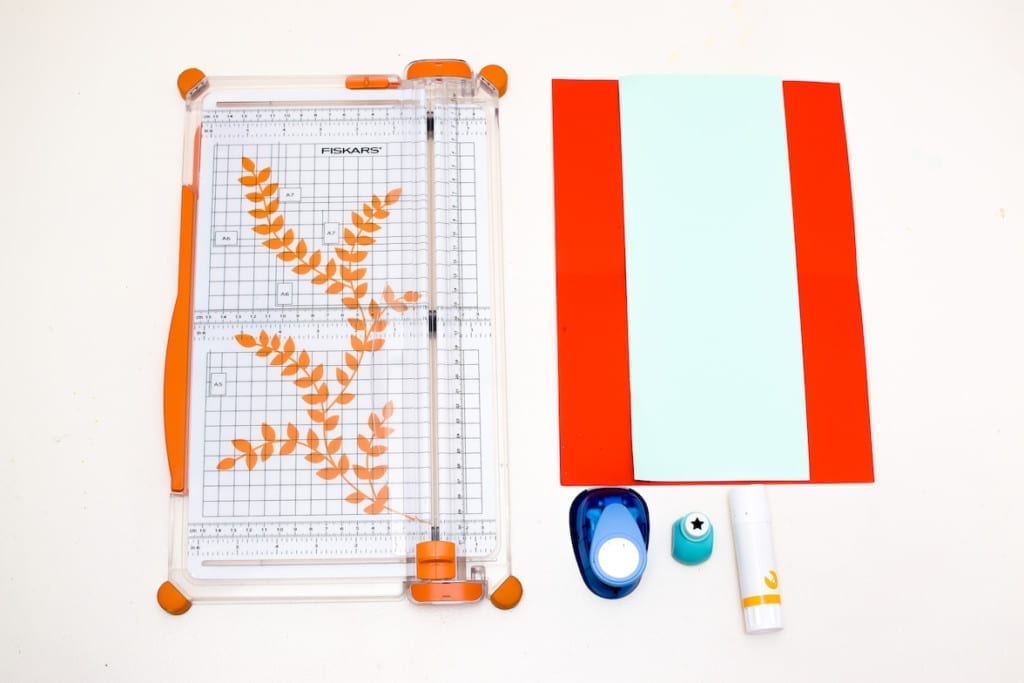
Tools needed
A4 Paper Card (two different colours)
Scissors or Paper Trimmer
Glue
Instructions
Cut strips of paper at a width of 1cm each.
Glue two strips together at the tip to form a longer strip
Repeat the process until you have 4 long strips for each colour
Lay one colour vertically and weave with the contrasting colour.
Move each strip closer together and glue on your already wrapped present. Make sure the weave pattern is entered on the present.
Glue all the strips together, tip to tip.
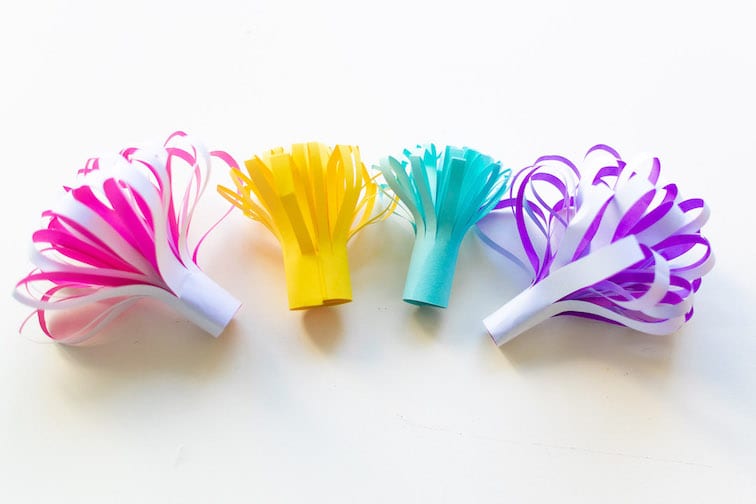
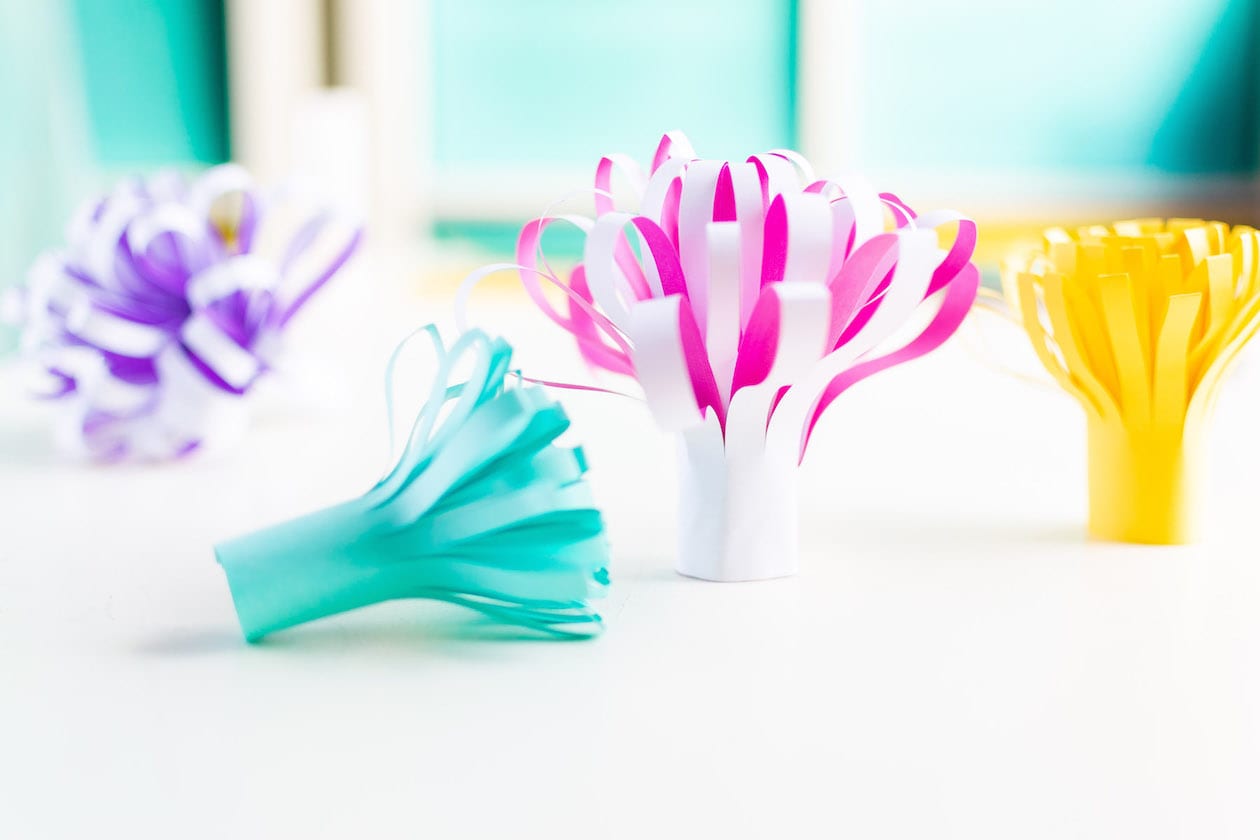
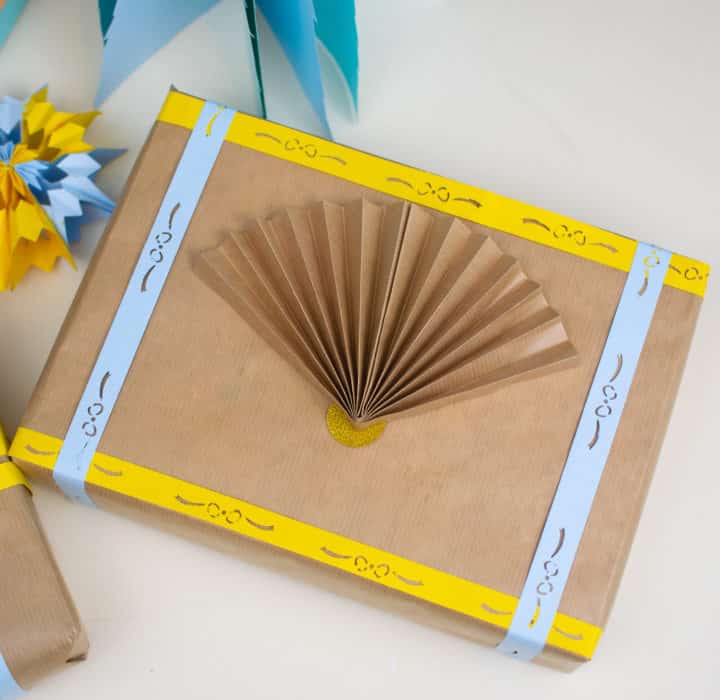
2. Paper Fan
One of many gift wrapping ideas or easy tips is to simply place a centred paper fan on your gift. Gives your gift or present a very elegant look.
Tools needed
A4 Paper Card
Scissors or Paper Trimmer
Glue
Craft hole punch
Instructions
For the Paper fan
You will need a square cut paper of any size. Preferably, paper that is not thick or brown paper
Mark 1cm intervals and draw out lines
Fold on the 1cm marks, inwards and outwards.
Fold in half and glue the insides together.
Glue it on the present making sure it is centred.
For border strips
Cut 4 strips of A4 paper at a width of 1.5cm each.
Glue two strips together at the tip to form a longer strip
If you have a hole punch, punch designs on the strip.
Wrap around the vertical and horizontal edges of the gift (assuming it is a square or rectangular shaped present
Glue all the strips together, tip to tip.
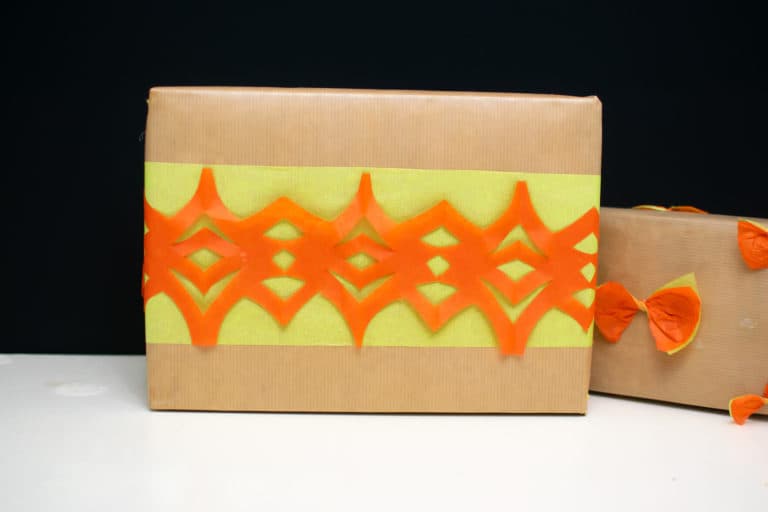
3. Garlands
This is one of many brown paper wrapping ideas that is a classic and is sure to wow. Some contrasting coloured tissue papers and the rest of the tools is found around your home.
Tools and Materials needed
Tissue papper
Scissors
Sticky tape
Print out of the garland design (actual size)
Instruction
Print out the design of the garland. It should be the same as the length of the cut tissue paper
Measure out how long and wide you want the garland on the gift. (on the top or wrap around)
Cut your tissue paper into the width and length. (In gift pictured, it was 10cm by 55cm)
Repeat for a different coloured tissue paper
Fold the tissue paper to used for the garland into half, quarter, one-eight and so on until it is relatively the size of the printed garland.
Lightly glue the printed design on the folded tissue paper and cut out the design.
Glue the plain cut tissue paper on the gift, then open up the cut strip and glue directly on the tissue paper creating a contrasting garland effect.
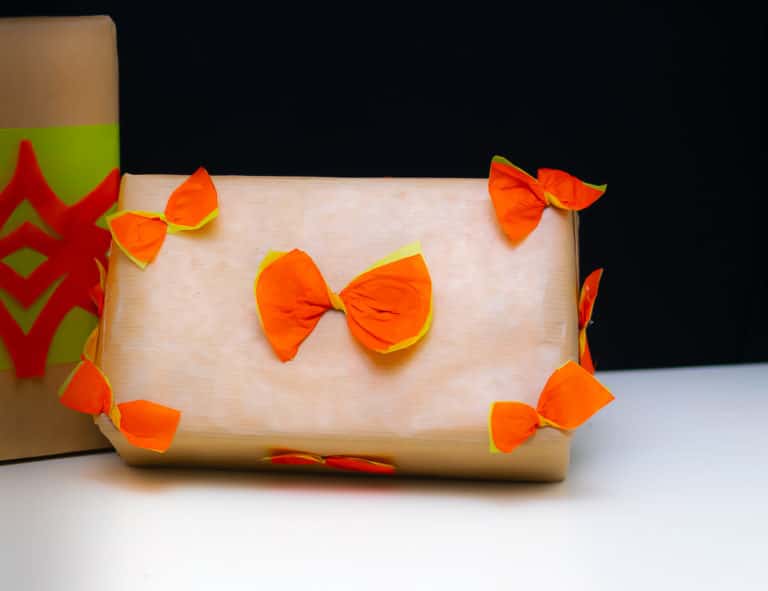
4. Butterfly Effect
Tools and Materials needed
Tissue paper or recyclable wrapping paper
Scissors
Glue
Instruction
Simply cut out small rectangular strips
Twist to make a butterfly and glue all over the gift
You can make it as sparse or as dense you like
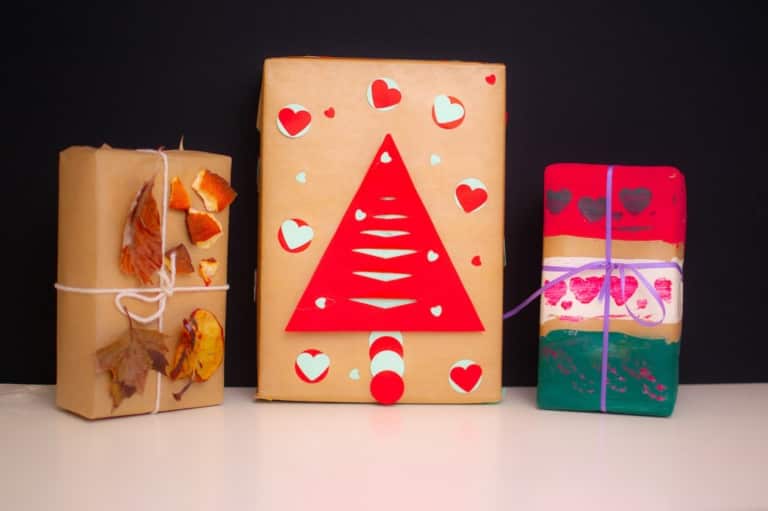
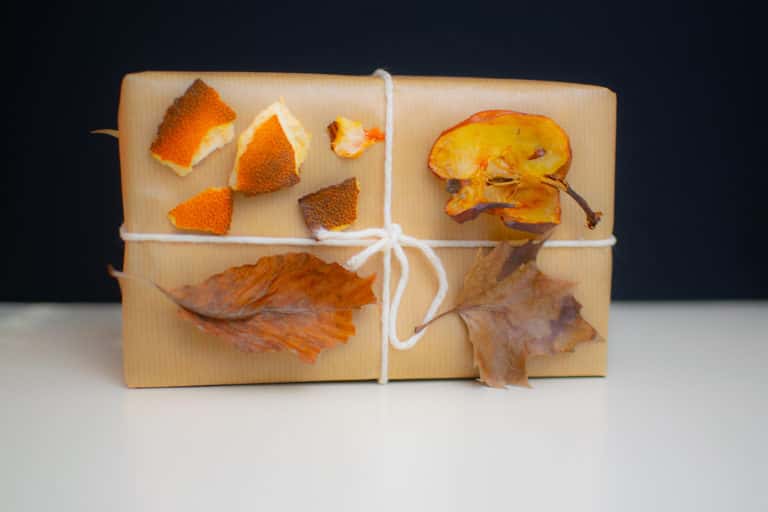
5. Fruit and Foliage Effect
You can go for the natural look. Use dried fruit slices, dried leafs, dried orange peel or slices.
Tools
Glue gun
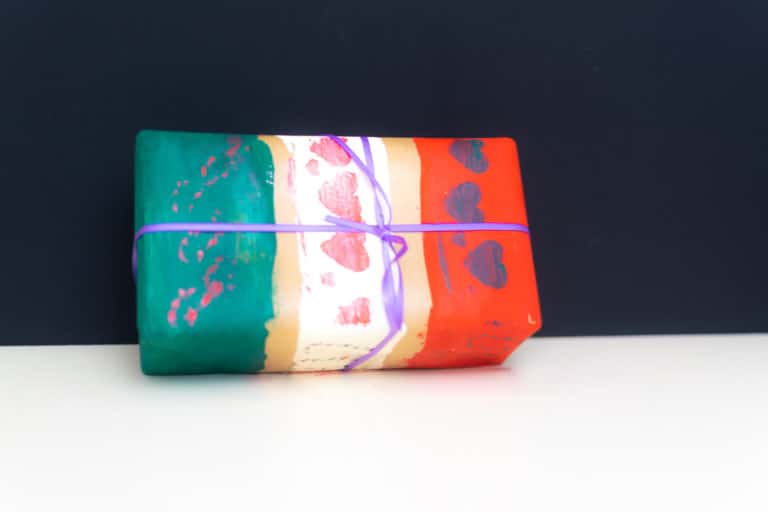
6. Painted Parcels
As brown paper wrapping ideas go, this one is messy and fun. Find a paint brush or preferably roller and get creative.
Tools & Materials
Acrylic paint
Paint roller or brush
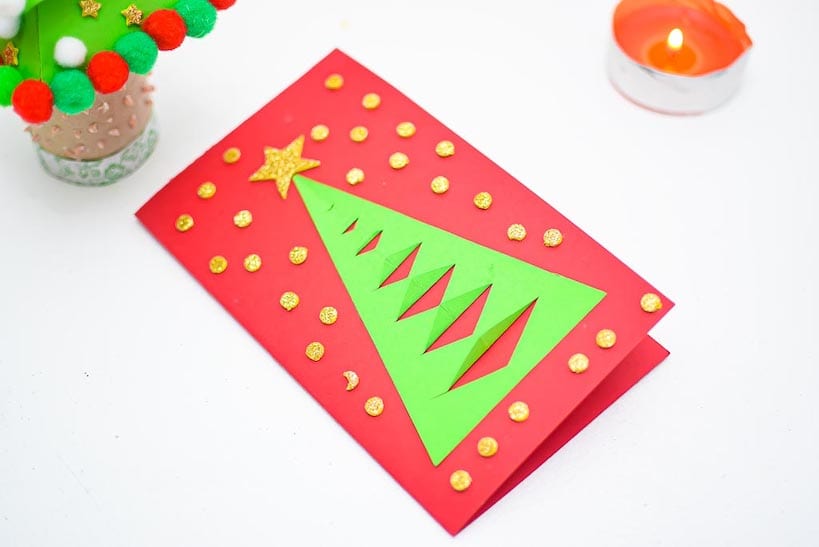
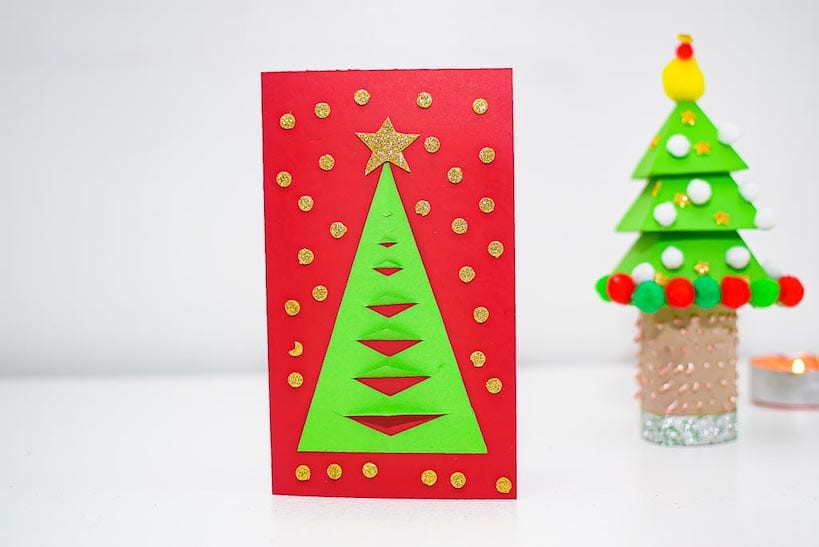
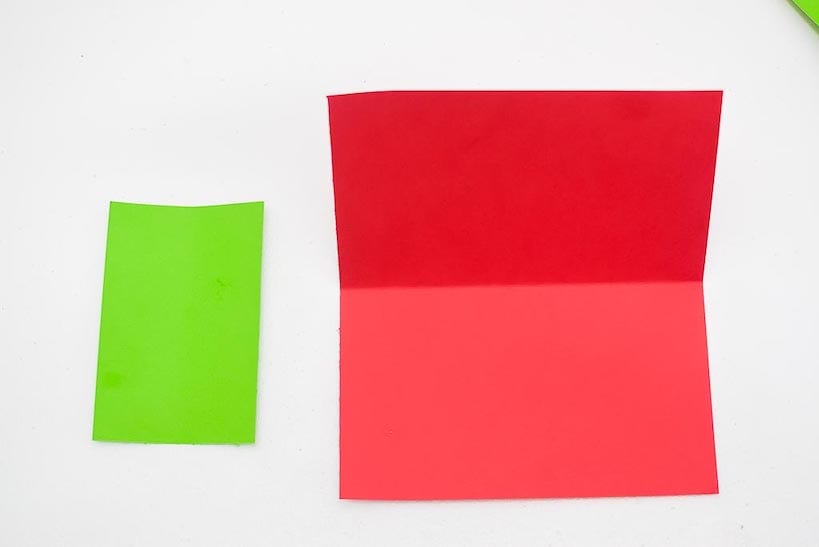
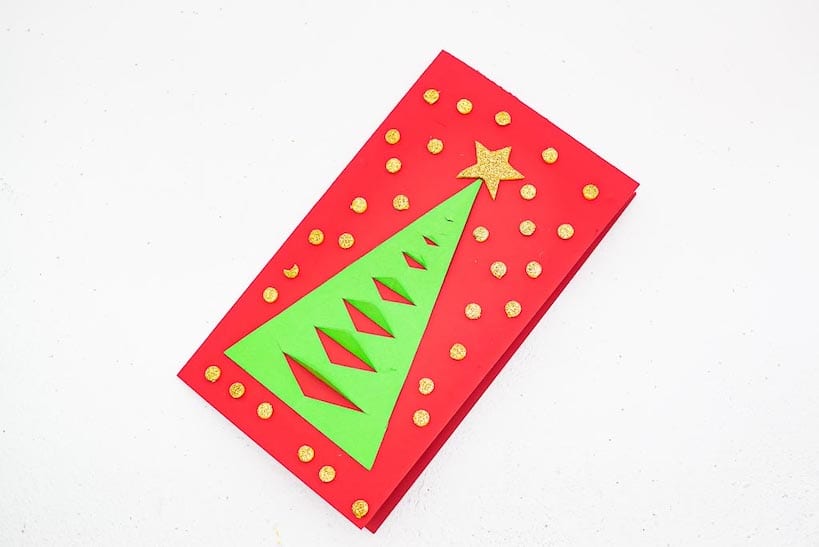
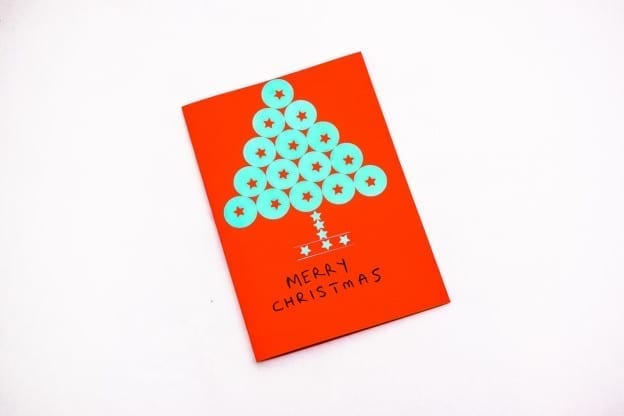
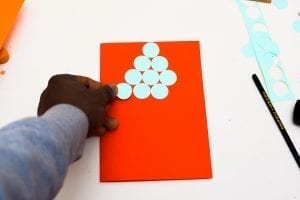
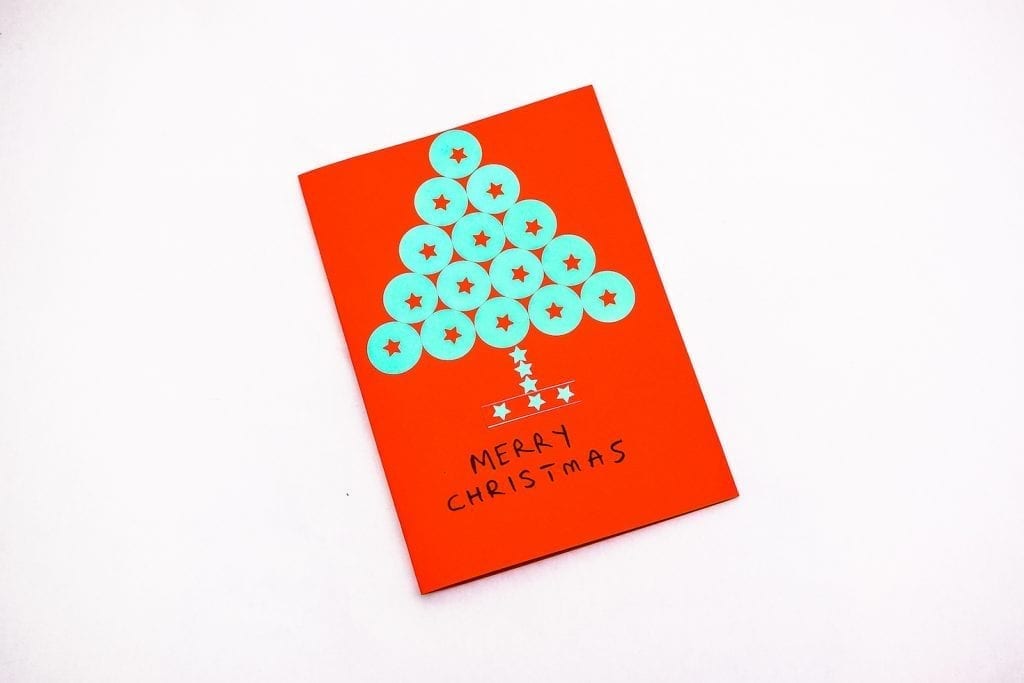
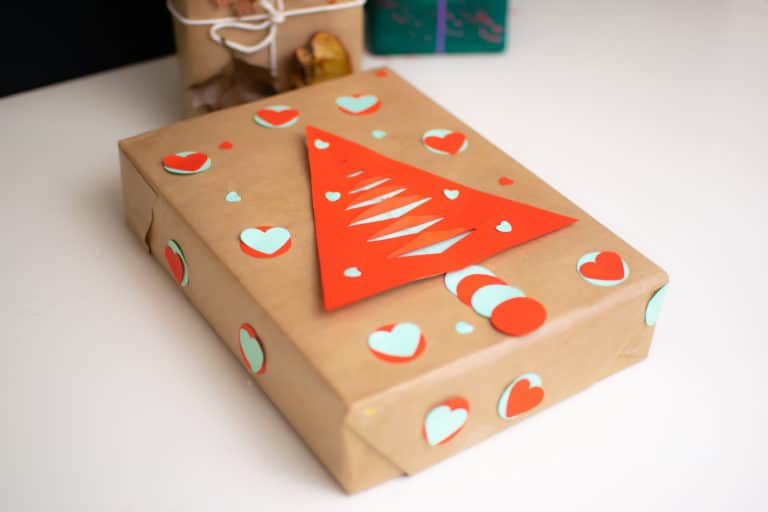
7. Paper Crafting
This is paper craft central. A simple parallel cut is the centre-piece. You can then add your own ideas for extra decoration.
Tools & Materials
Piece of red paper 11cm by 15cm
Piece of green paper 10cm by 14cm
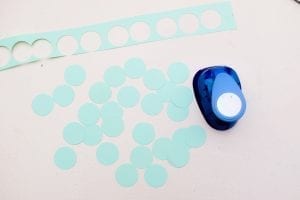
Hole punches of any shapes
Glue gun
Pencil
Ruler
Instructions
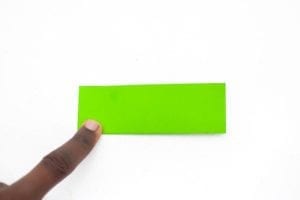
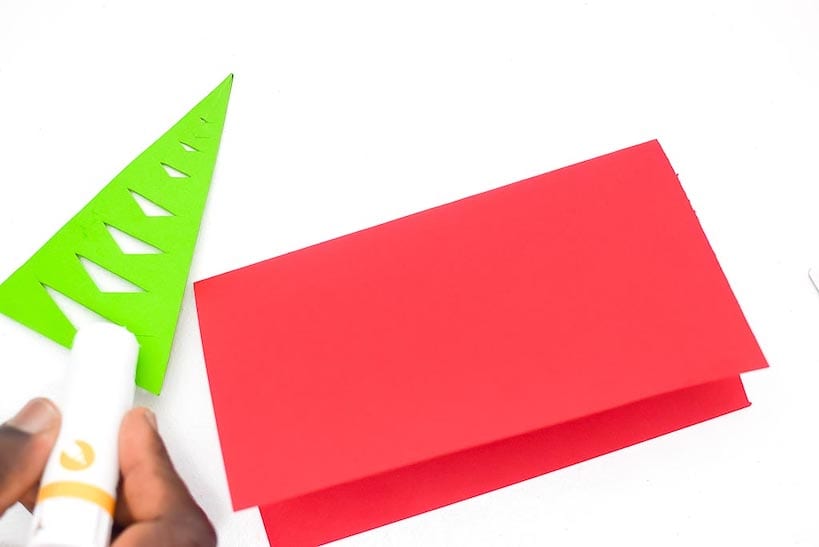
Fold the red paper in half
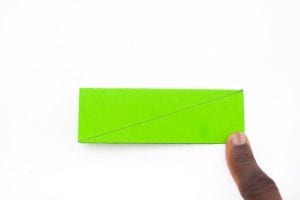
Draw a line from corner to corner
Cut neatly on the drawn line
Make parallel angular cuts from the folded to edge 1/2cm away from the raw edges.
Unfolded the paper.
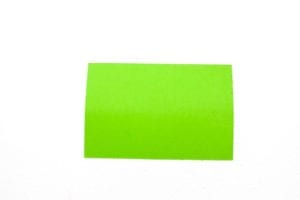
Take the green paper and repeat steps 1-3
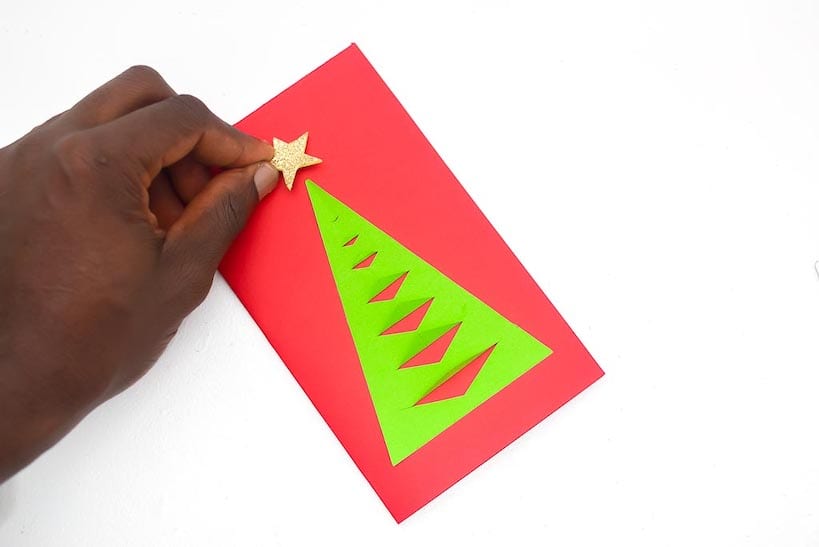
Take the green triangle and glue at the centre of the box
Glue the red triangle on the green.
Punch out shapes of various sizes and glue all over your gift
We hope you are inspired to try out some of these brown paper wrapping ideas when next you are giving a present.
So instead of the usual fancy wrapping paper, you now know how to impress by gift wrapping with brown paper.
In the mean time, here some diy craft ideas you might like