Elephant Headband Craft
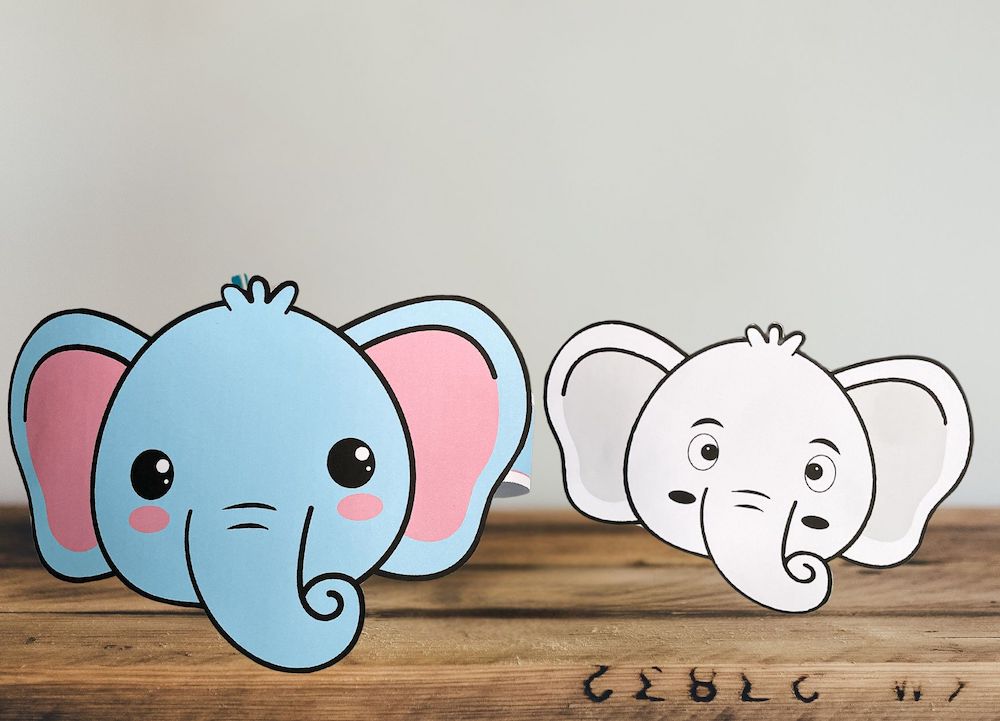
Elephant headband template – Headband craft This elephant headband template is free so making an elephant headband project is a great choice for a creative and entertaining kid’s activity! Kids will like wearing this adorable elephant headgear that you can easily put together using a free elephant headband design. This is one of the most … Read more