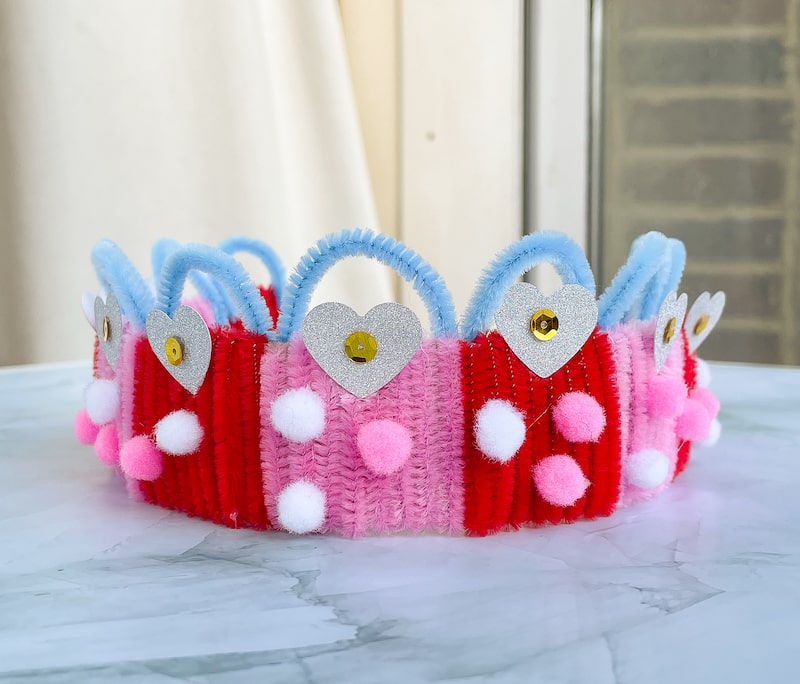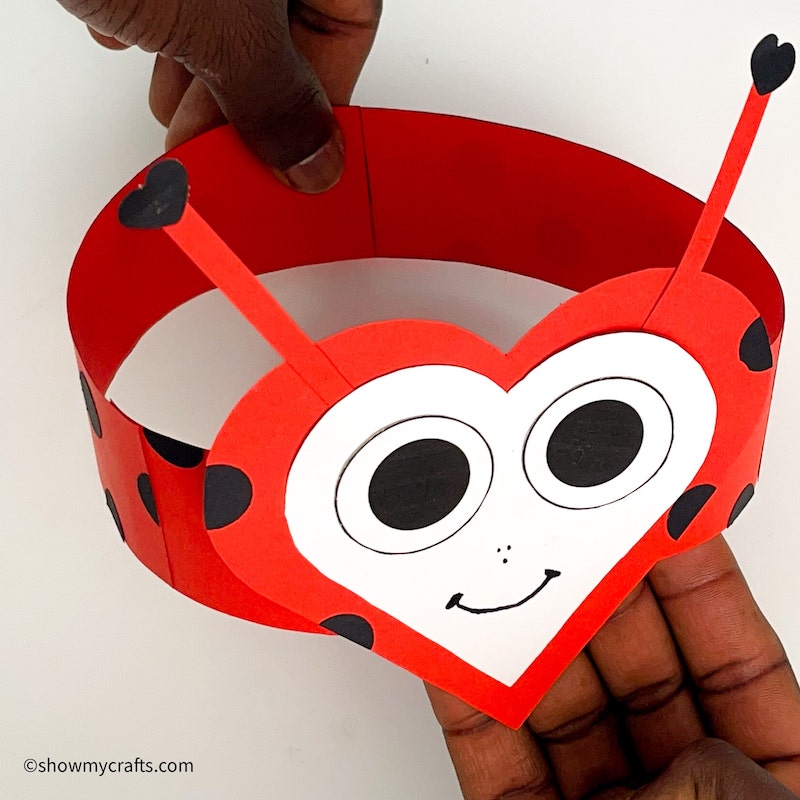

Looking for an easy, adorable craft for your kids? A bee headband craft is the perfect choice!
This fun project encourages creativity, develops fine motor skills, and provides an excellent way to engage children in themed activities.

Whether you’re planning a classroom activity, a party craft, or a family crafting session, this bee headband will be a hit.
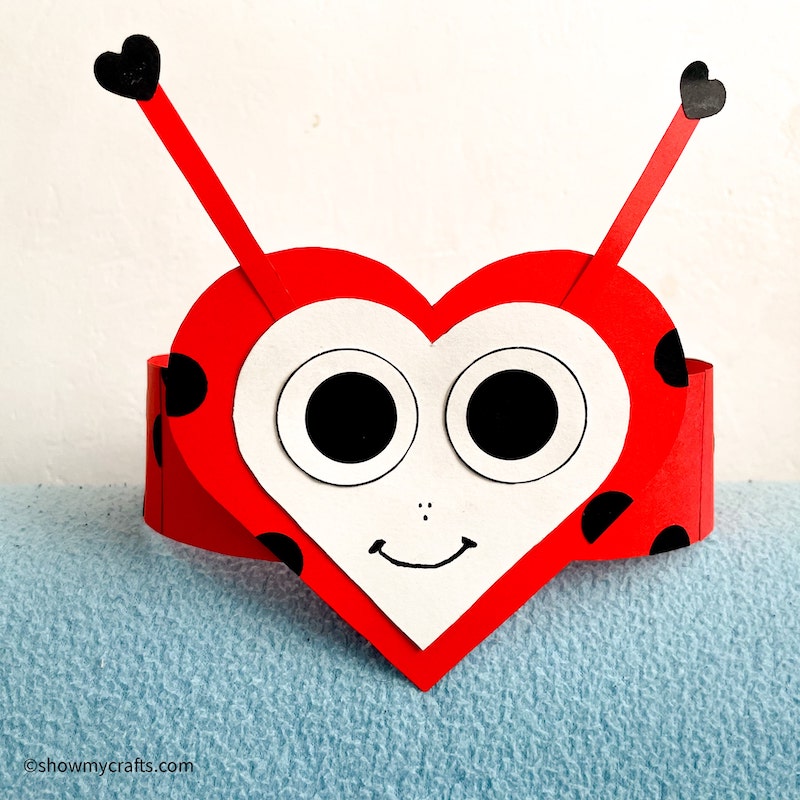
We will be making a bee headband using a bee headband craft template which is customised even further as valentines day crafts for kids.
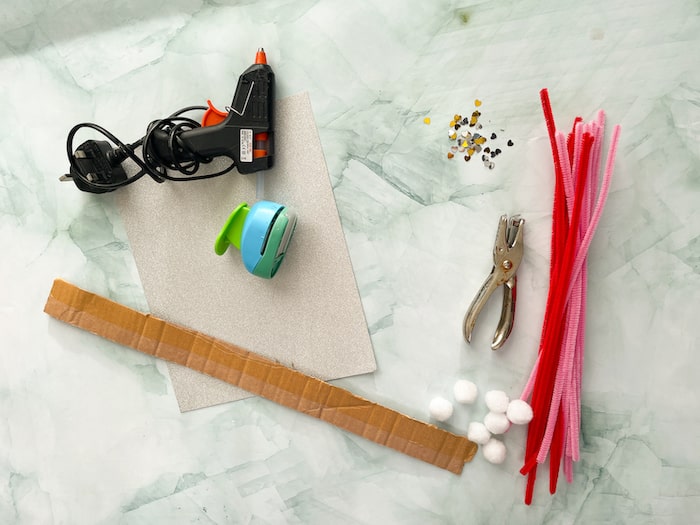
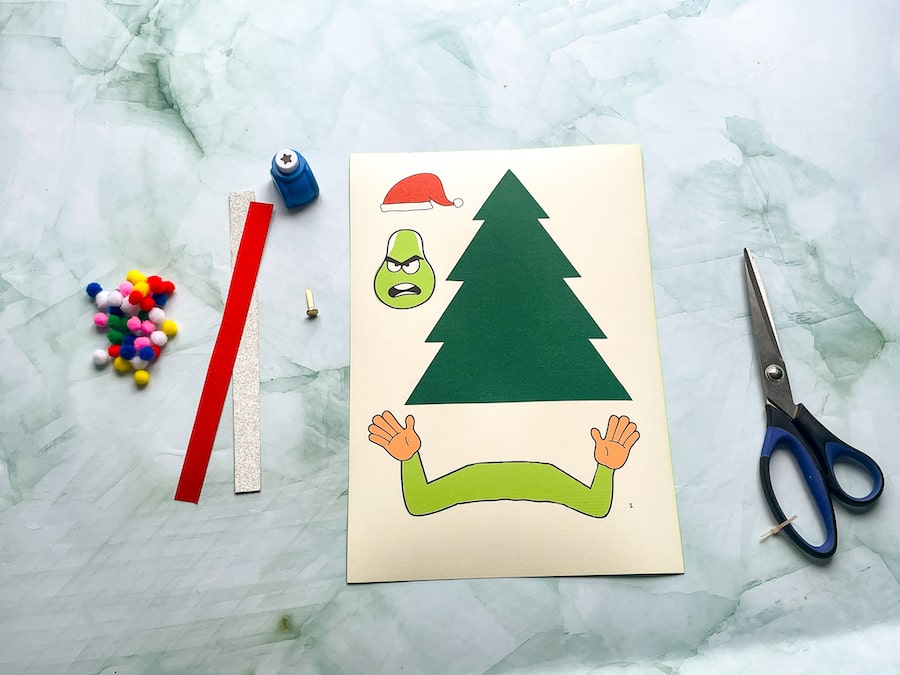
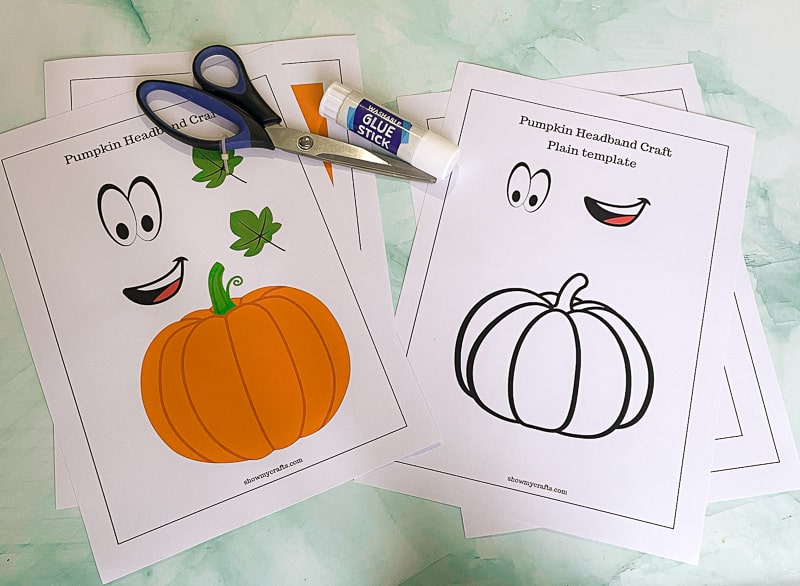
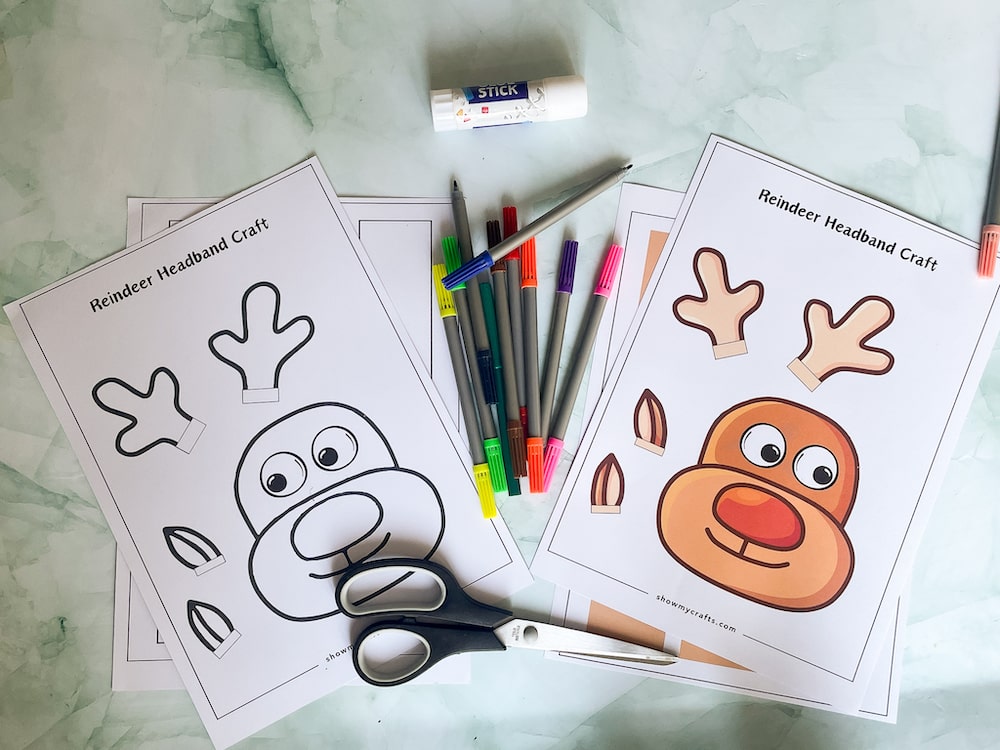
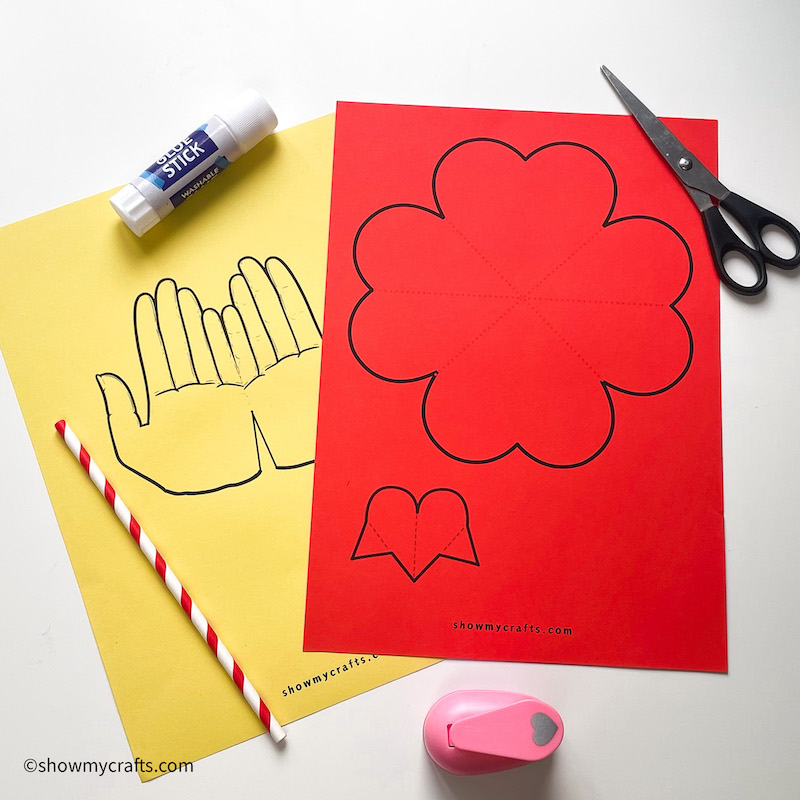
Materials Needed for Bee Headband Craft

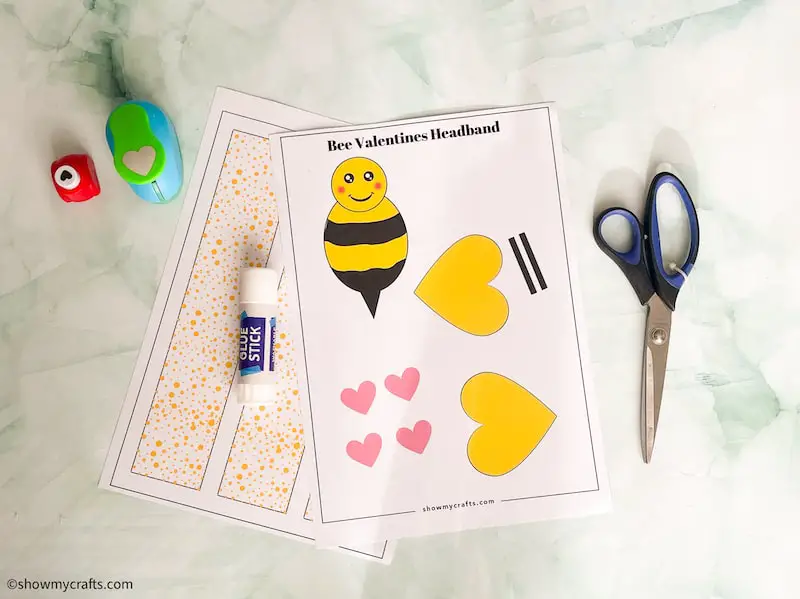
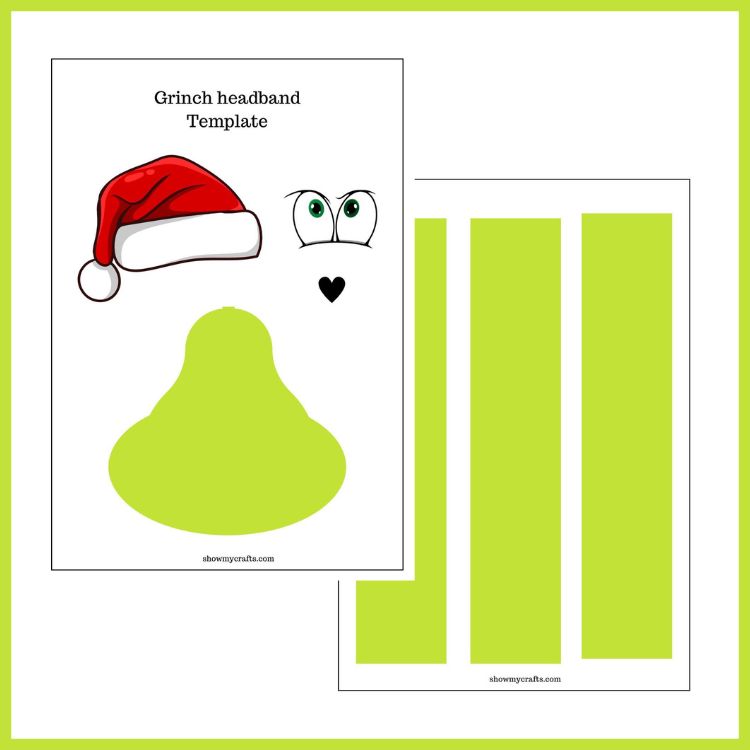
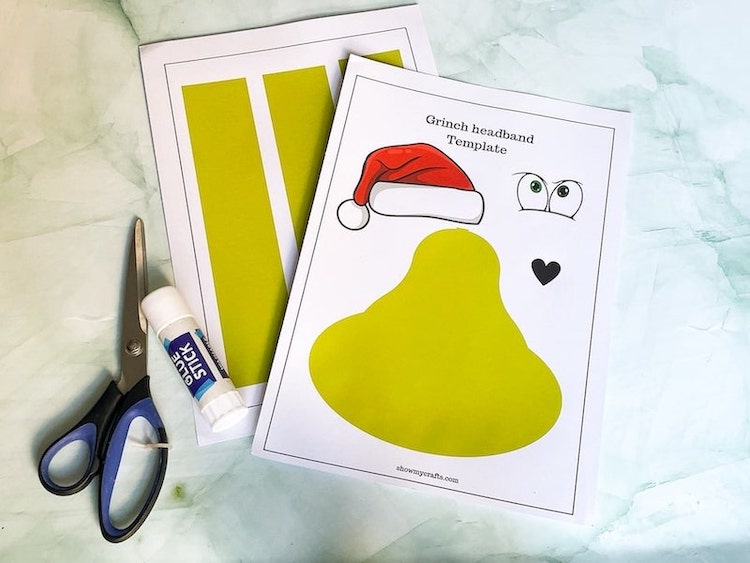
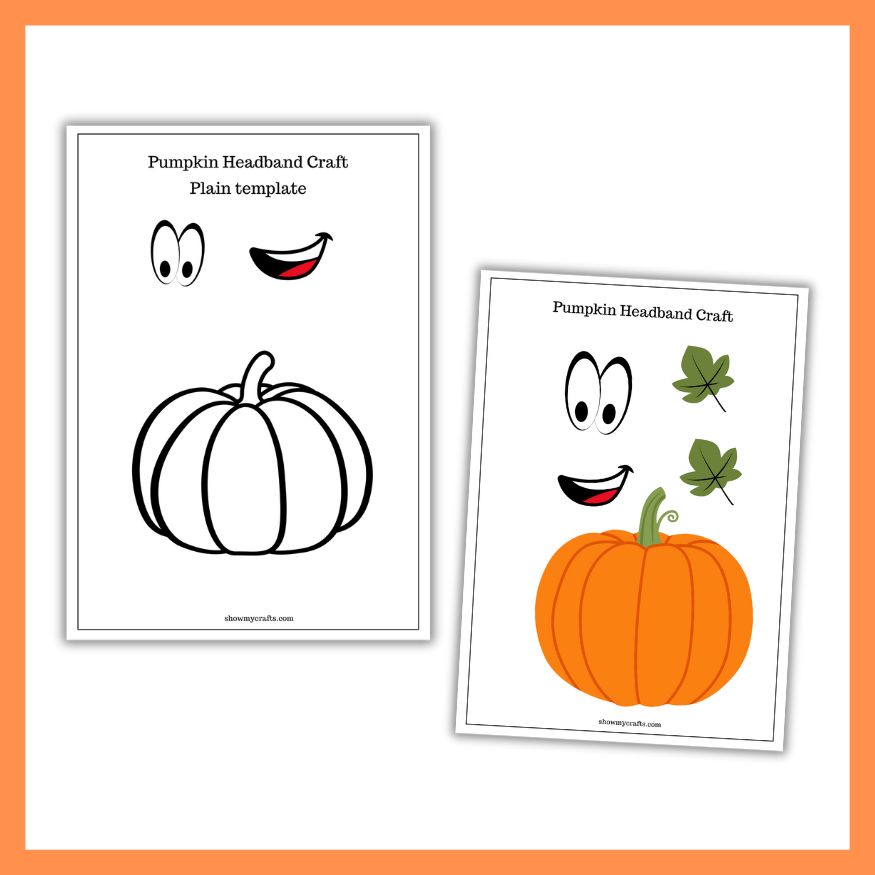
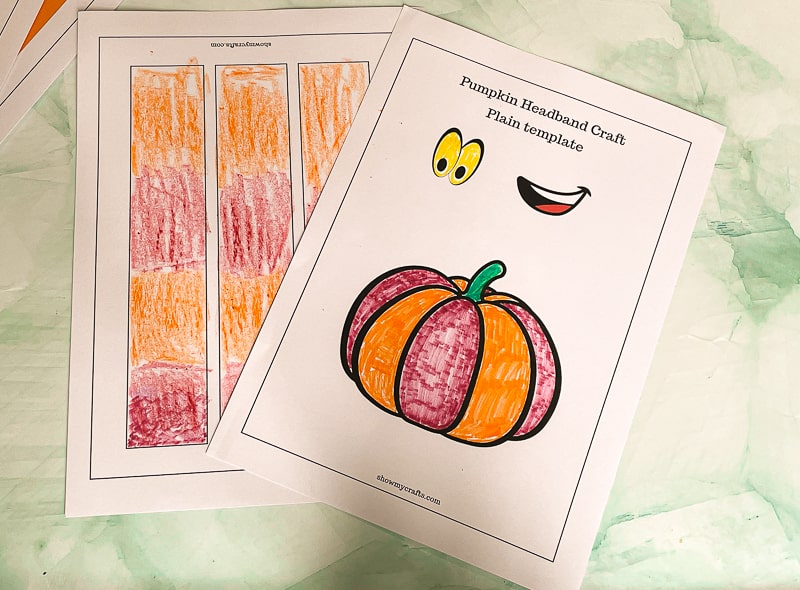
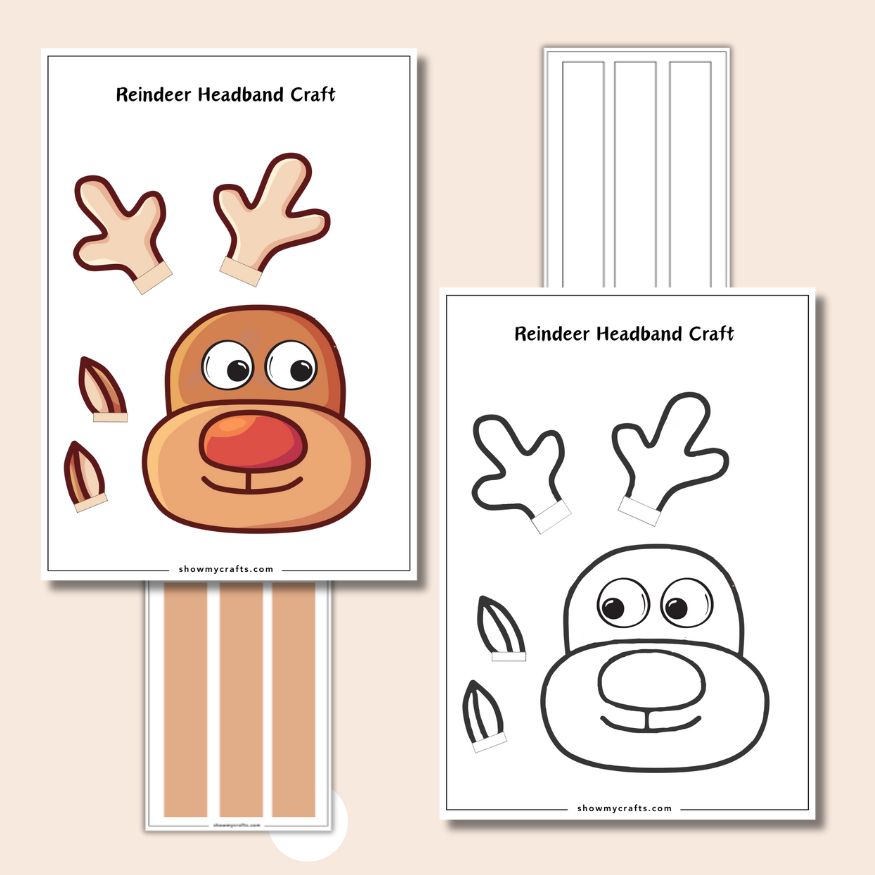
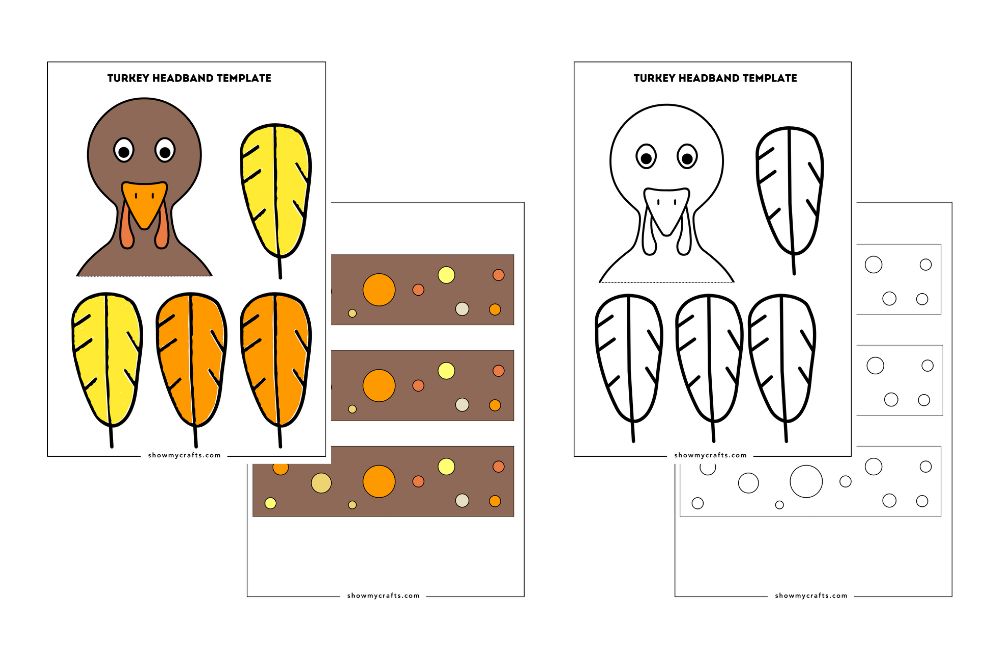
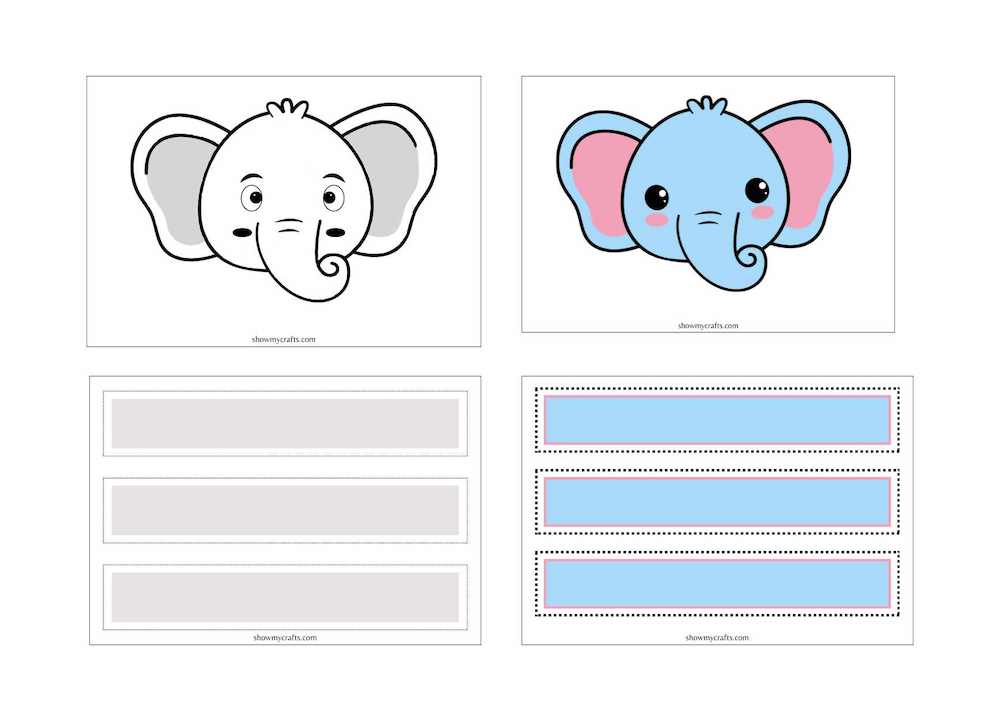
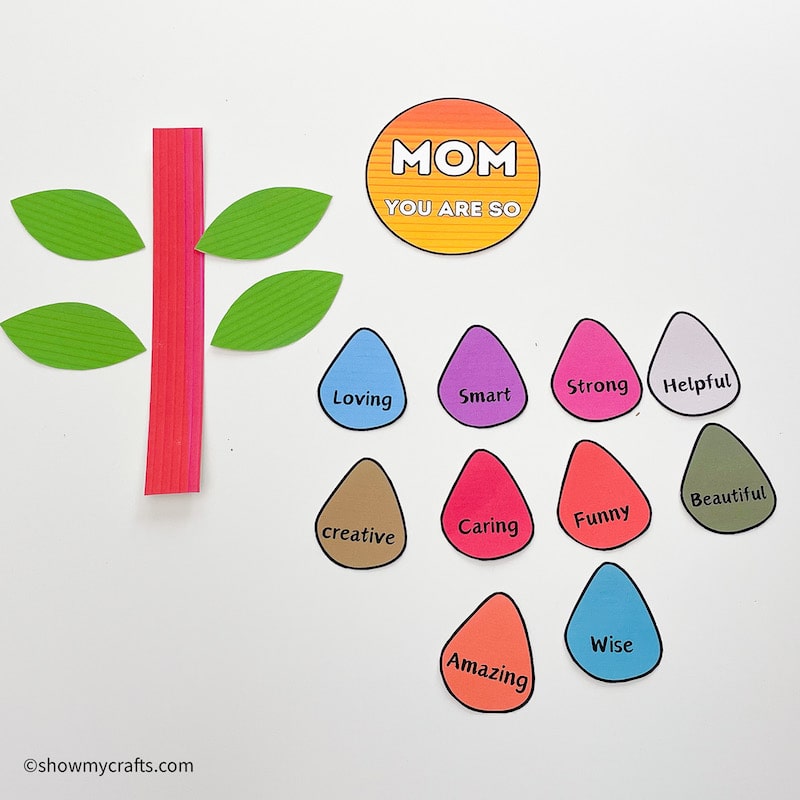
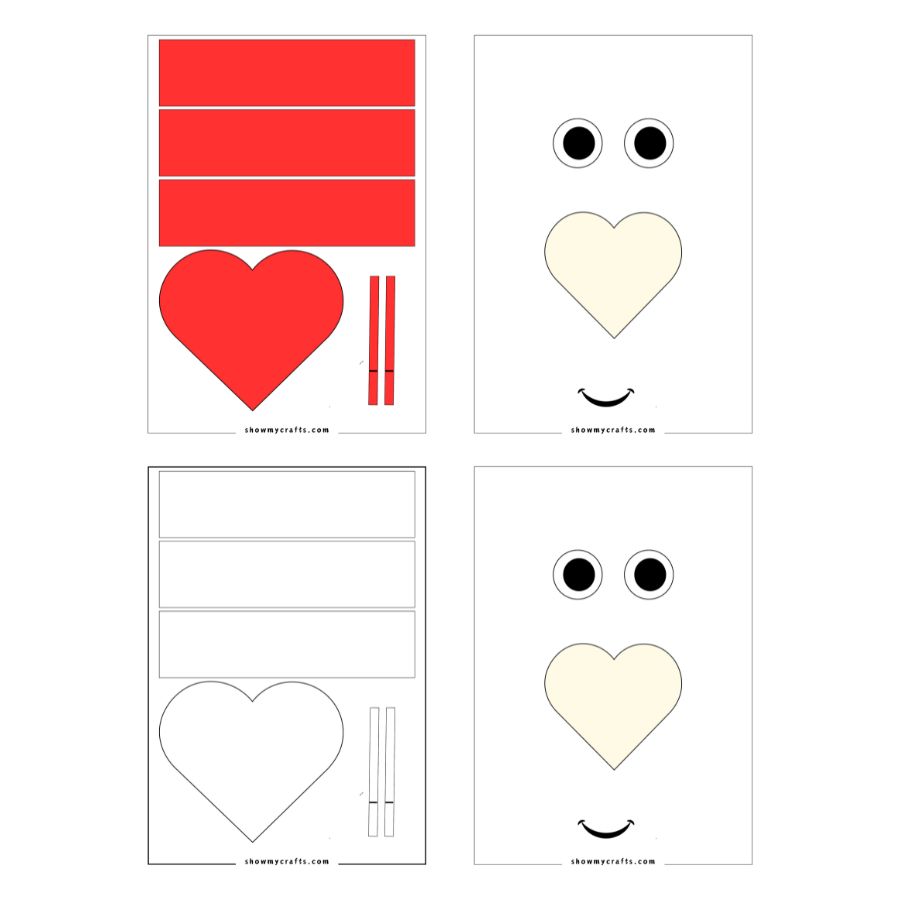
Bee headband craft template
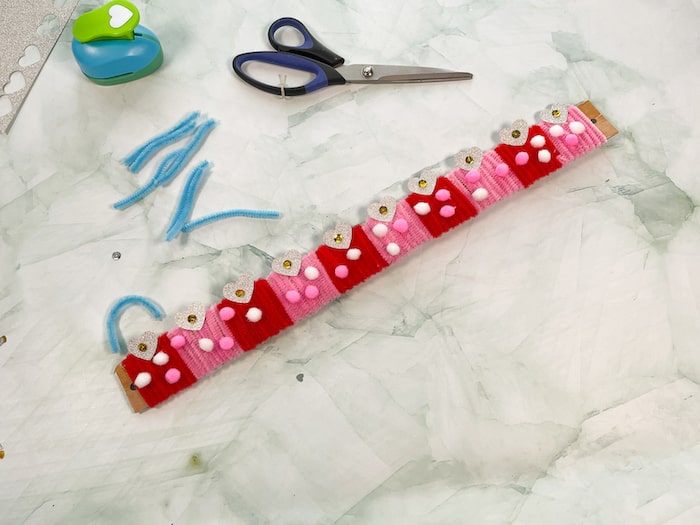
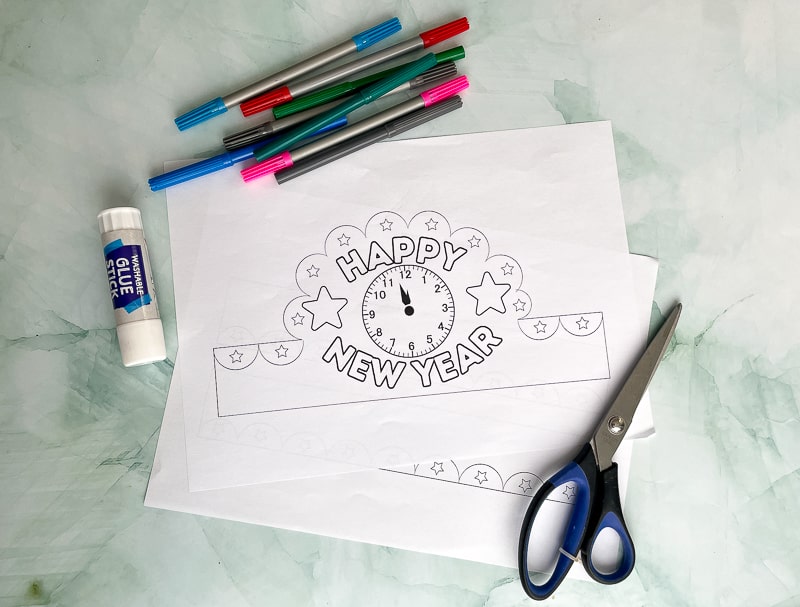
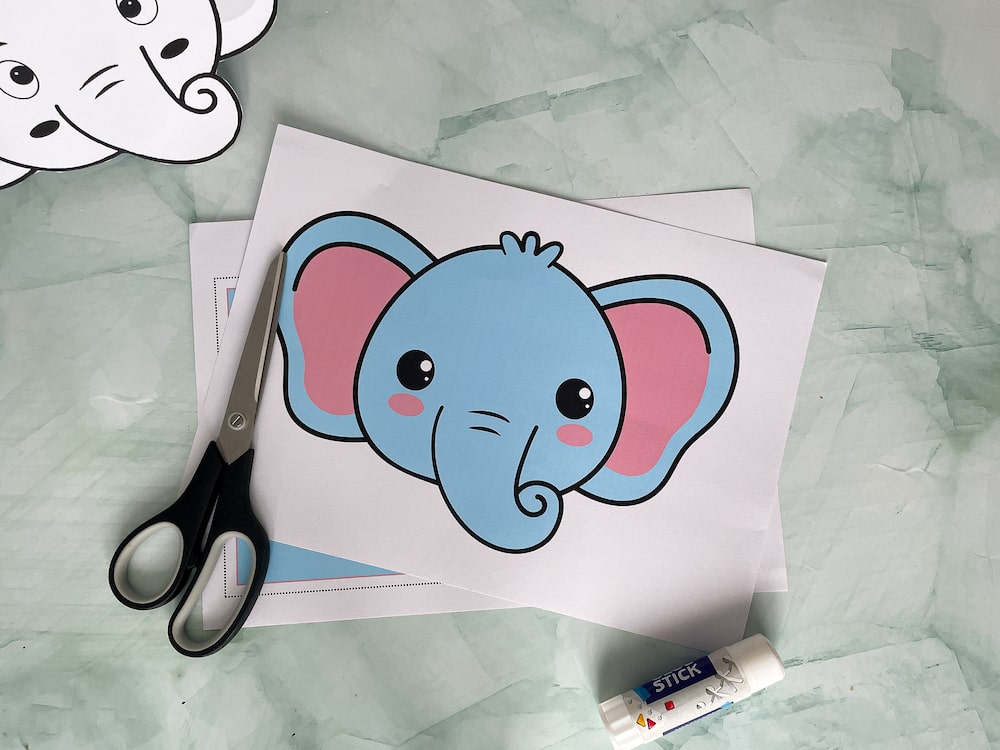
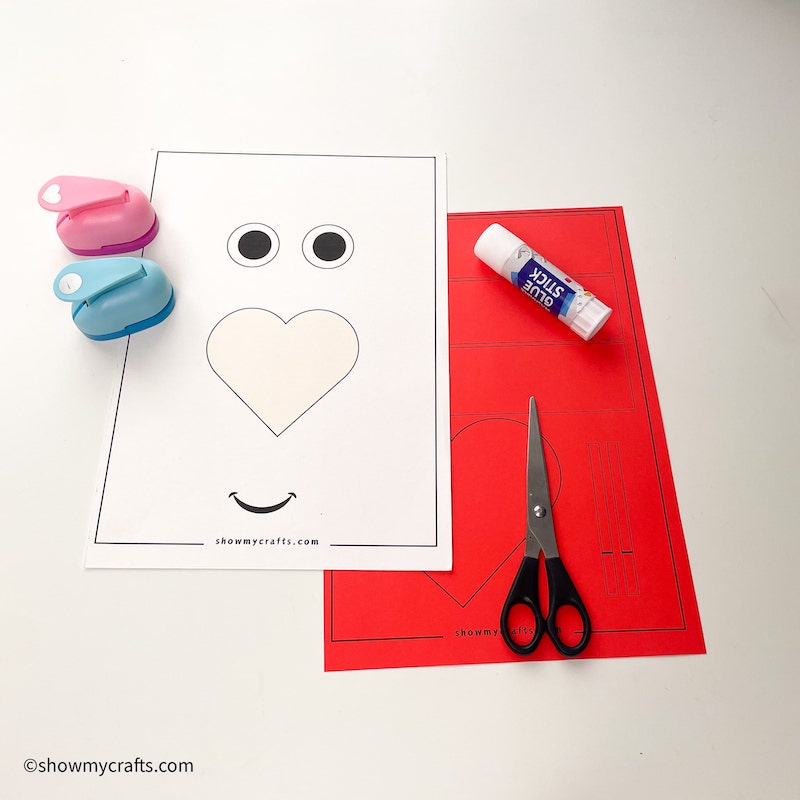
Scissors (kid-safe options for younger children)
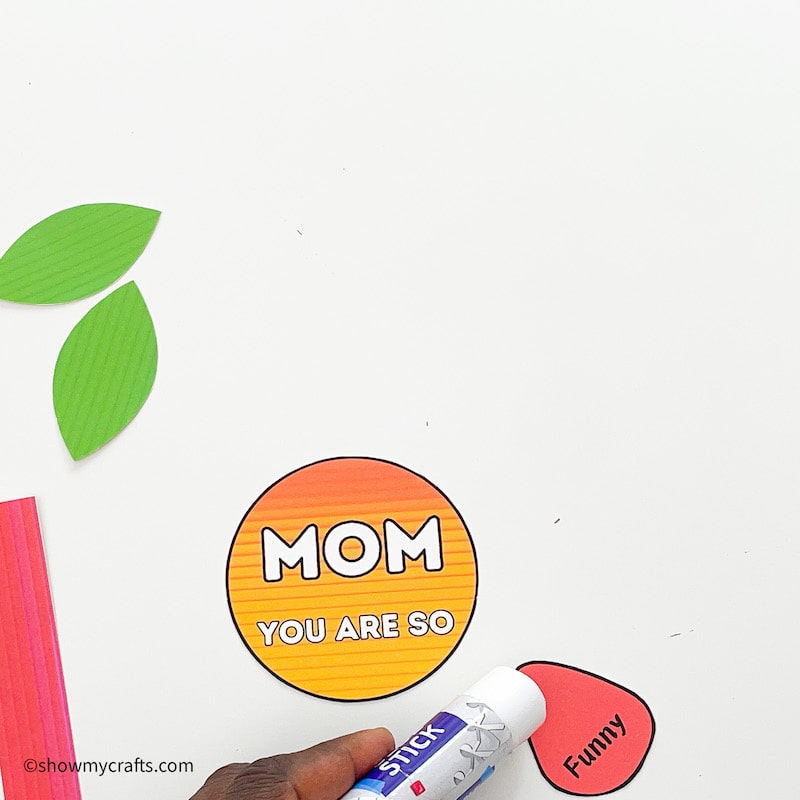
Glue stick or tape
White cardstock paper
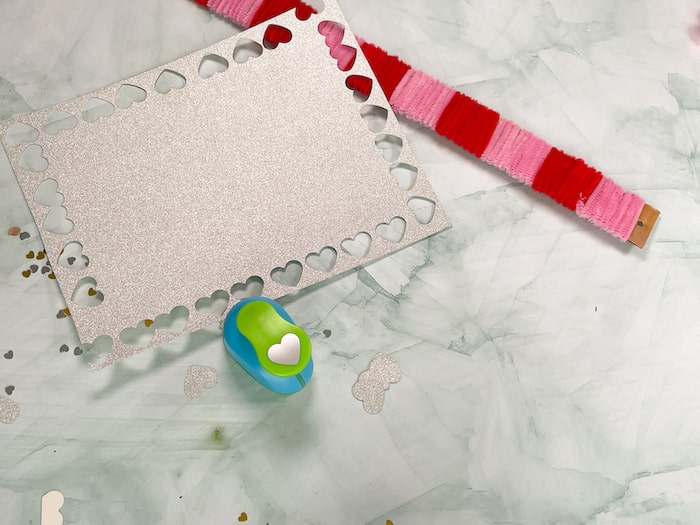
Heart shape punch
How to Make a Bee Headband Craft.
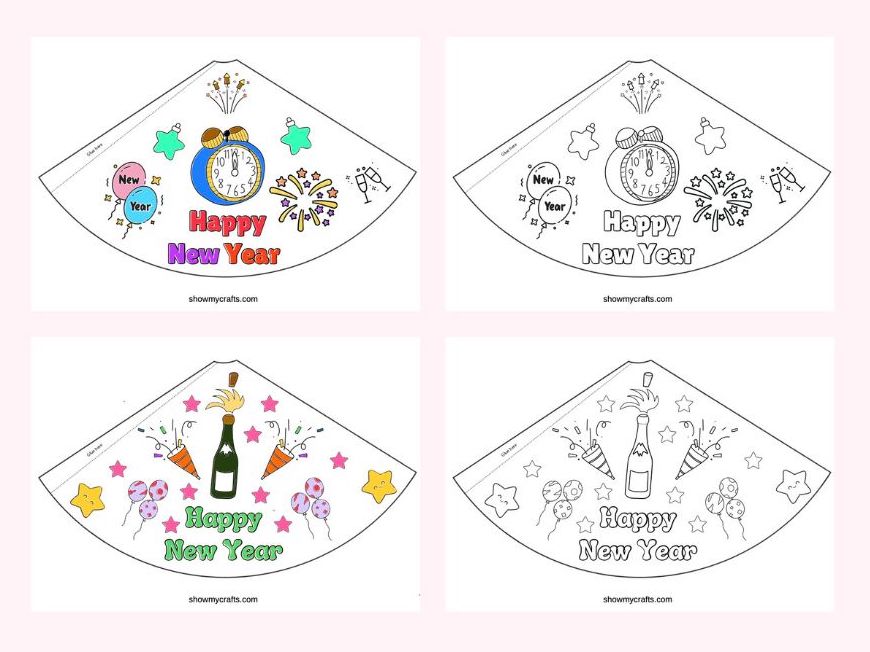
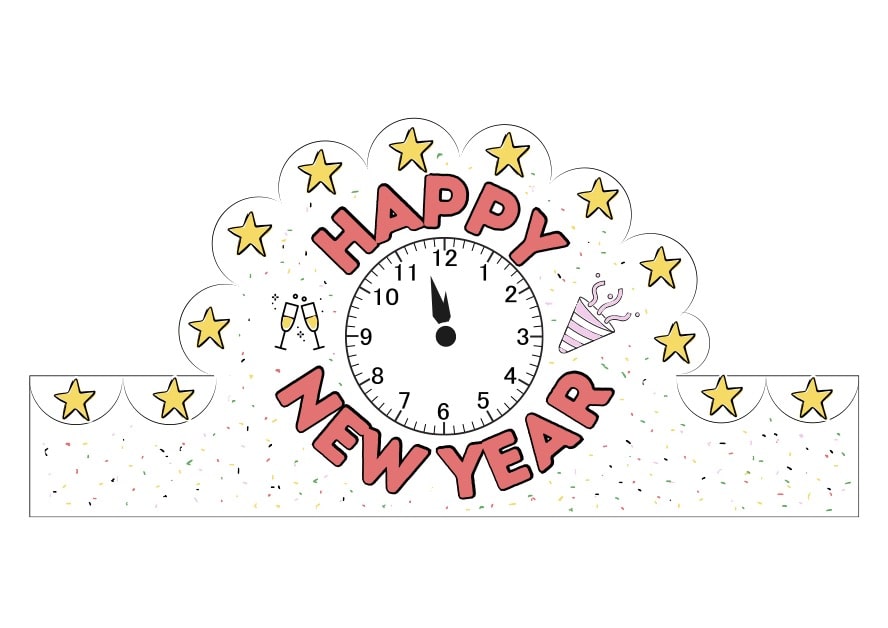
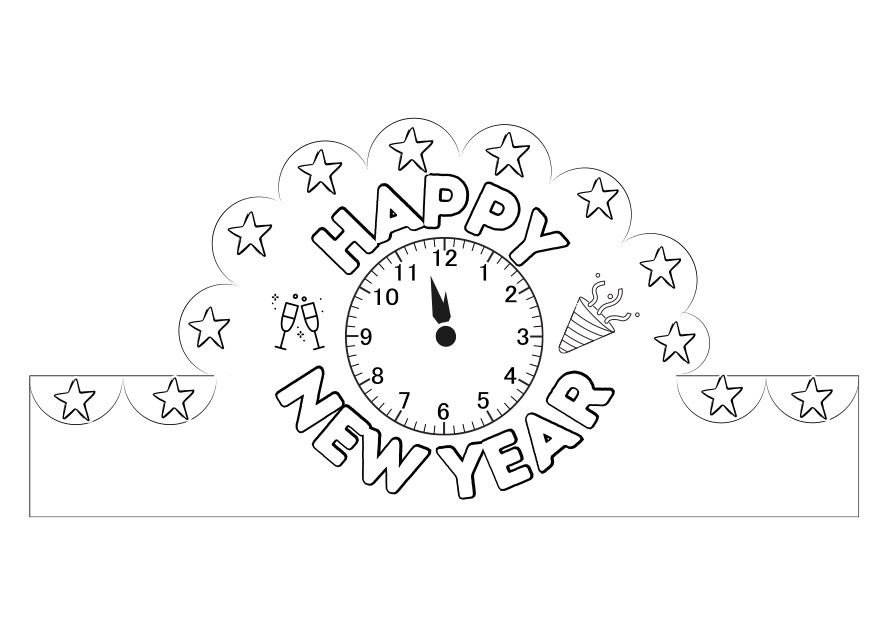
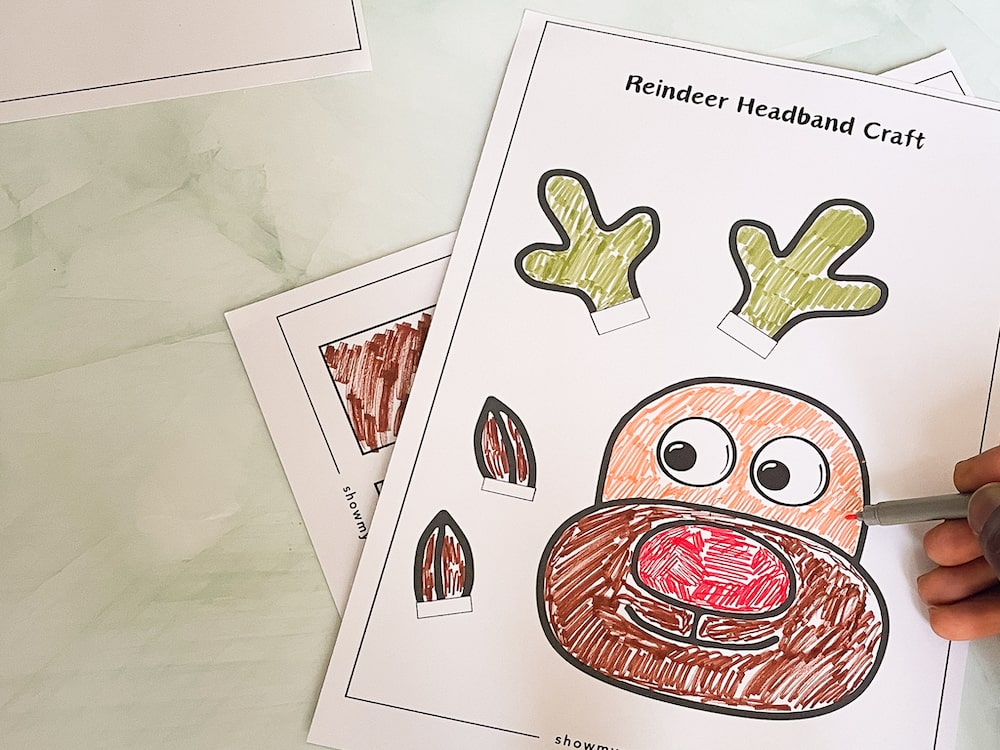
Download and Print the Template: Use this pre-designed bee headband template. These template makes it easy to create uniform and cute designs.
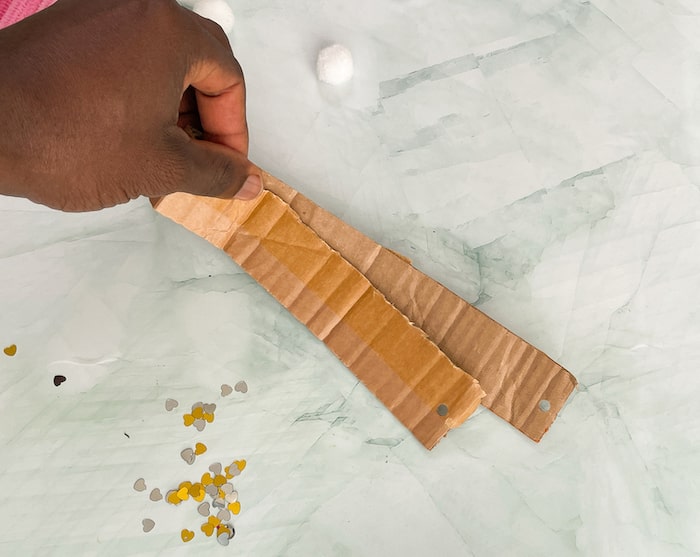
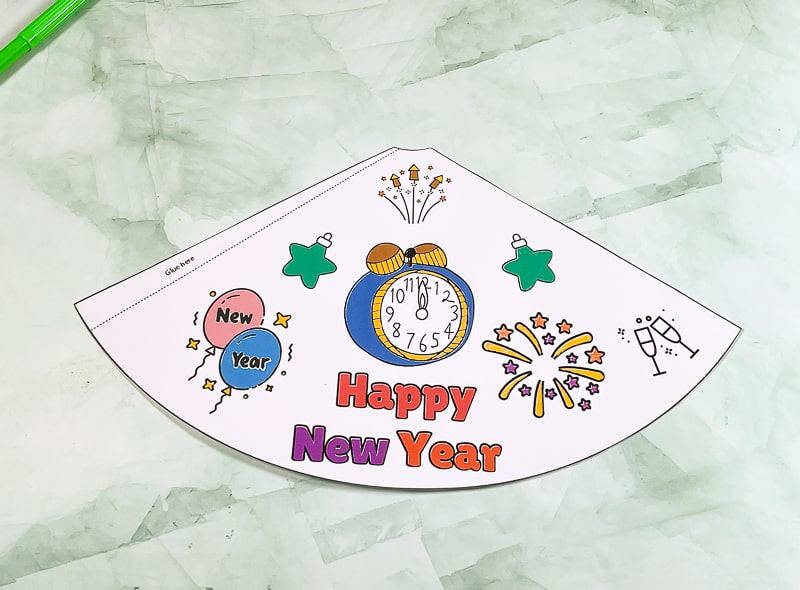
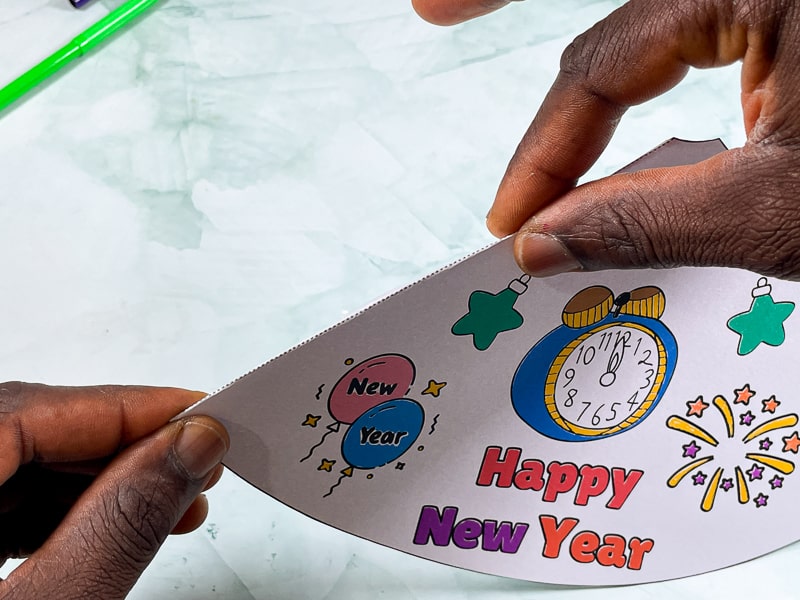
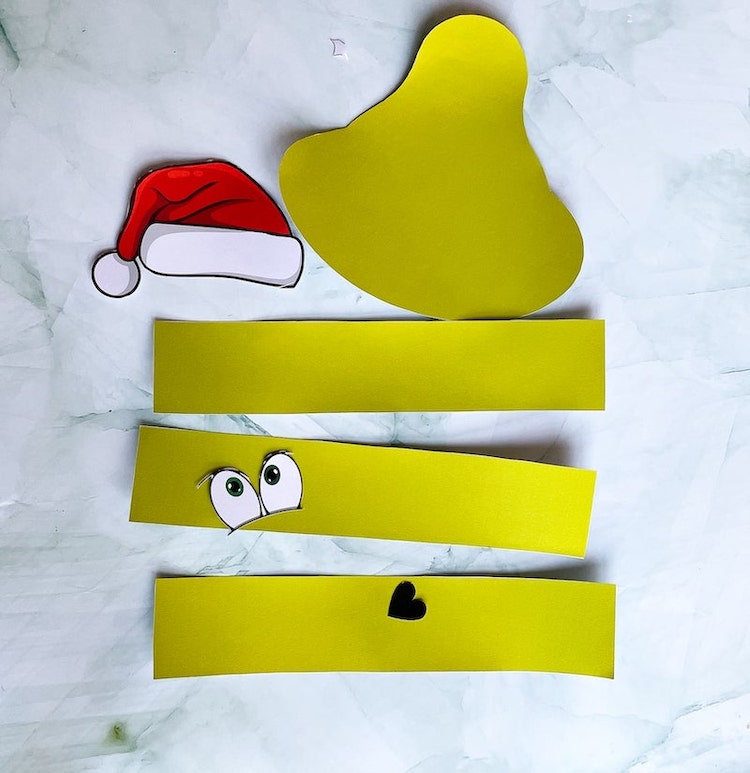
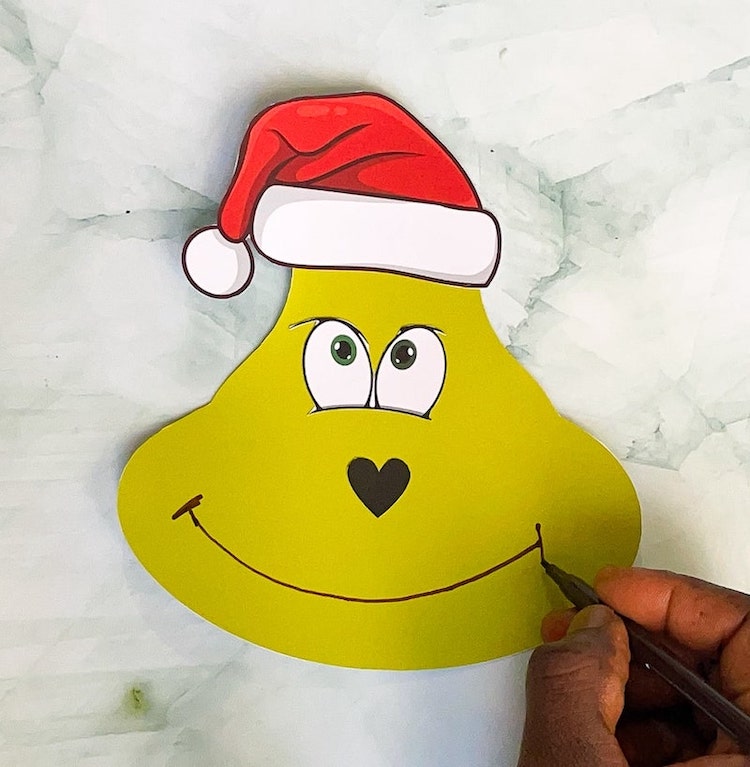
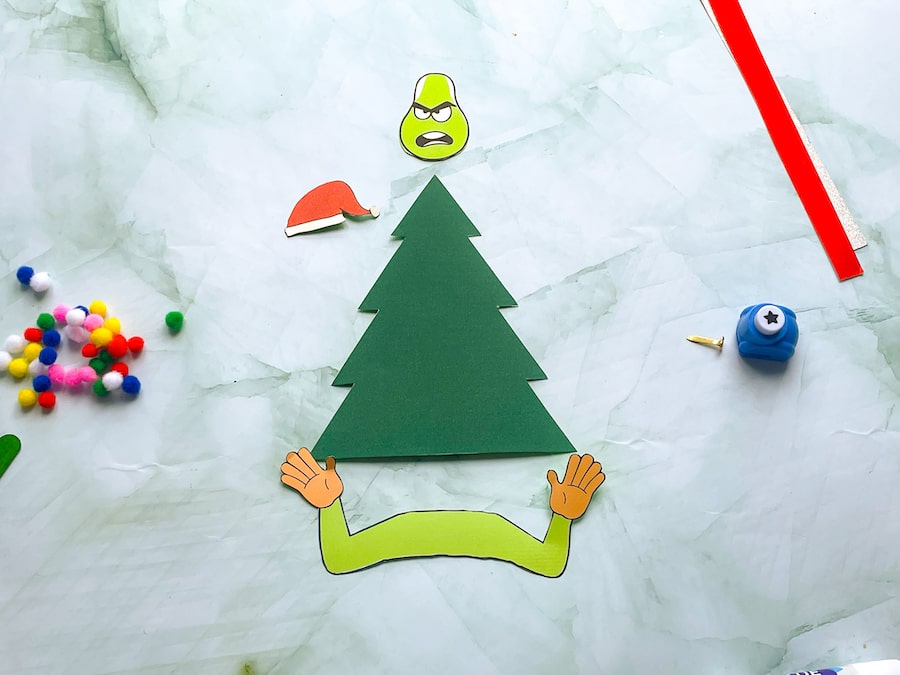
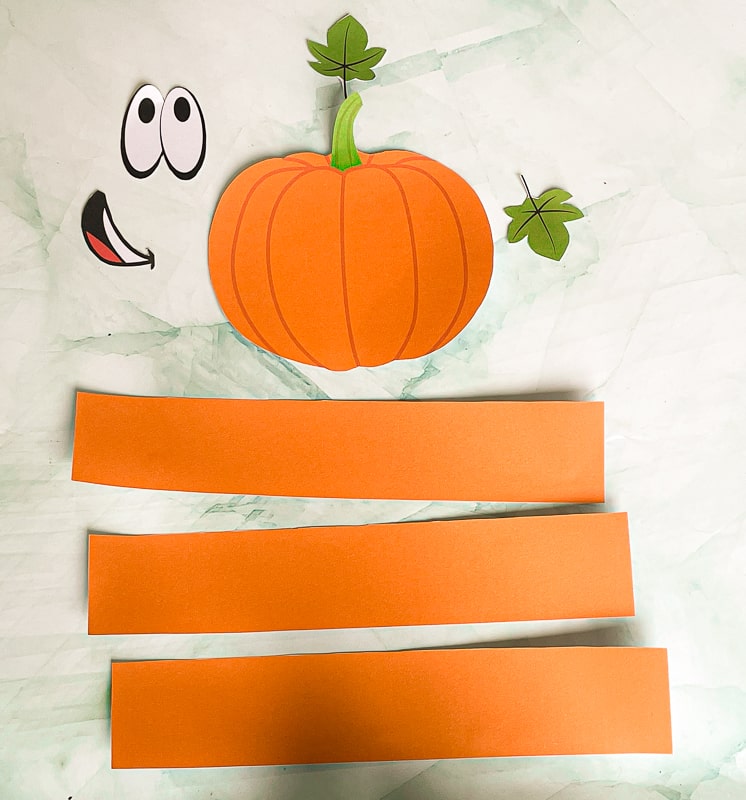
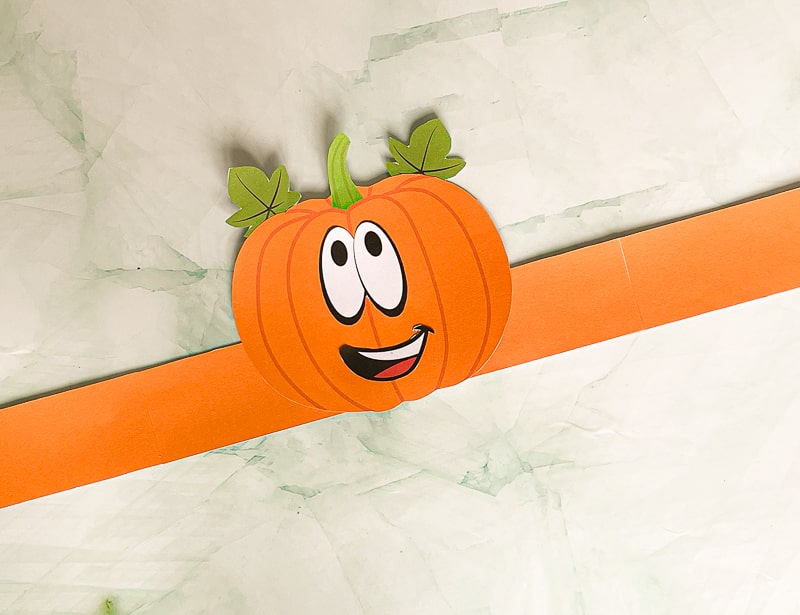
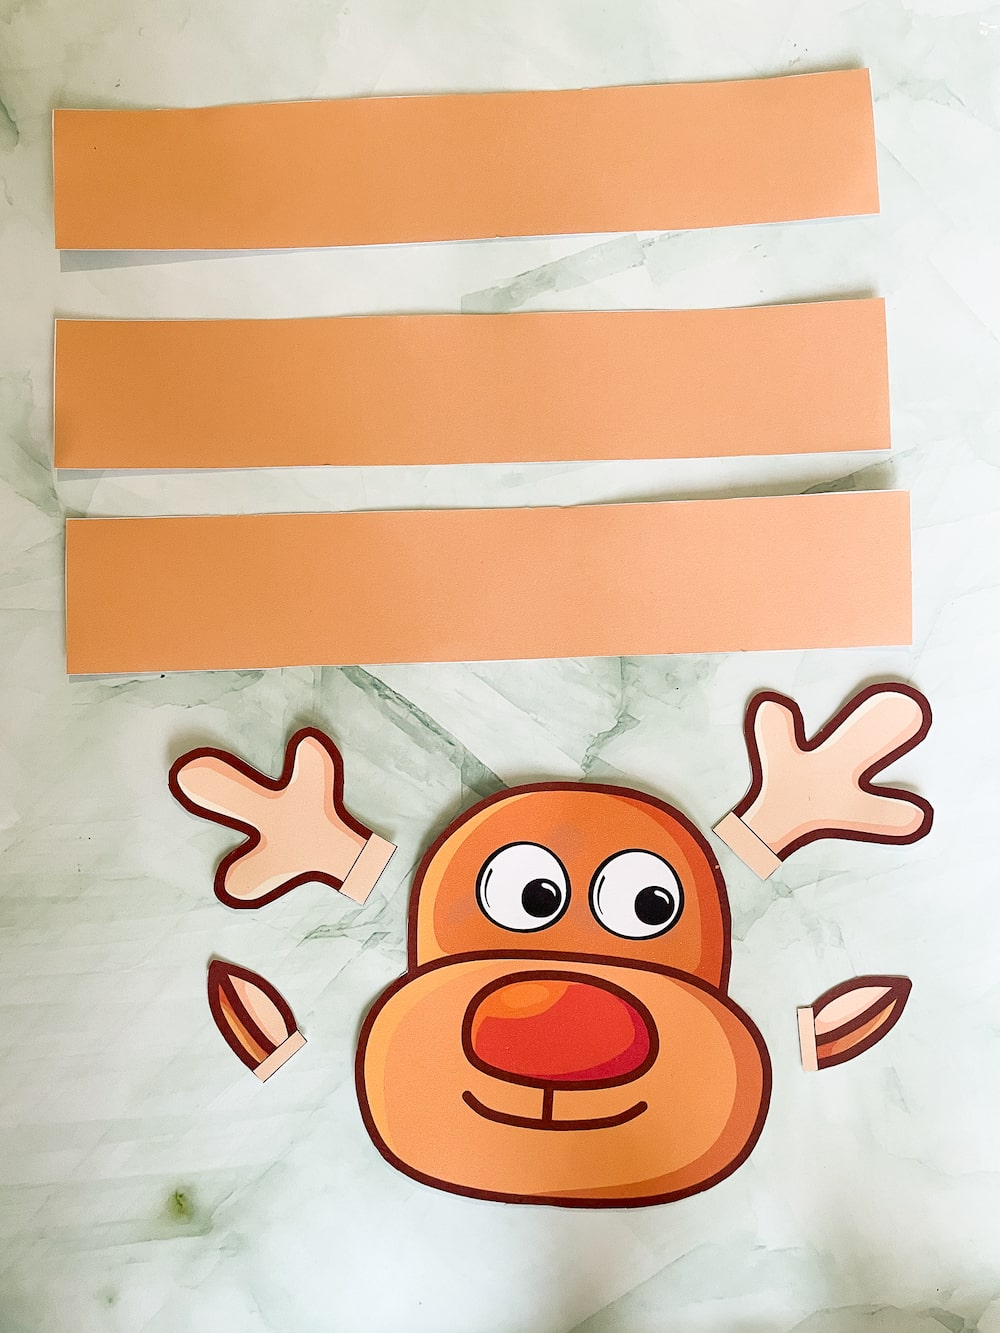
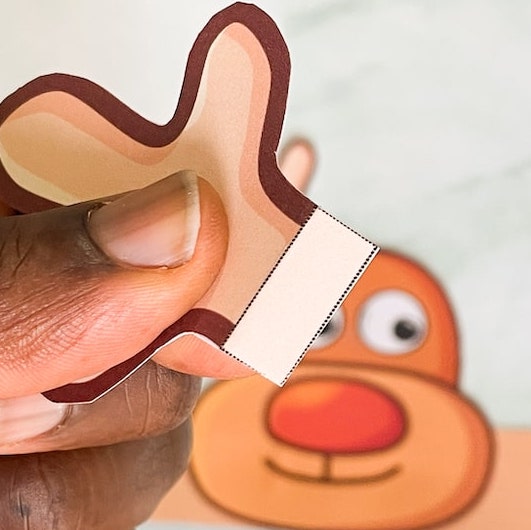
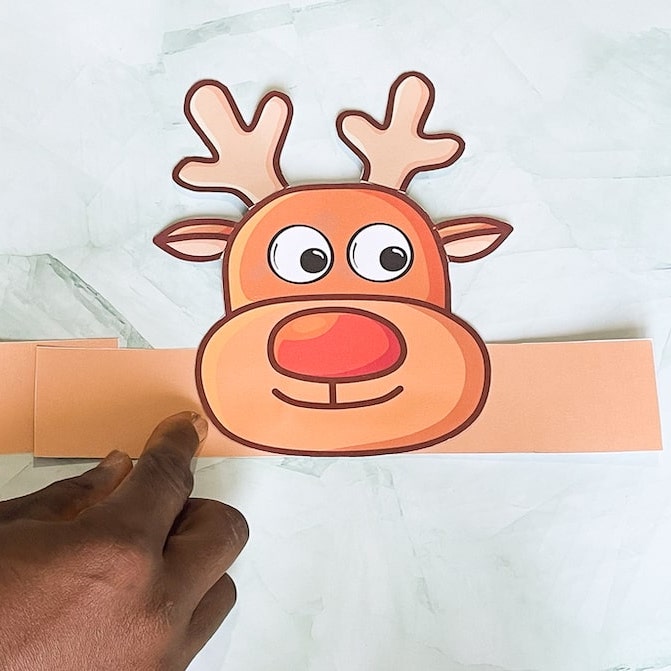
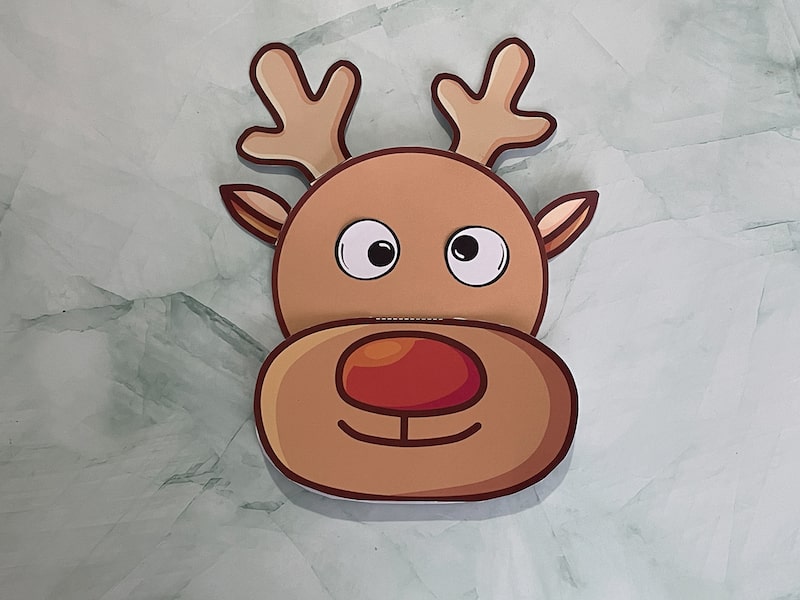
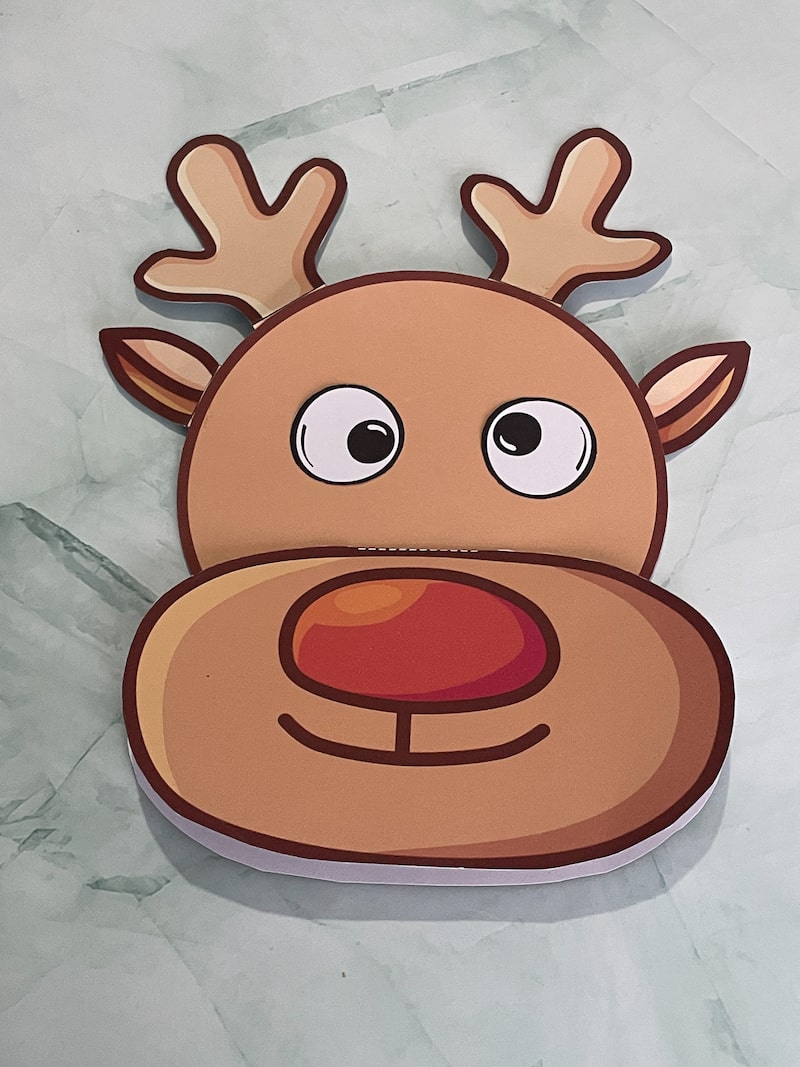
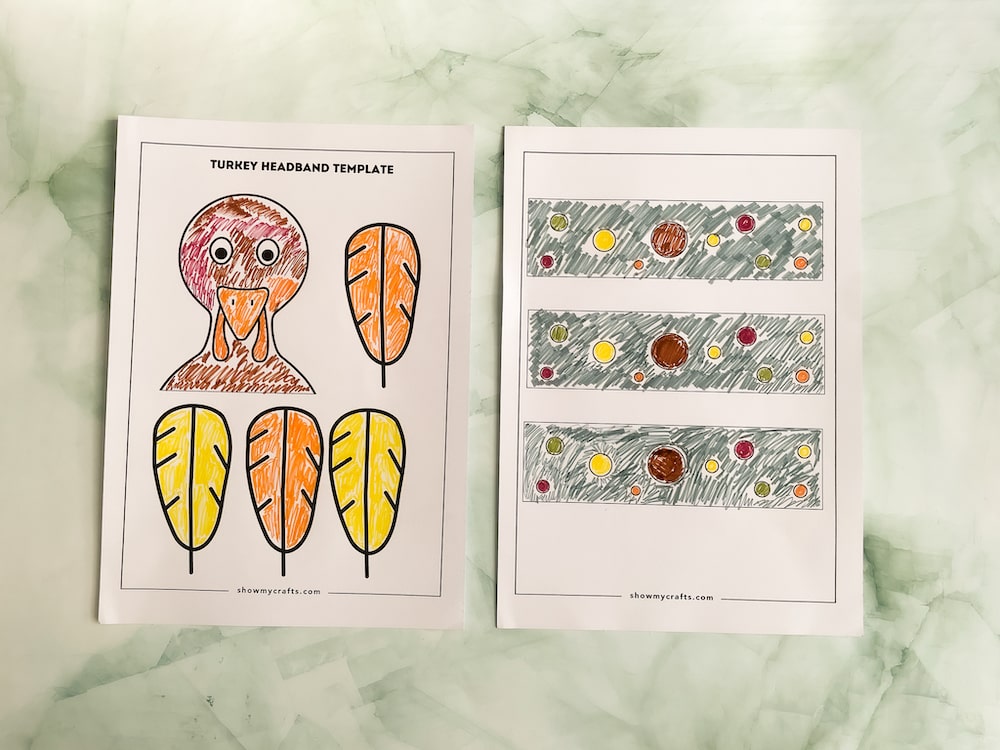
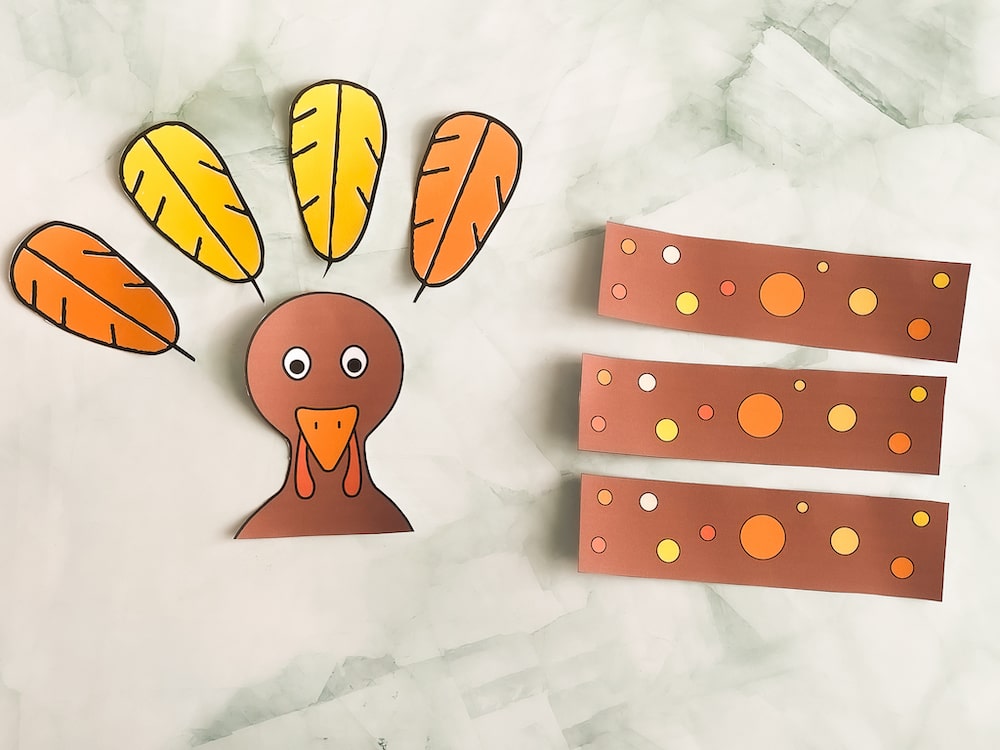
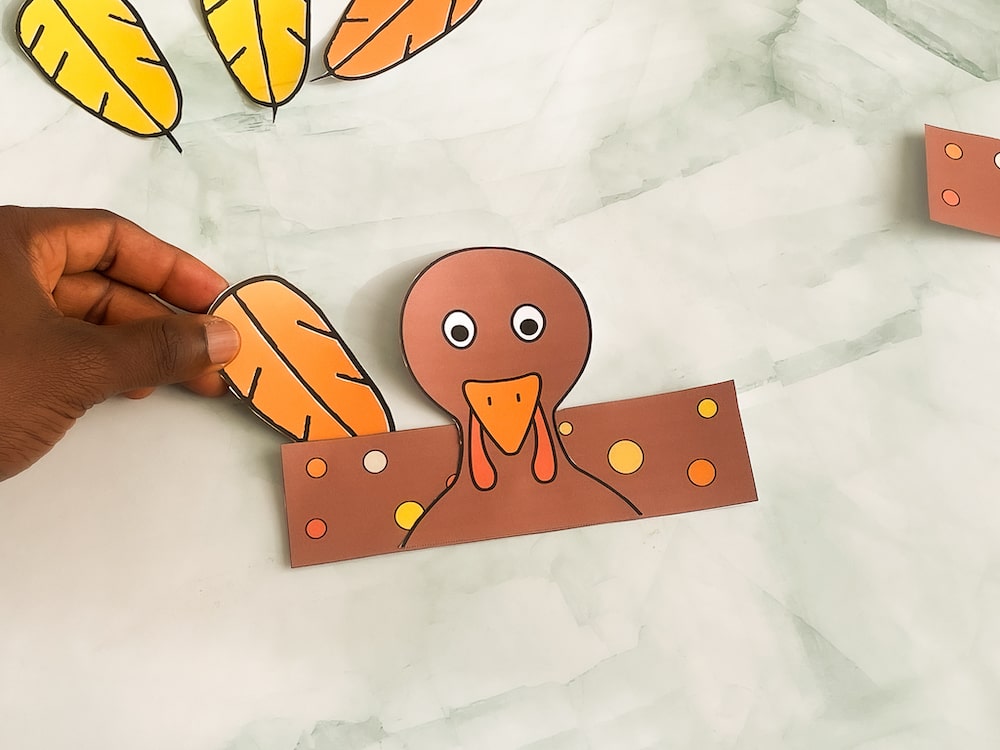
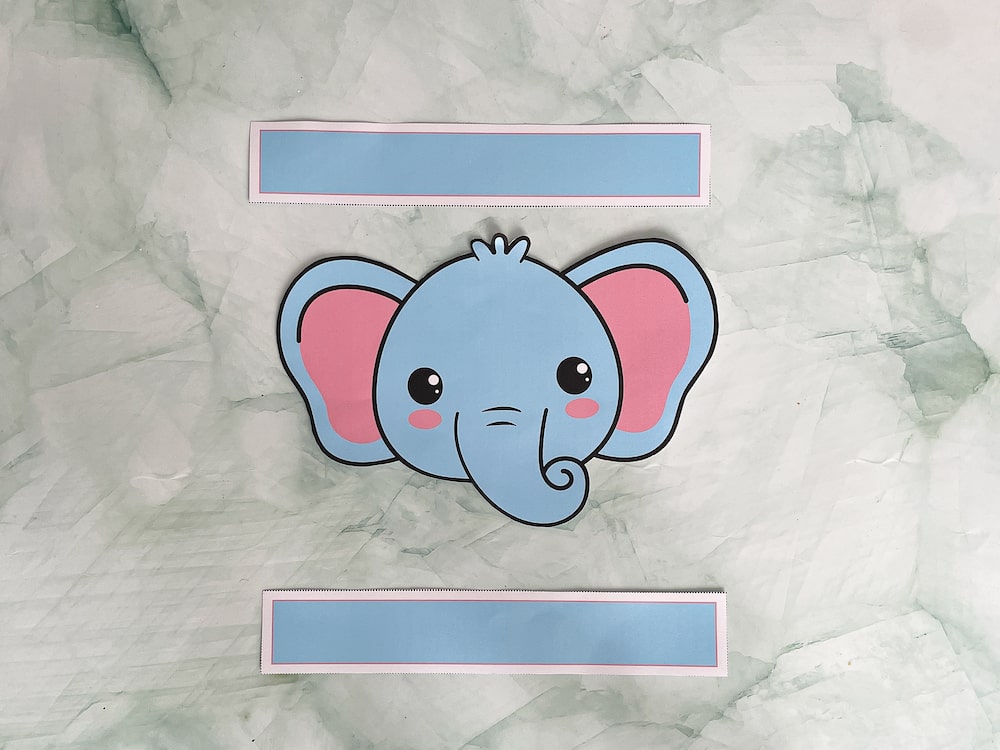
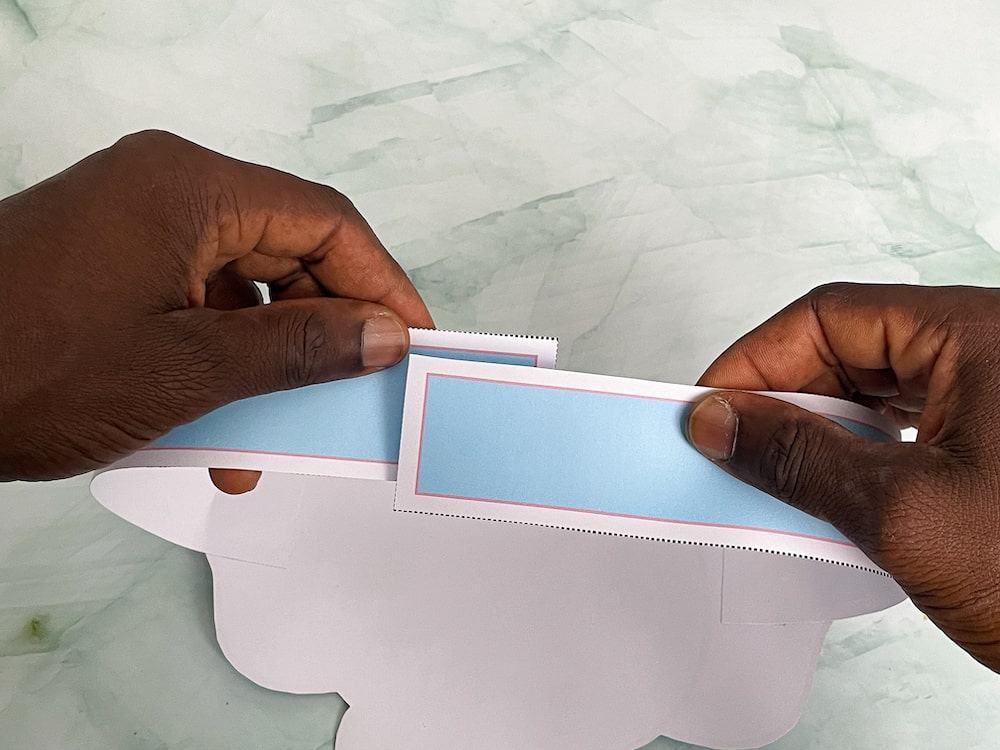
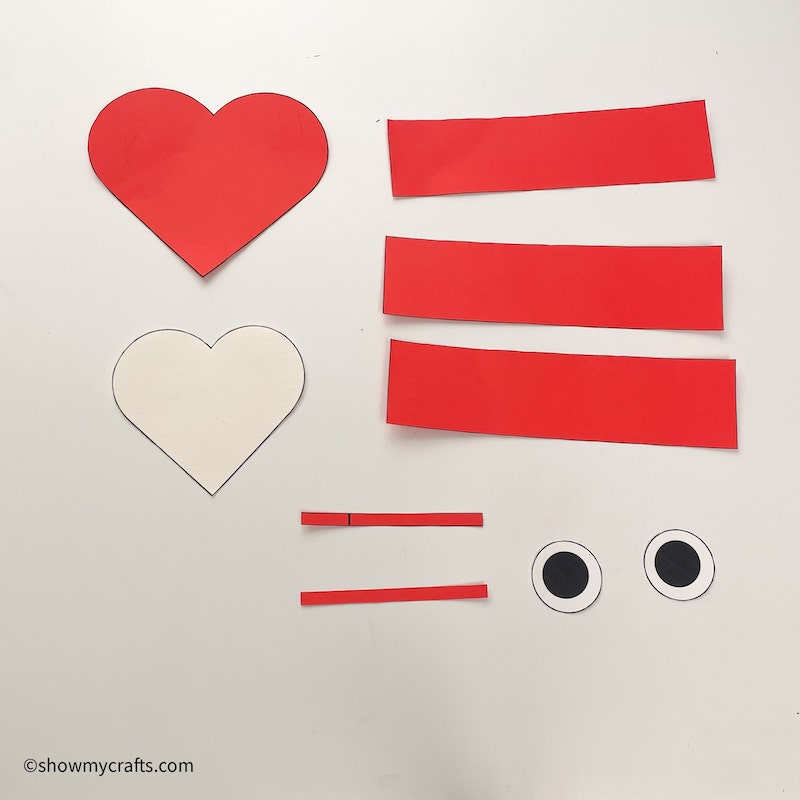
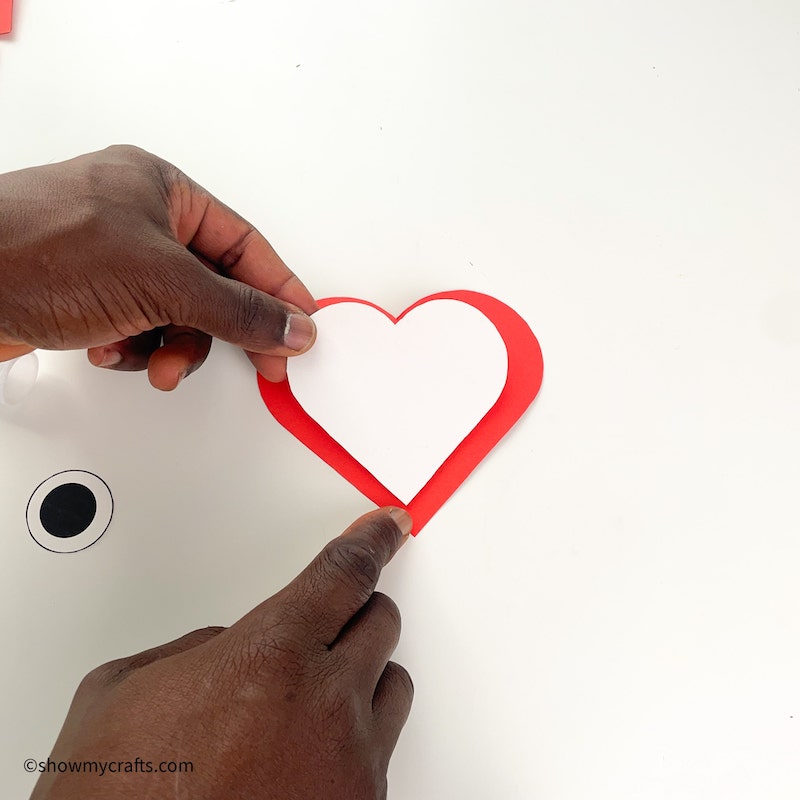
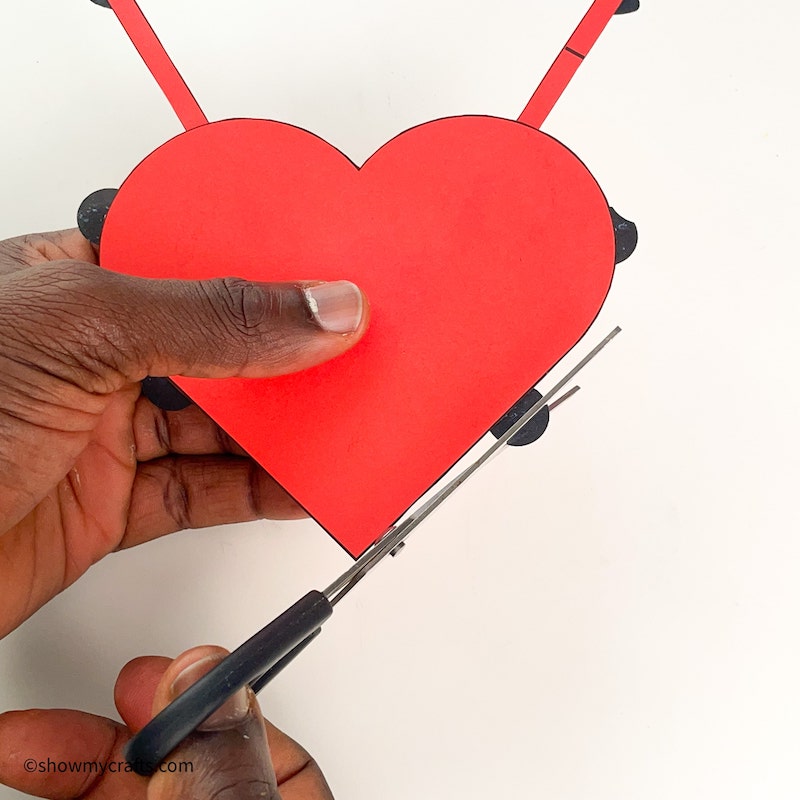
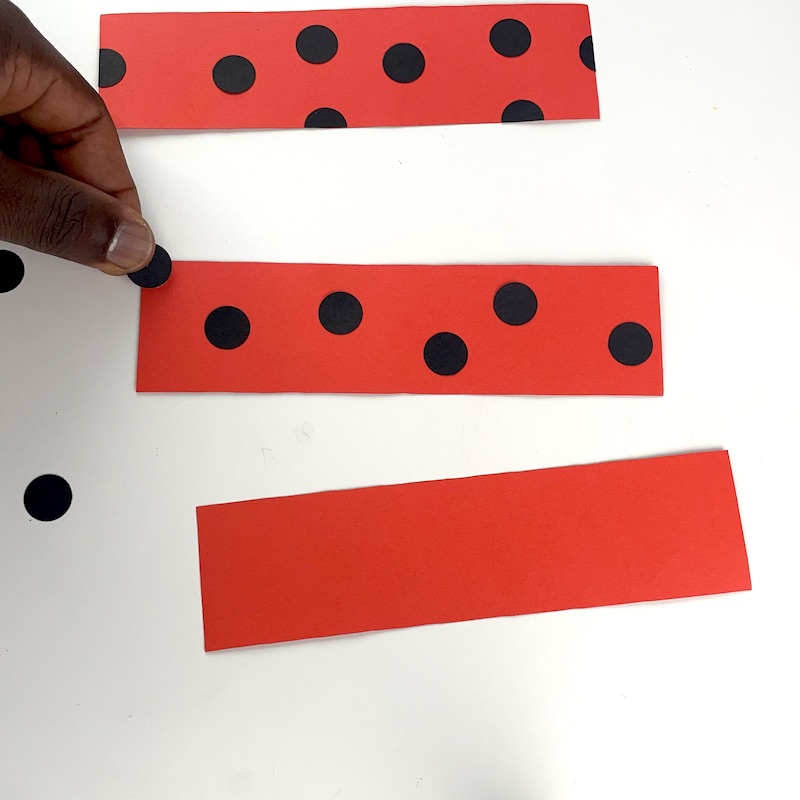
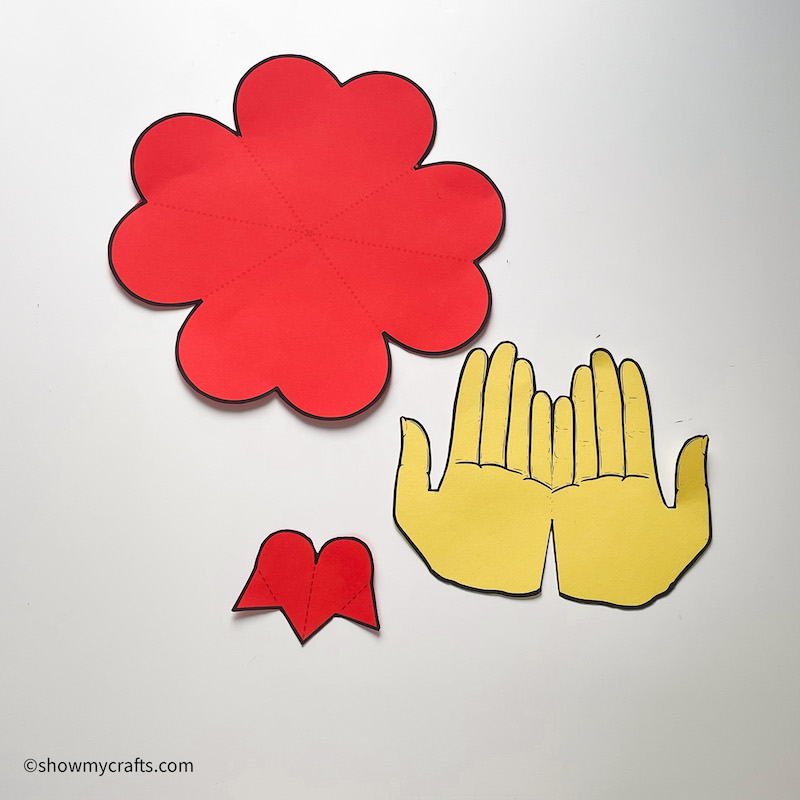
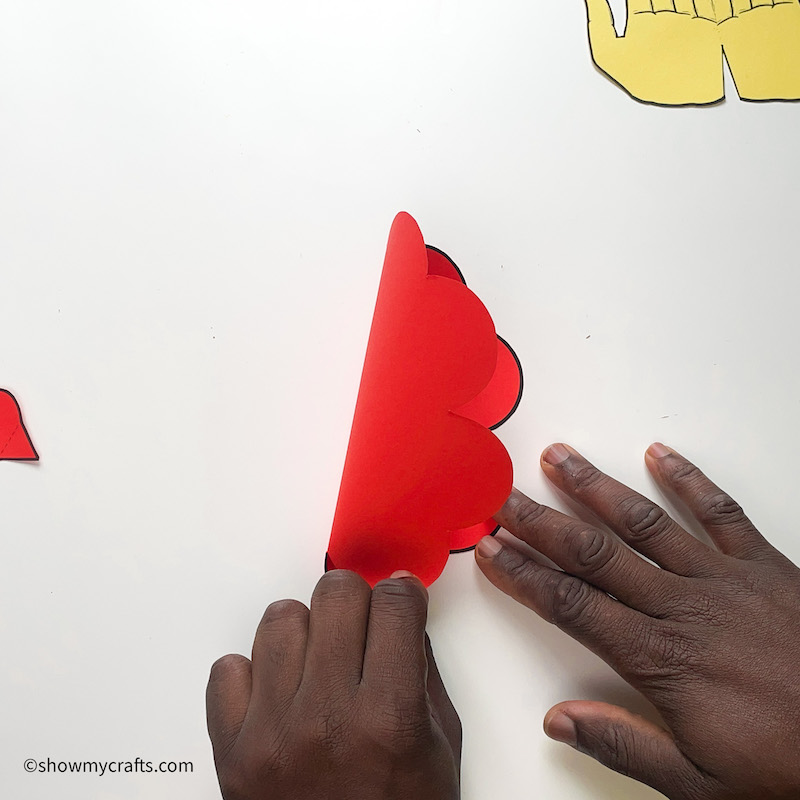
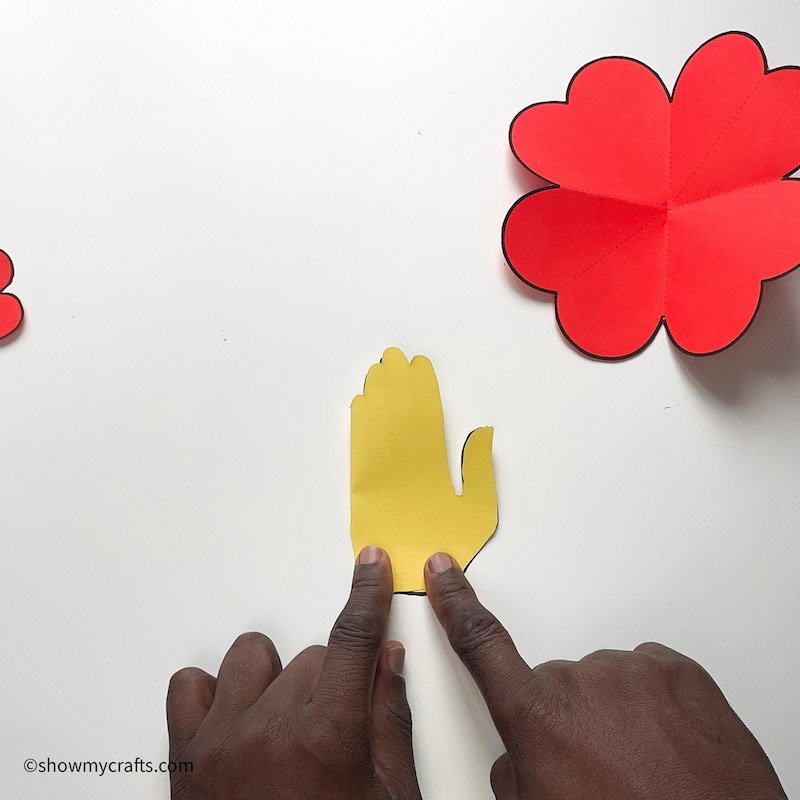
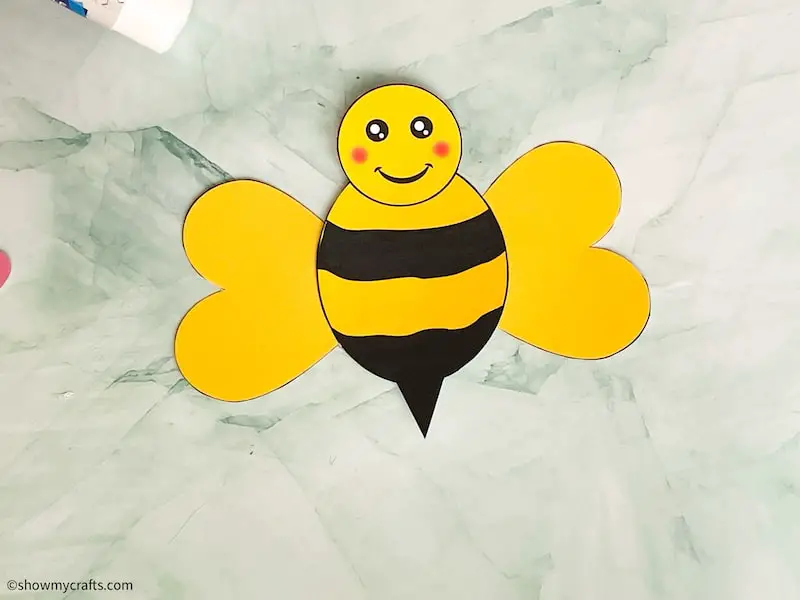
Cut Out the Pieces: Carefully cut out the headband strip, bee wings, antennae, and other decorative elements from the template.
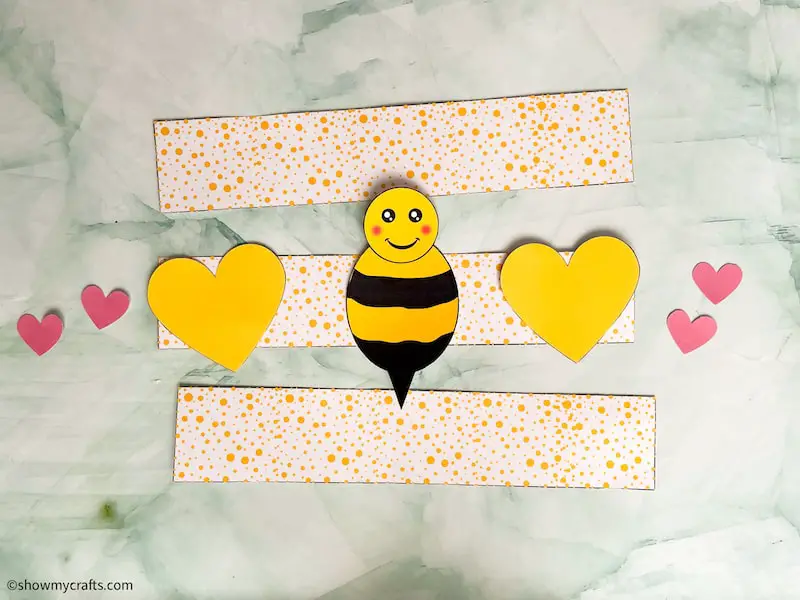
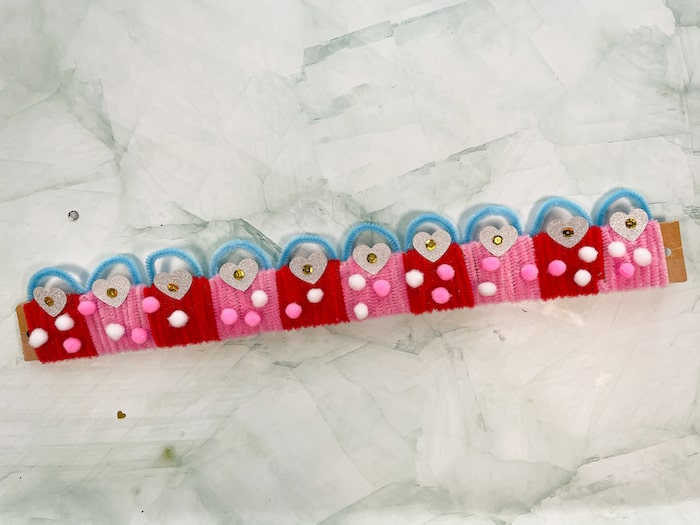
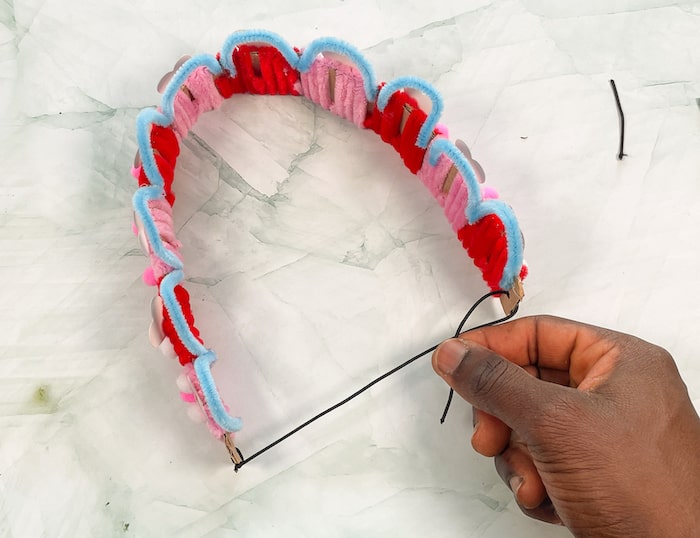
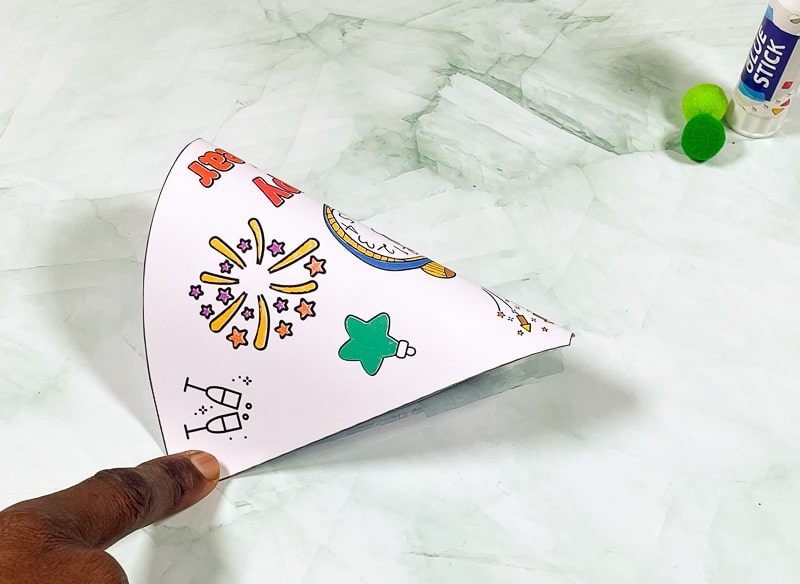
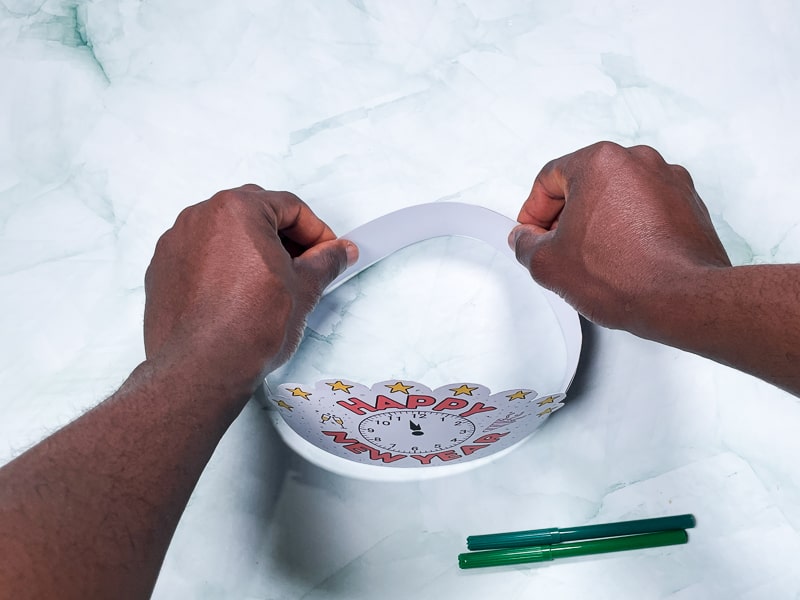
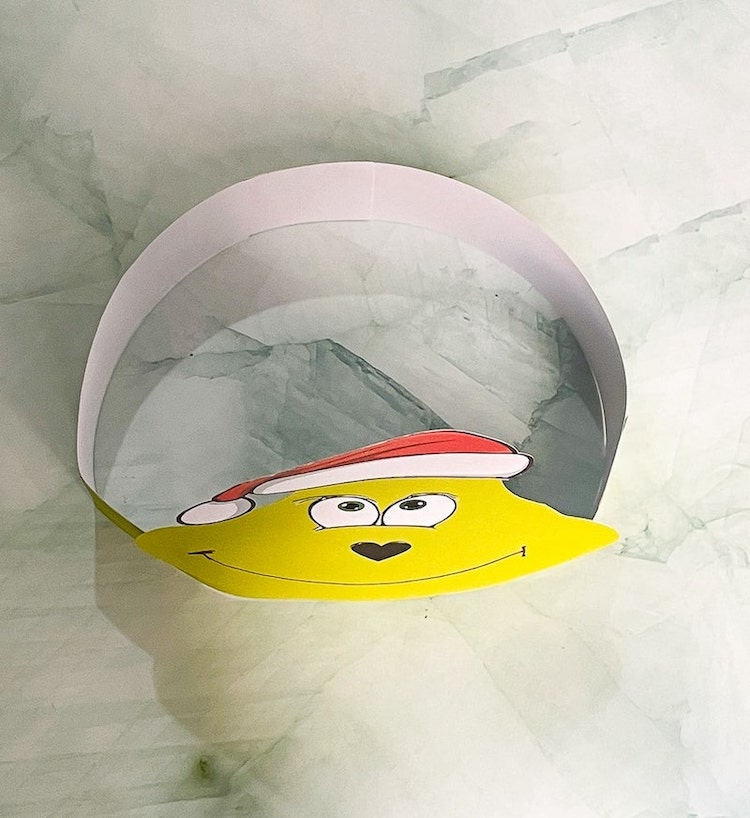
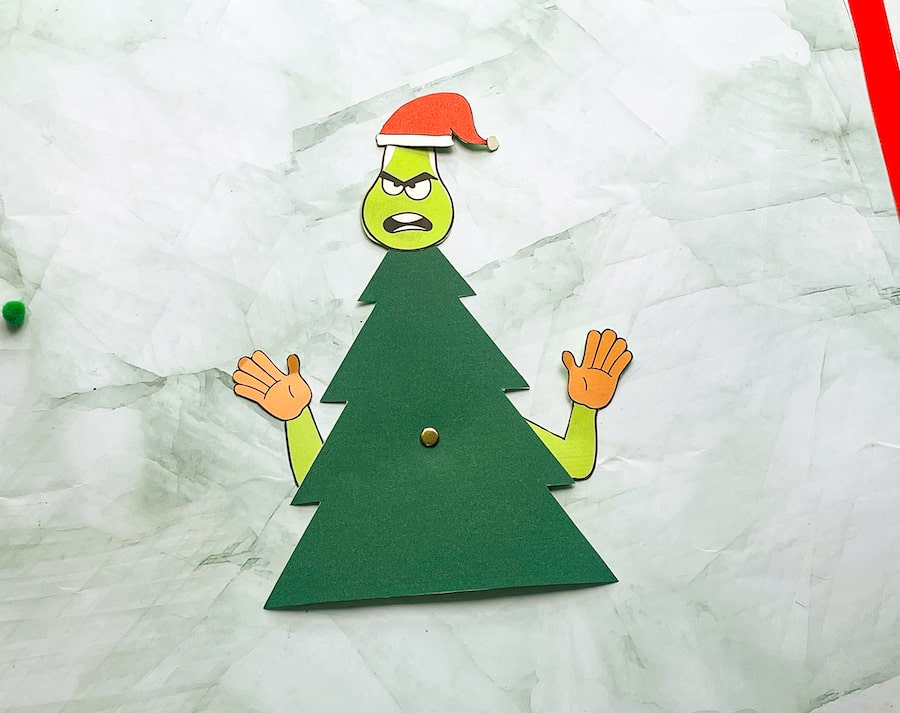
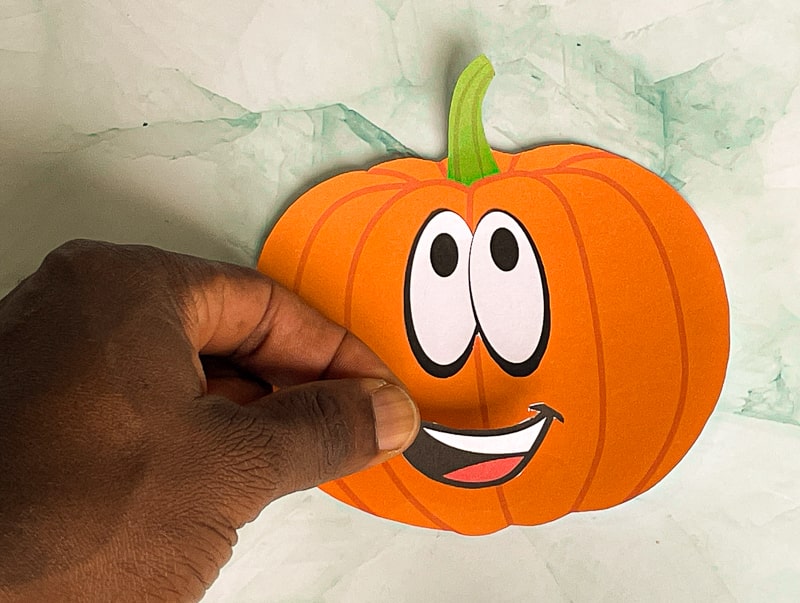
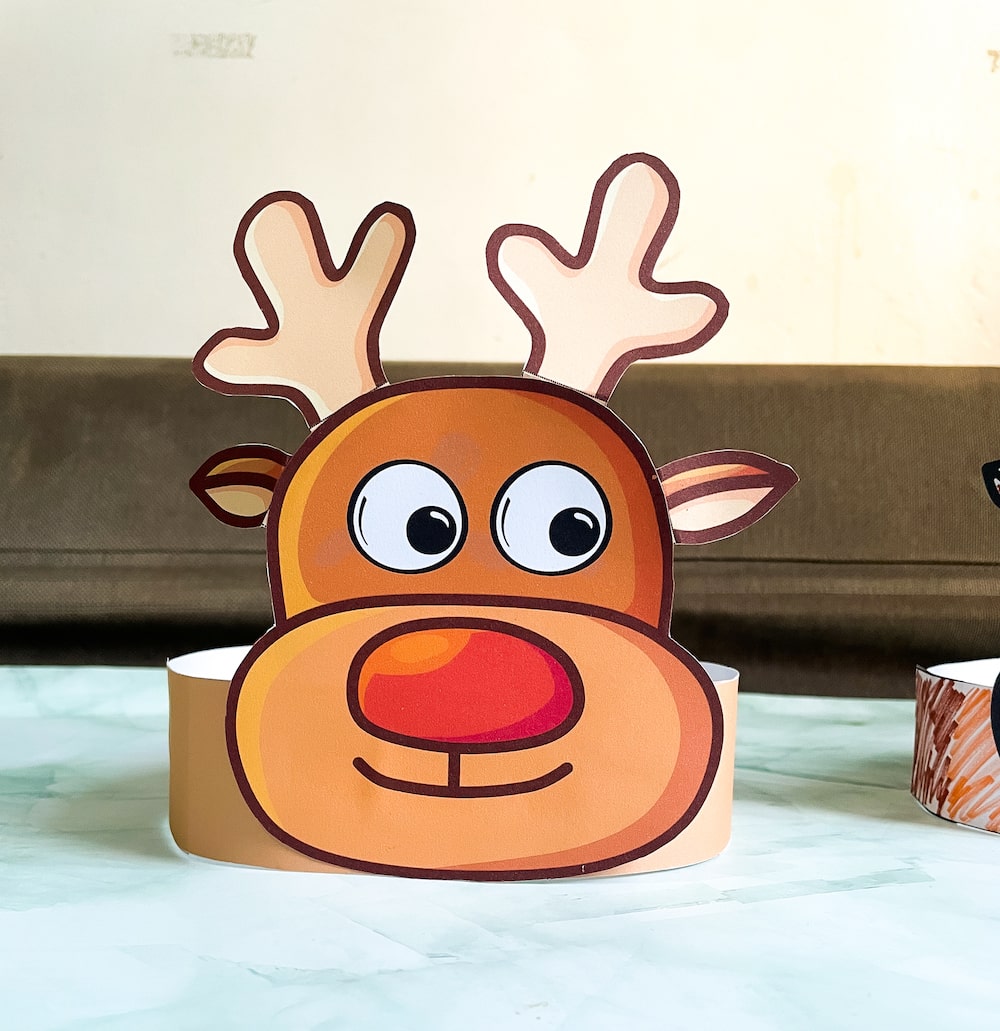
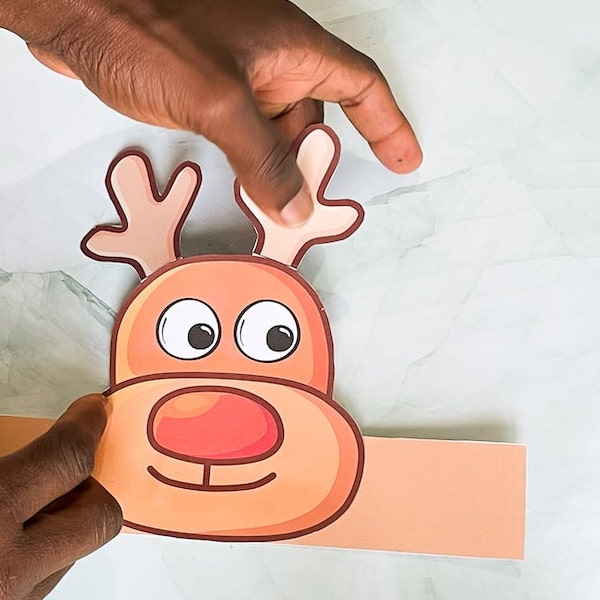
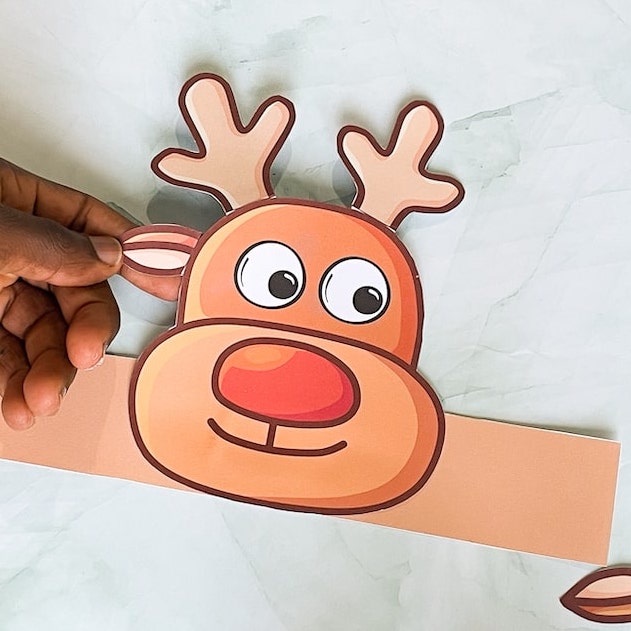
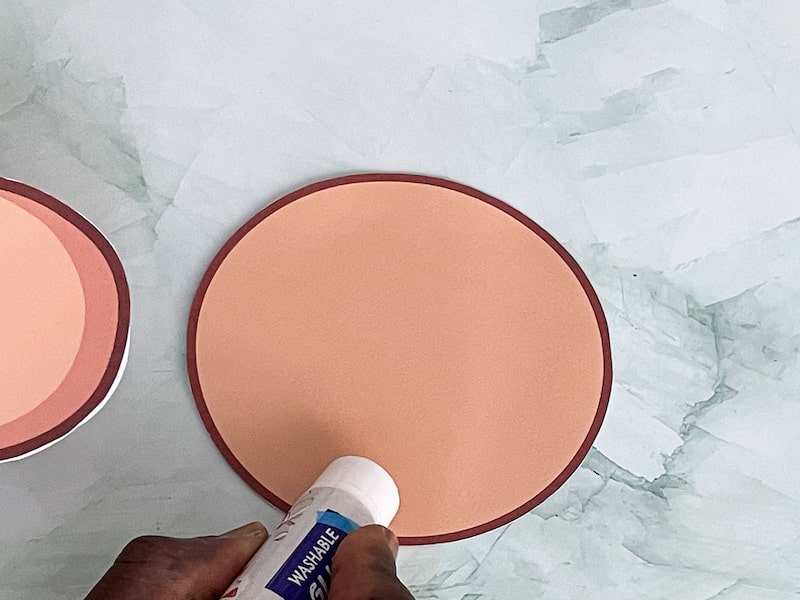
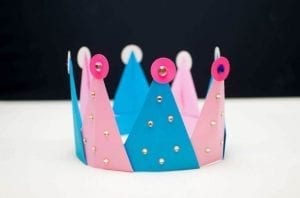
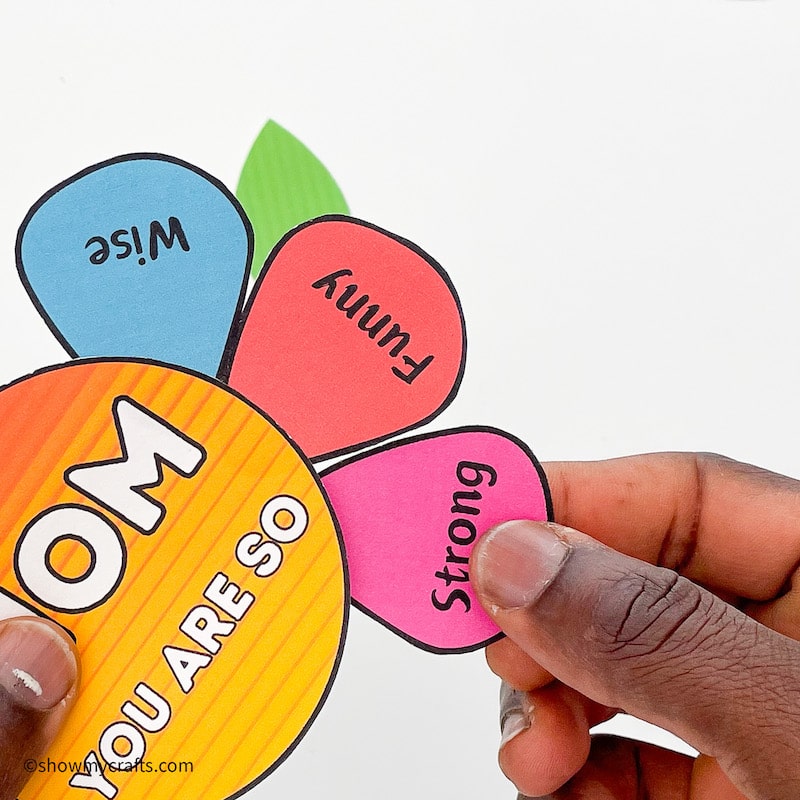
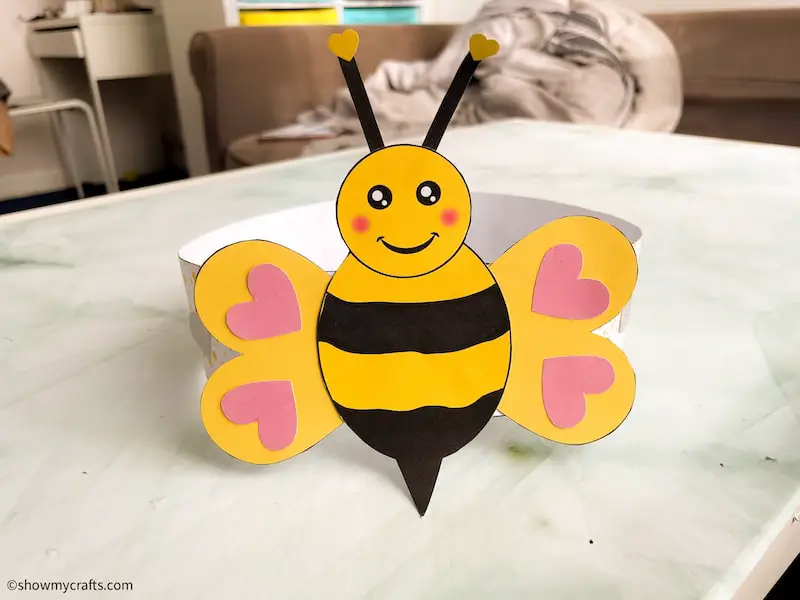
Assemble the Headband: Glue or tape the pieces together to form the headband base, ensuring it’s adjustable to fit your child’s head.
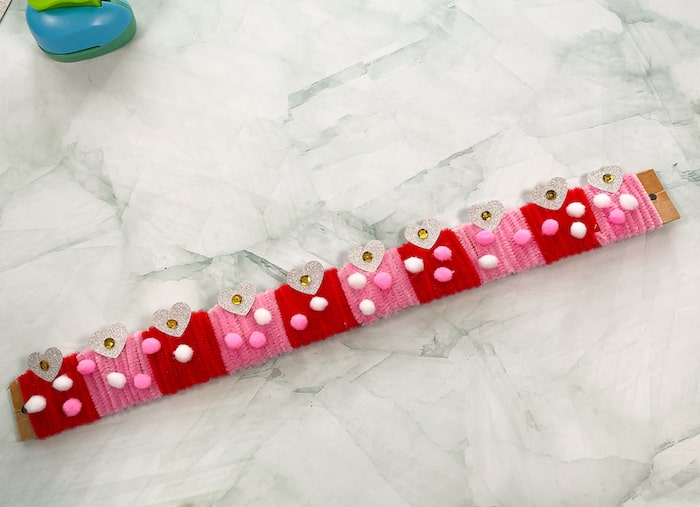
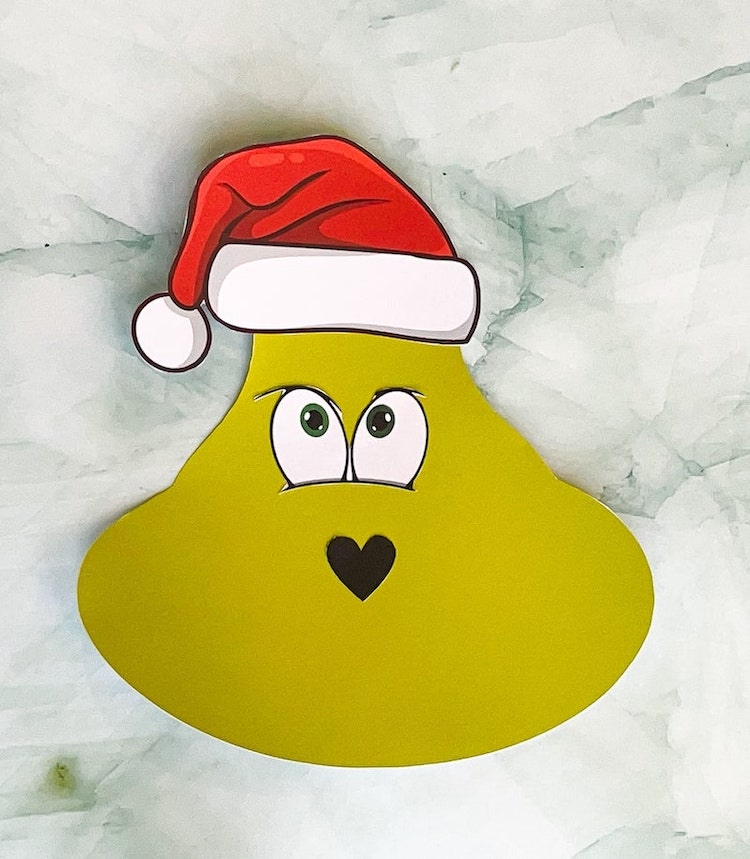
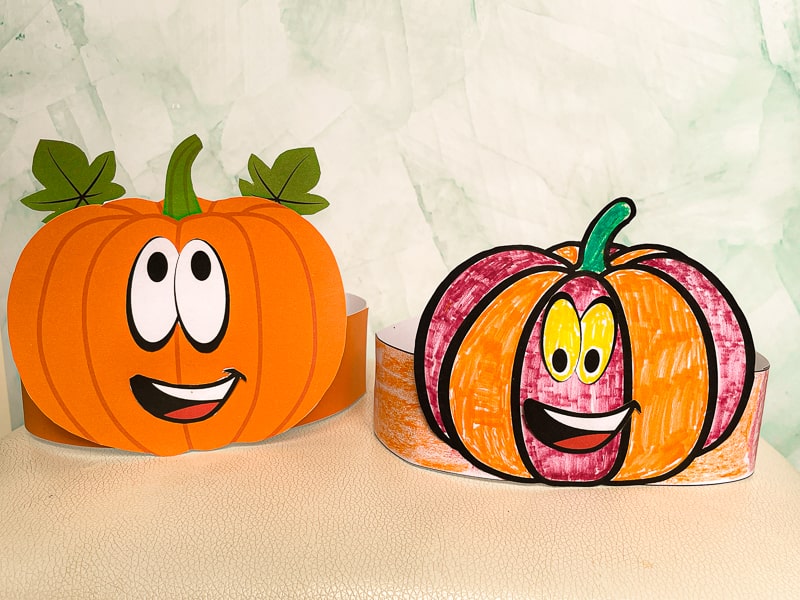
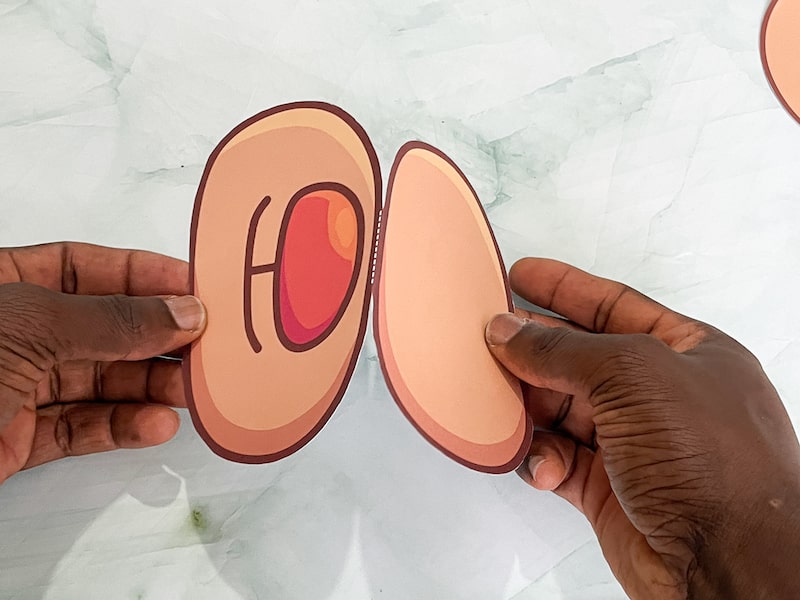
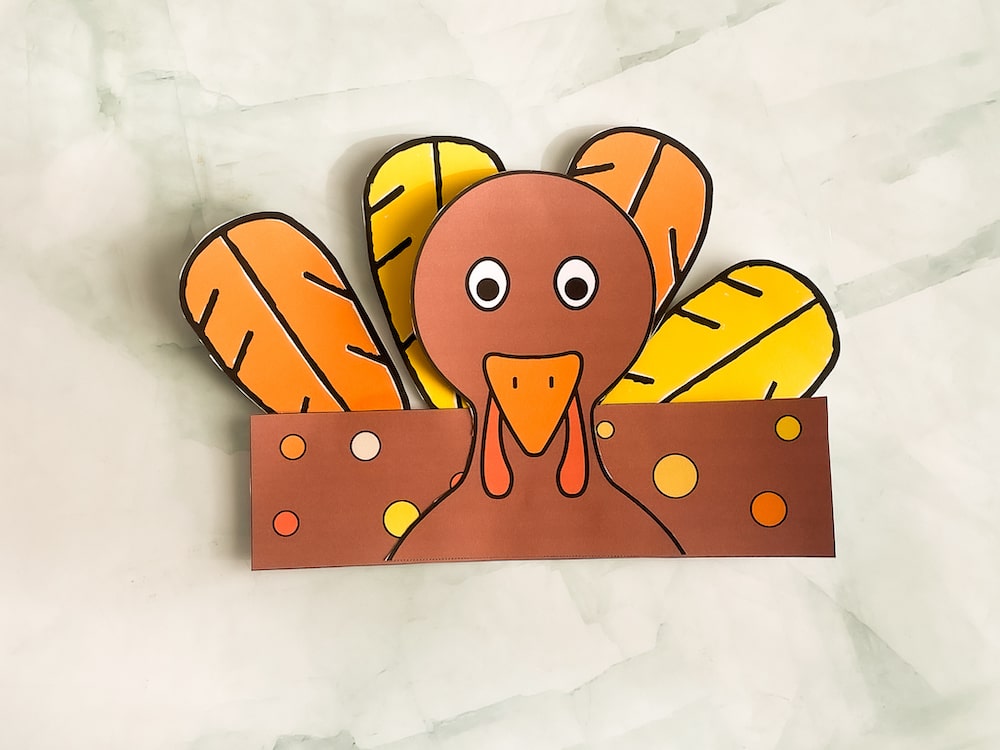
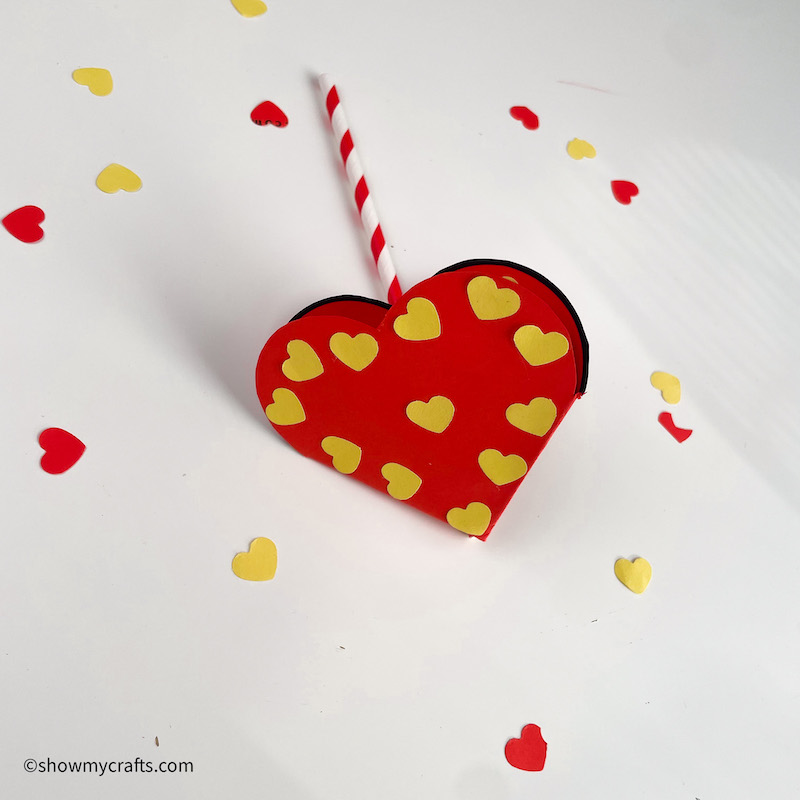
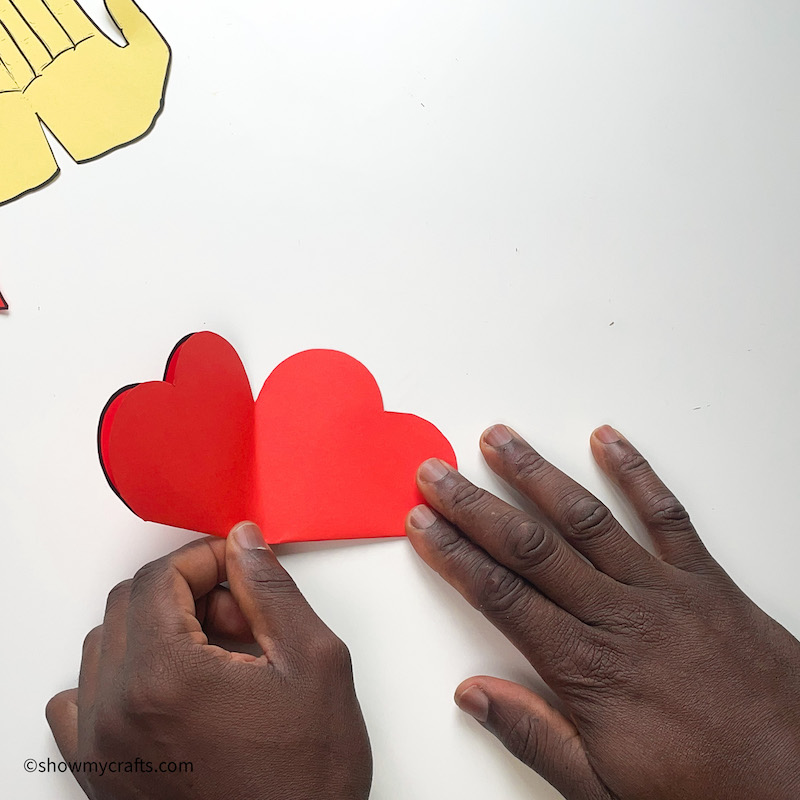
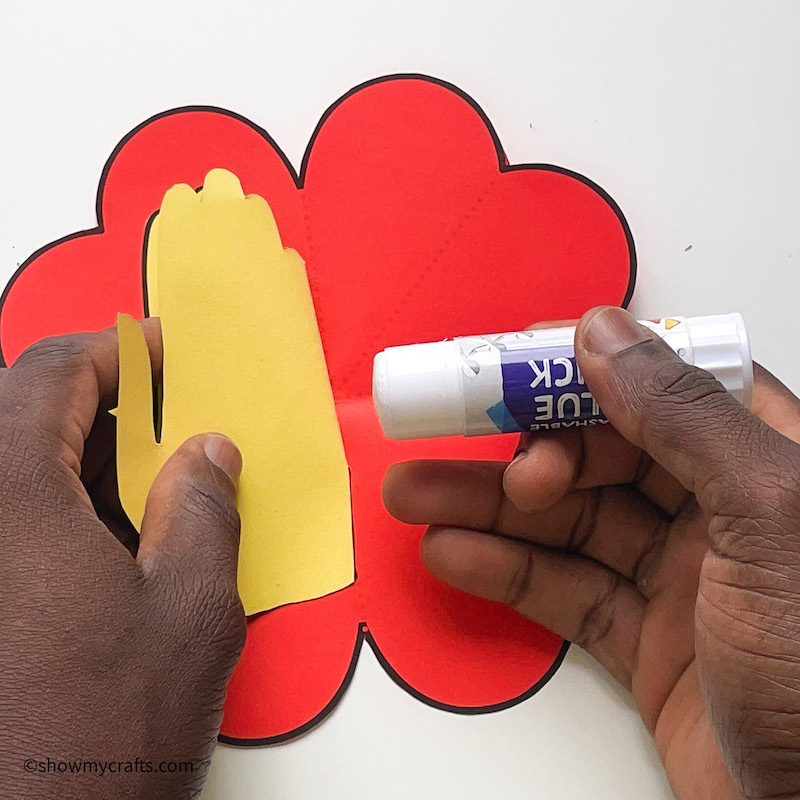
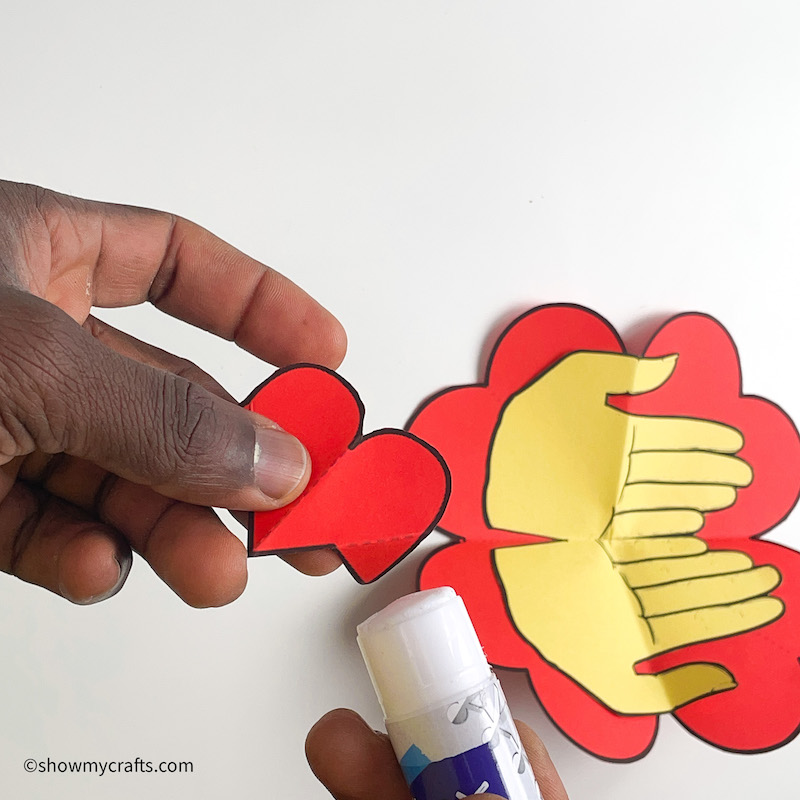
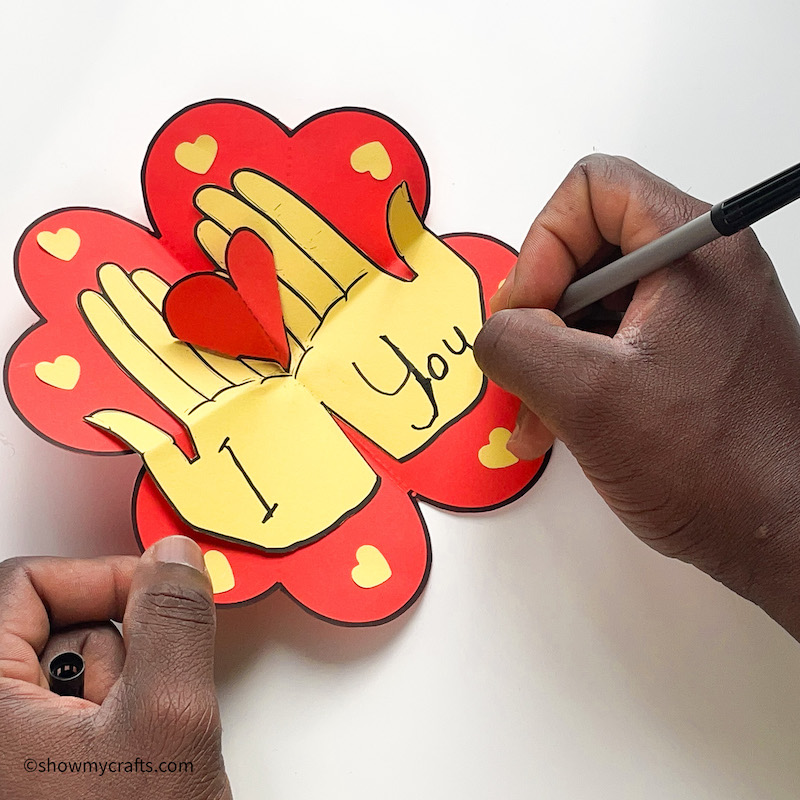
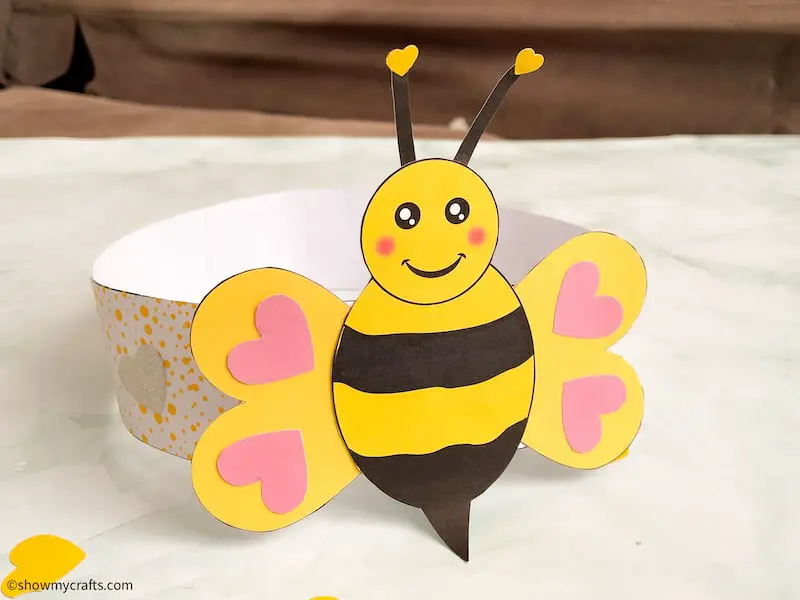
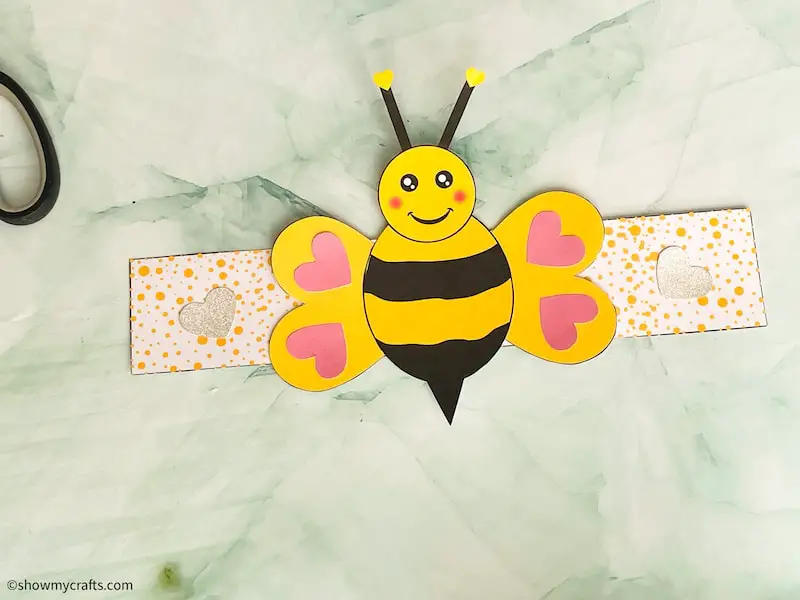
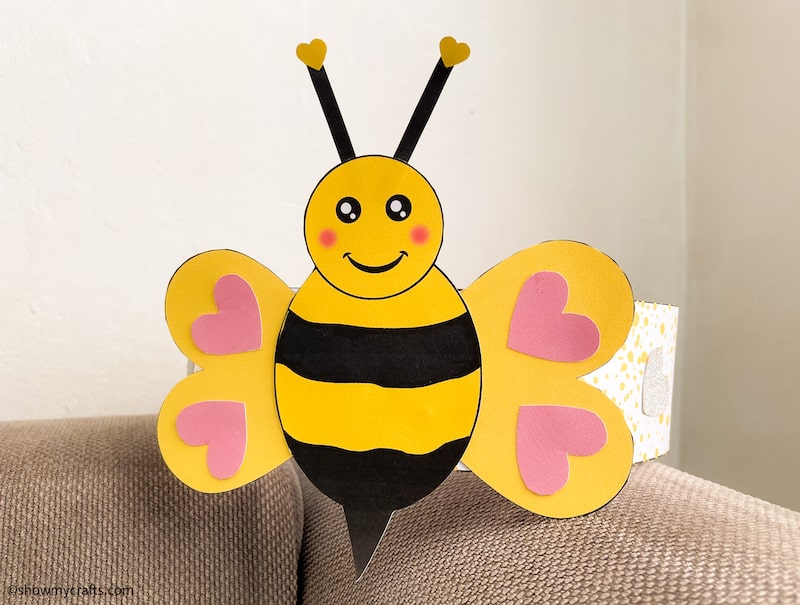
Glue the two yellow hearts under the bee’s body. Make sure only a third of the heart is under the body.
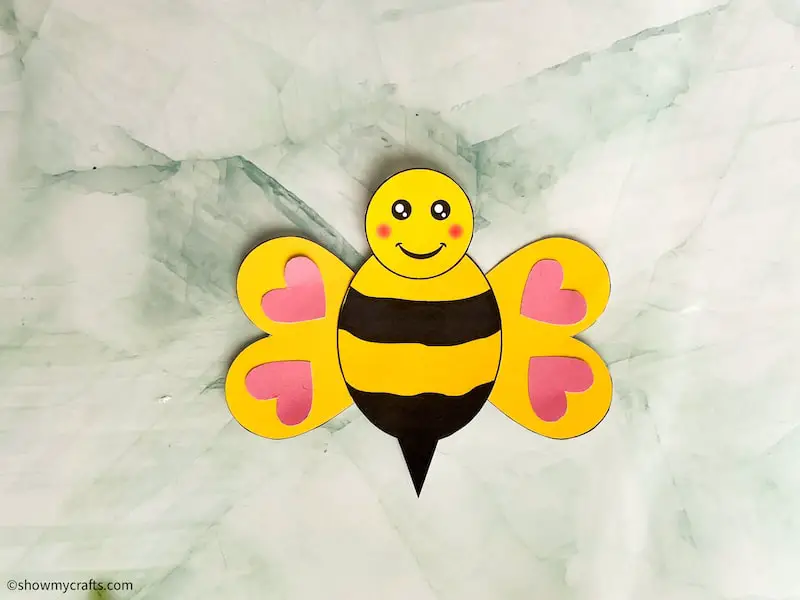
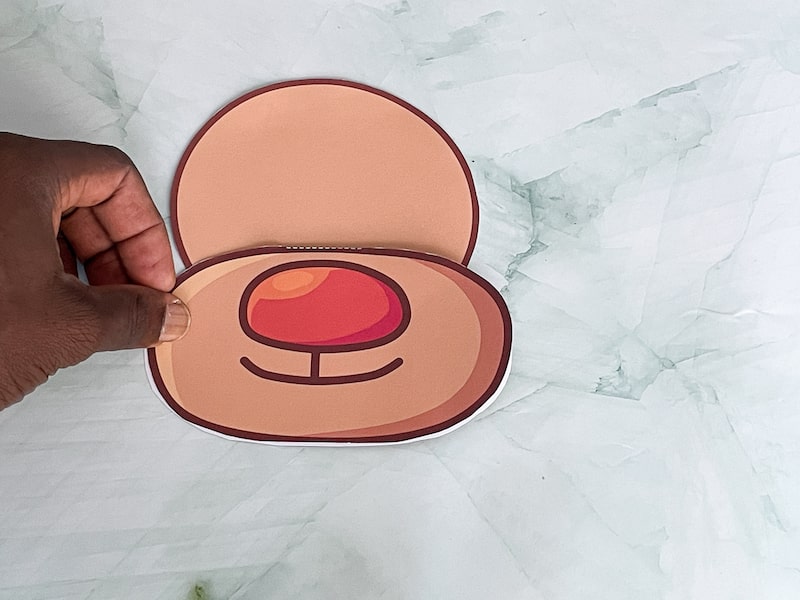
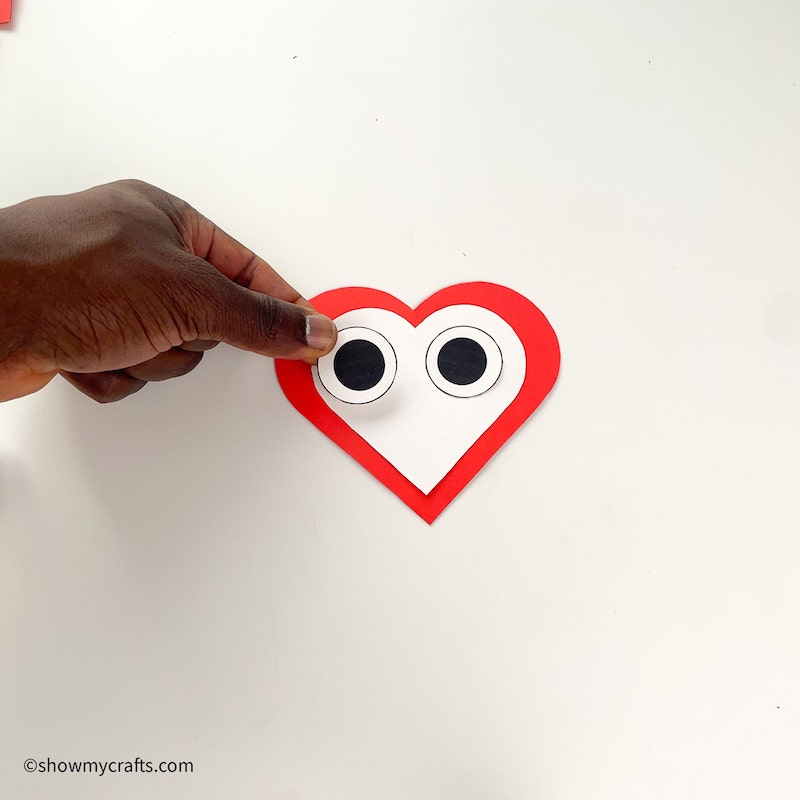
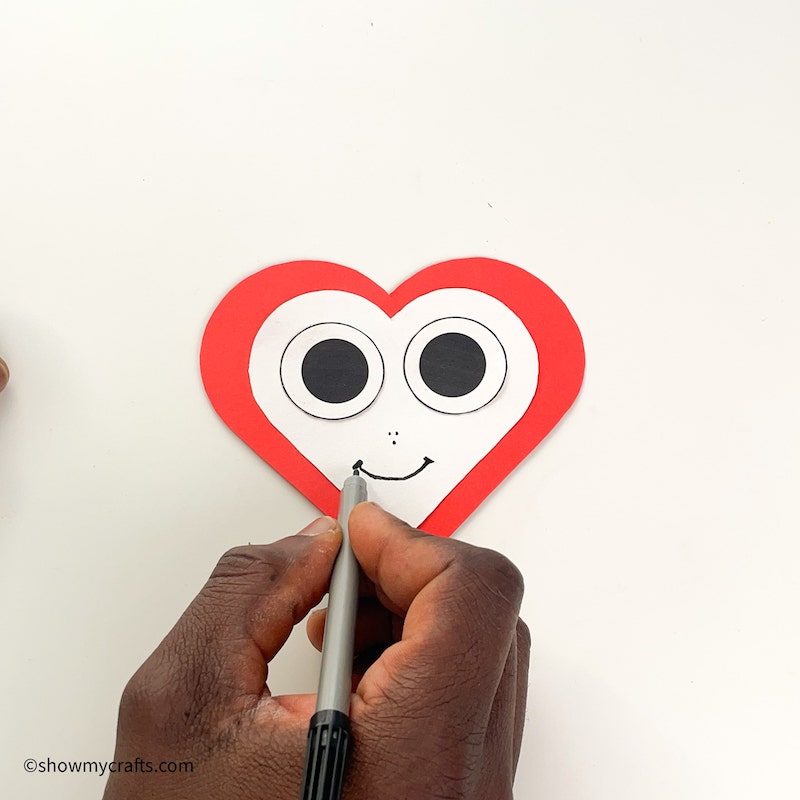
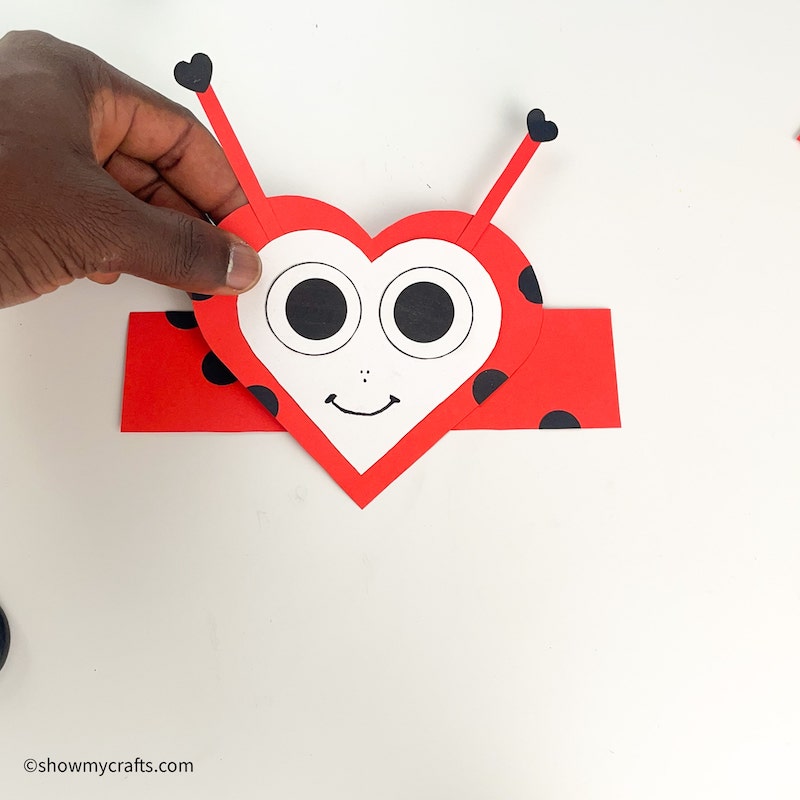
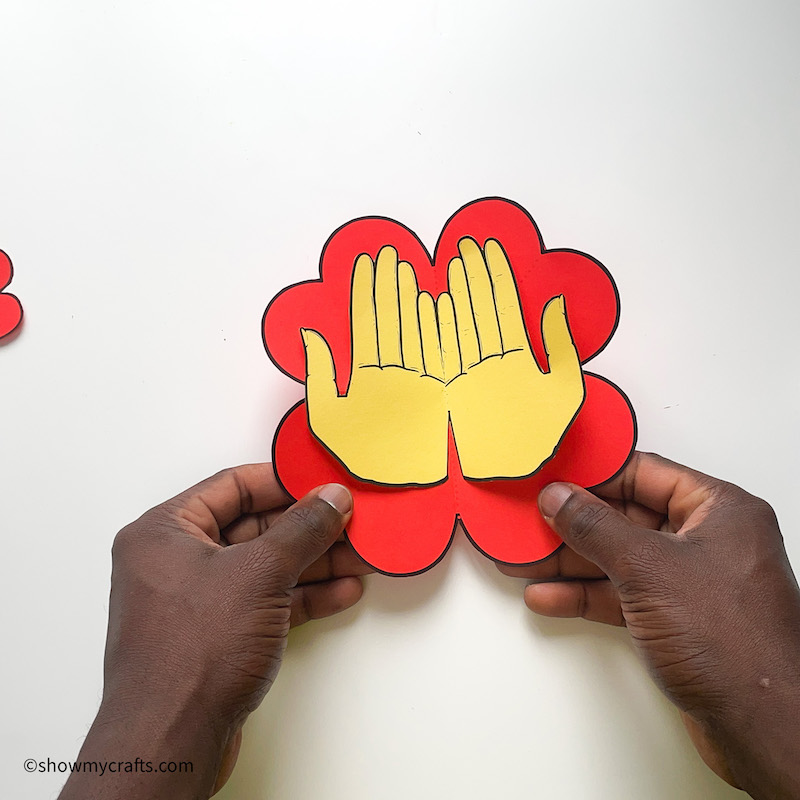
Glue the heart to the bees wings.
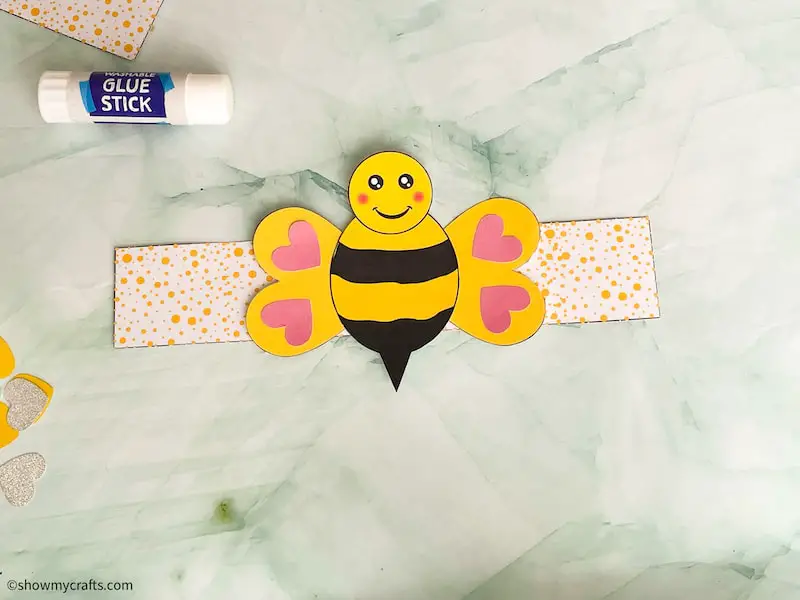
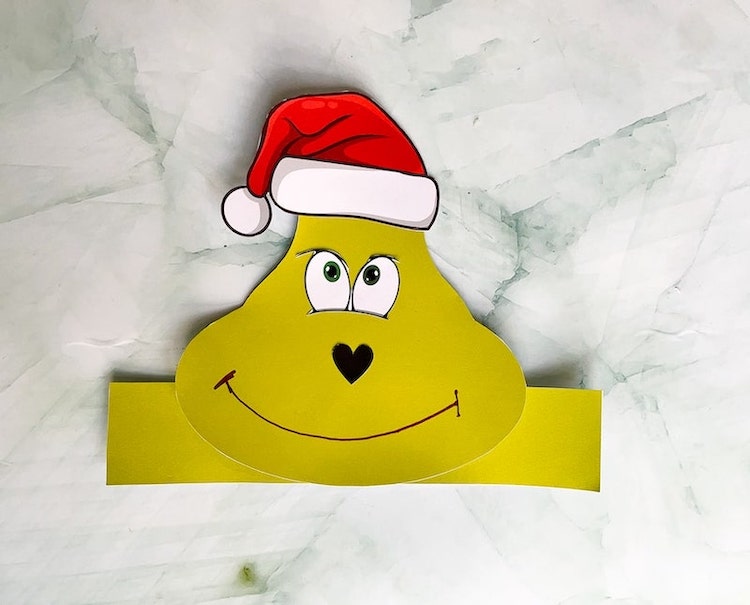
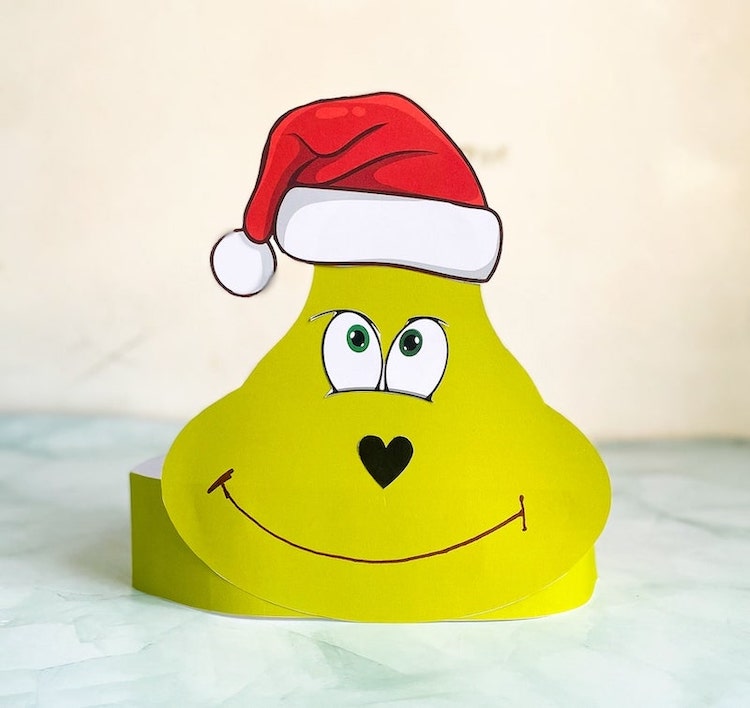
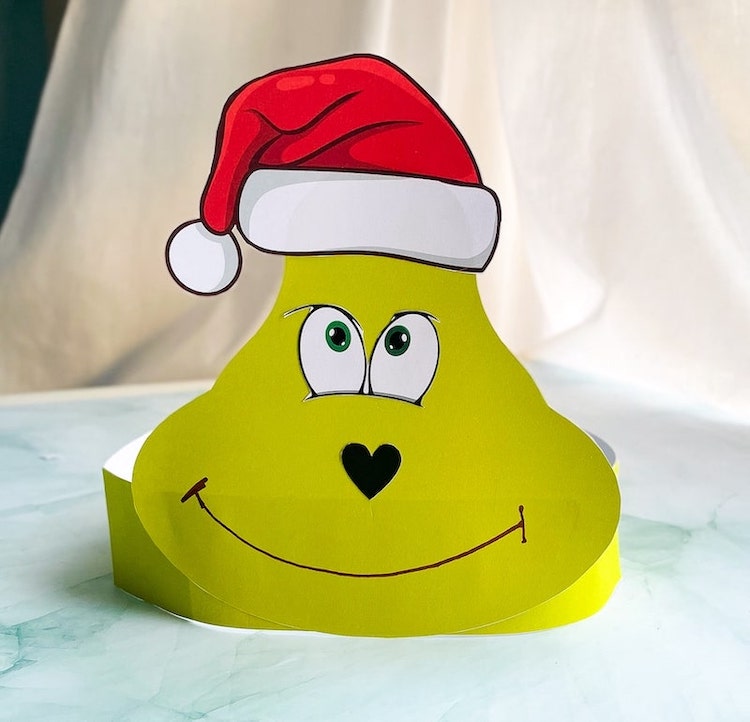
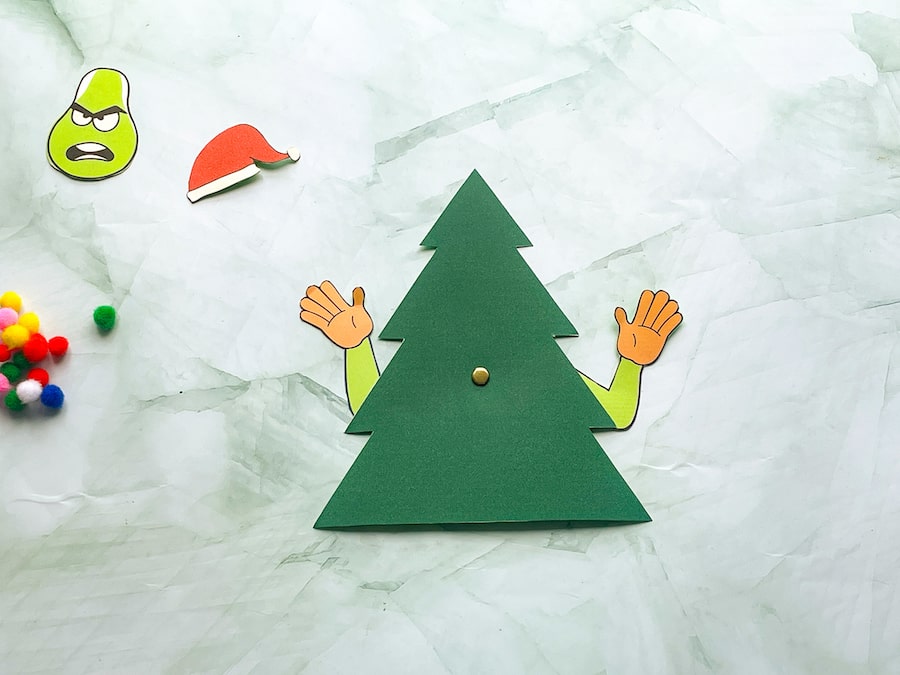
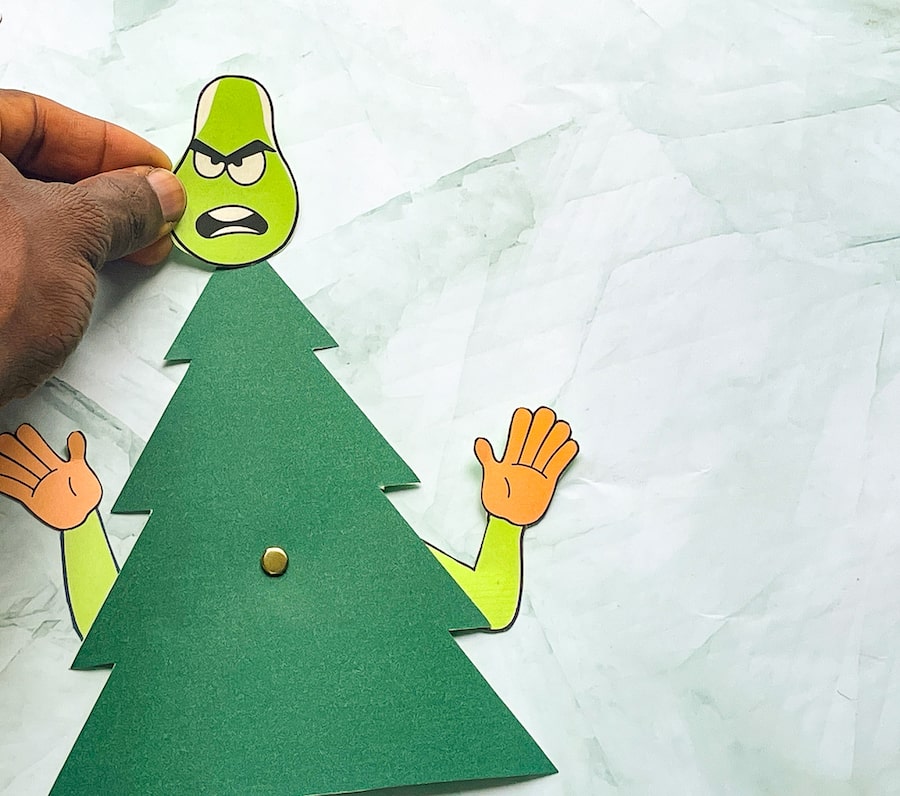
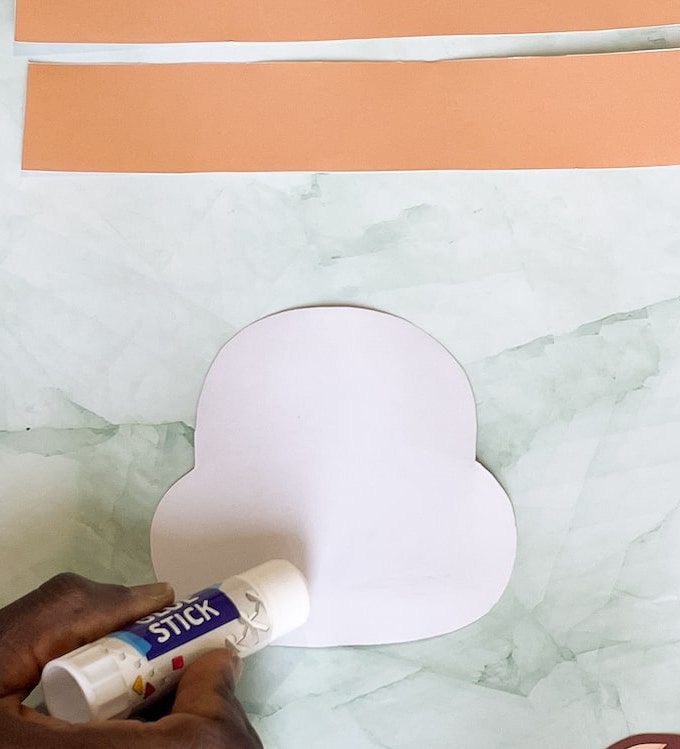
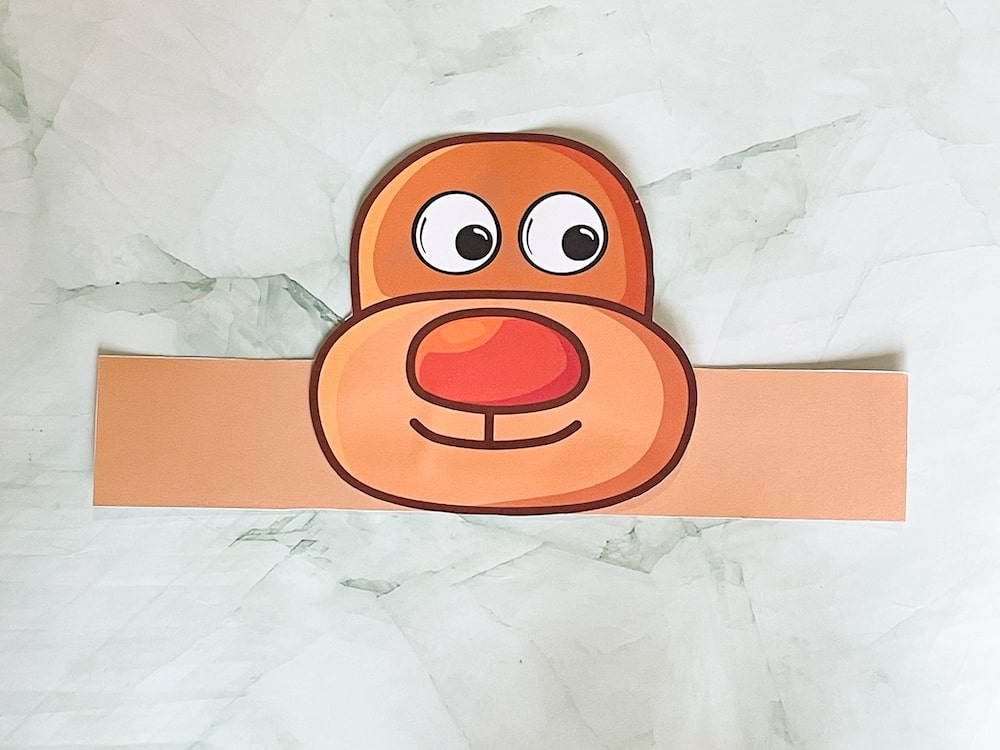
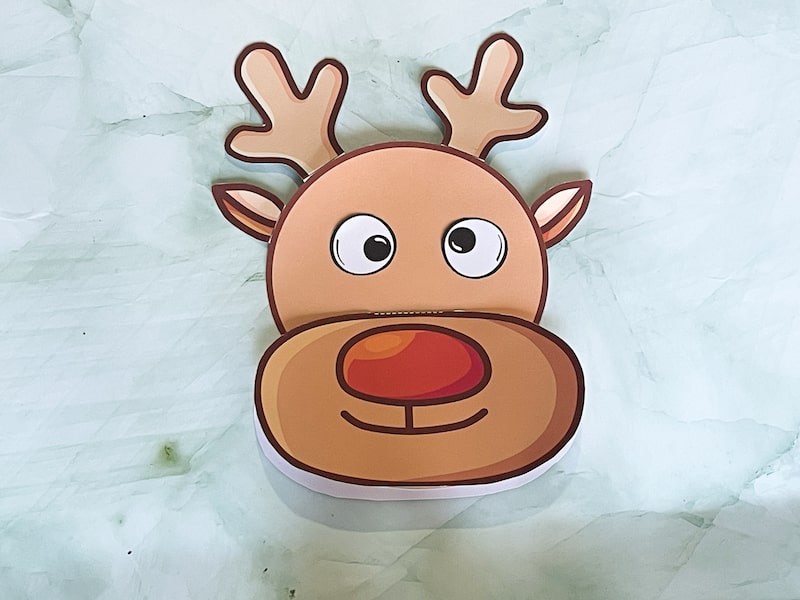
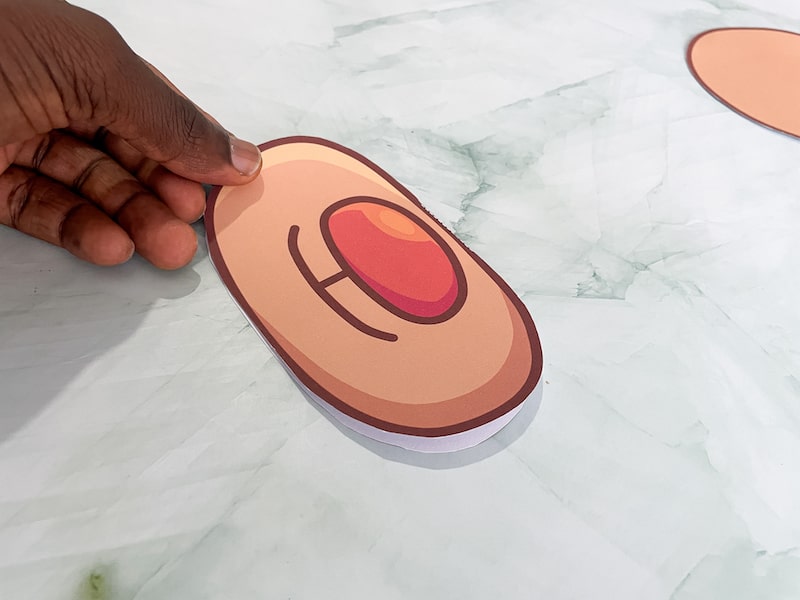
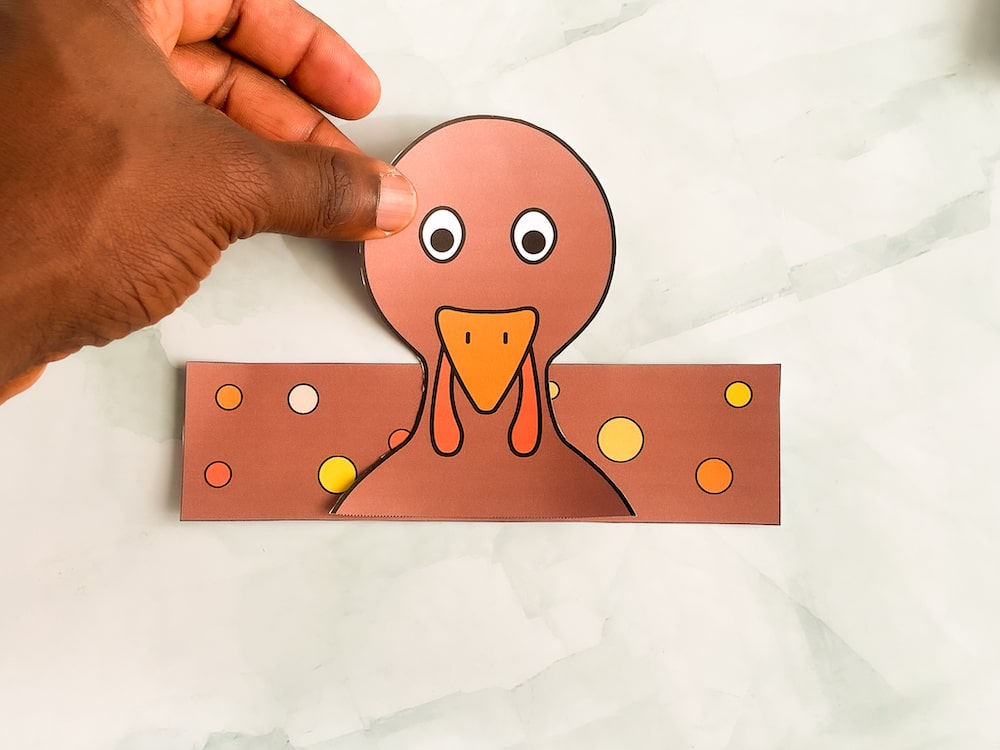
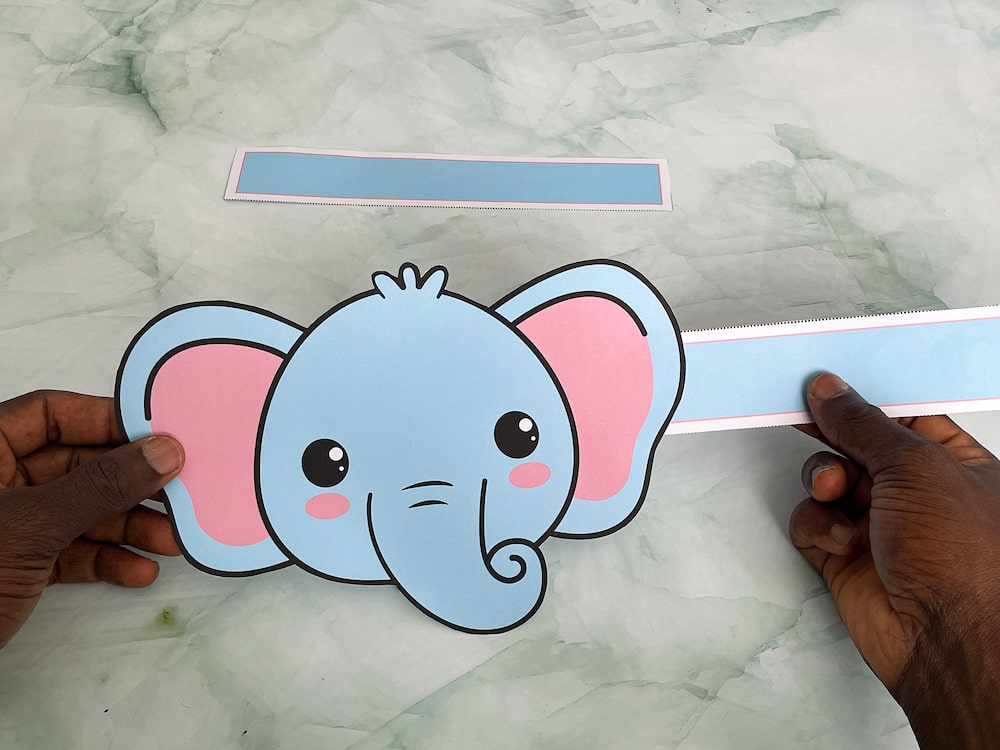
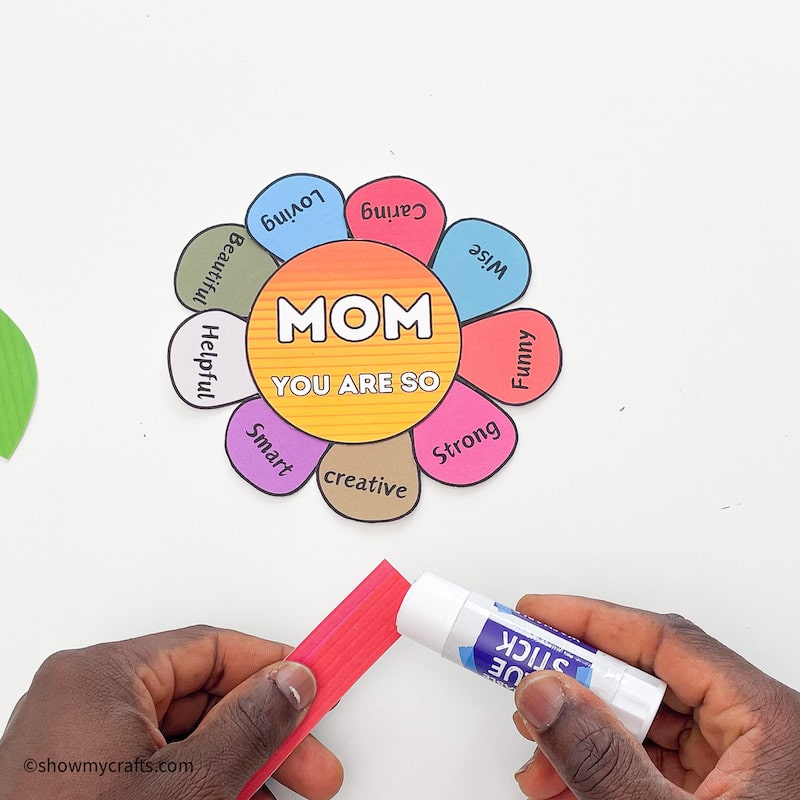
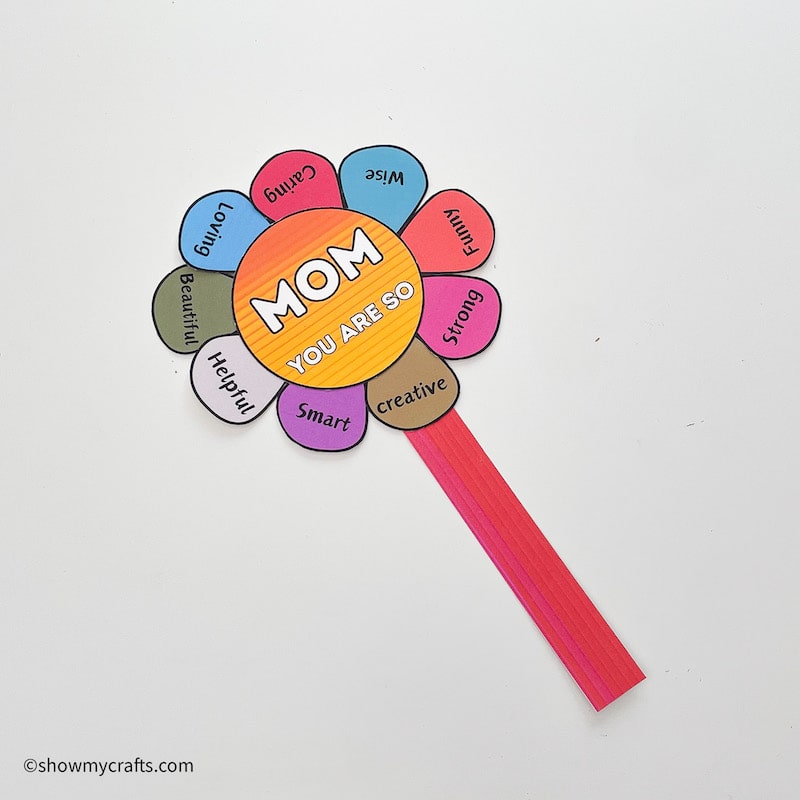
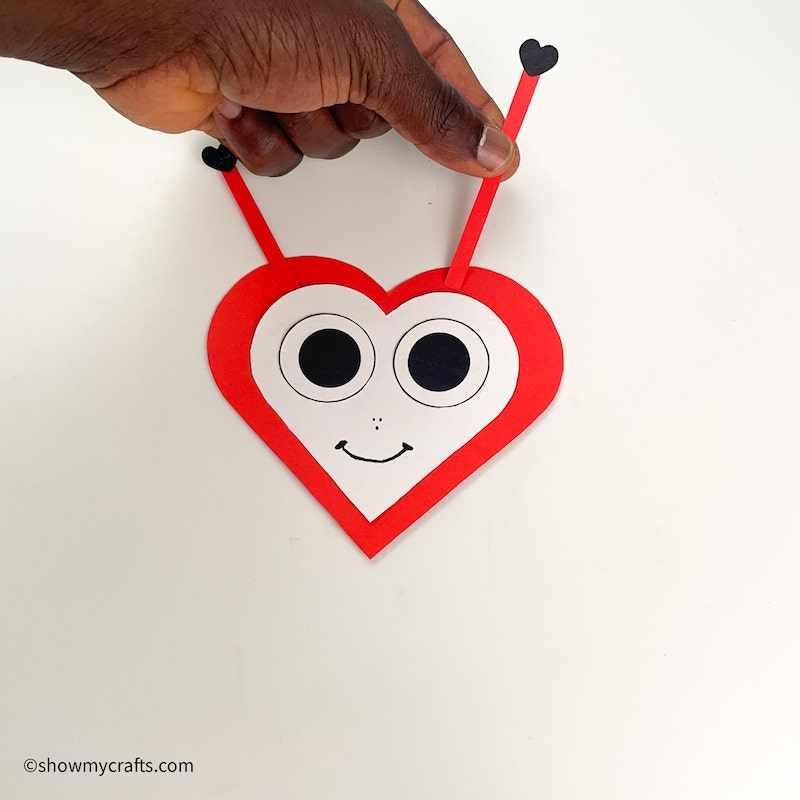
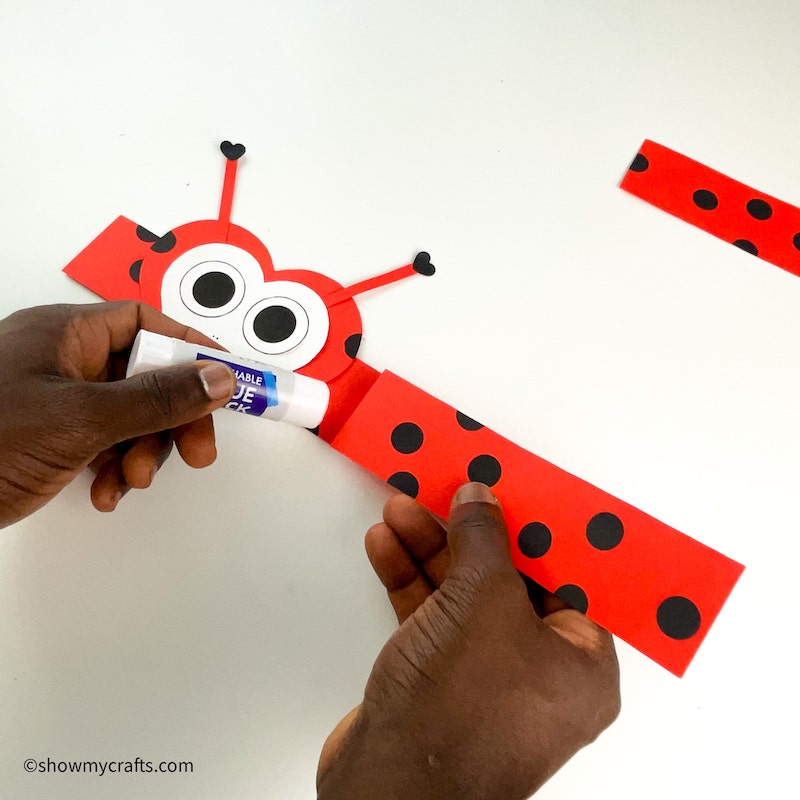
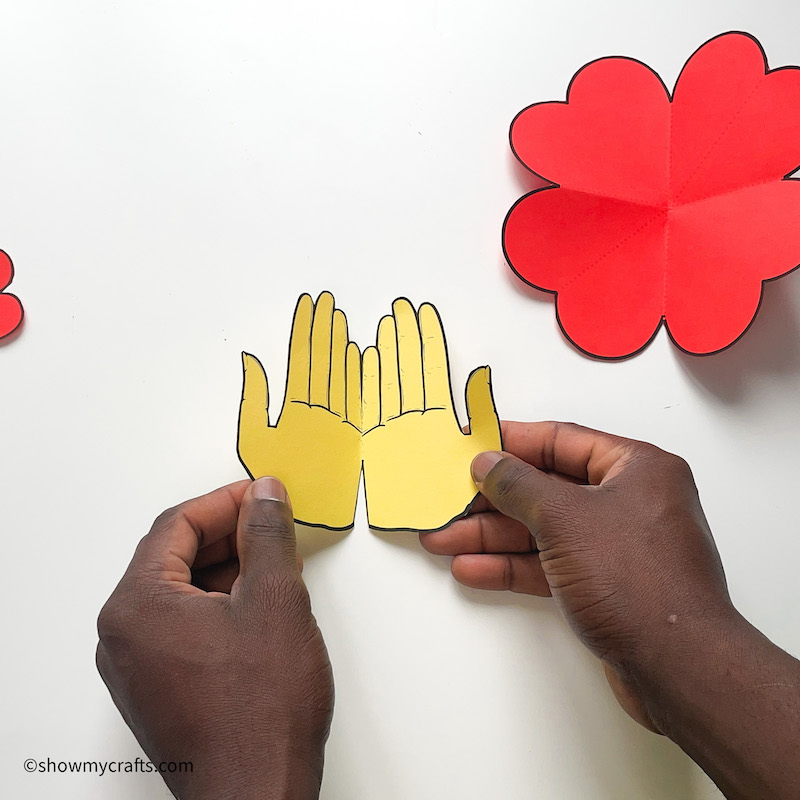
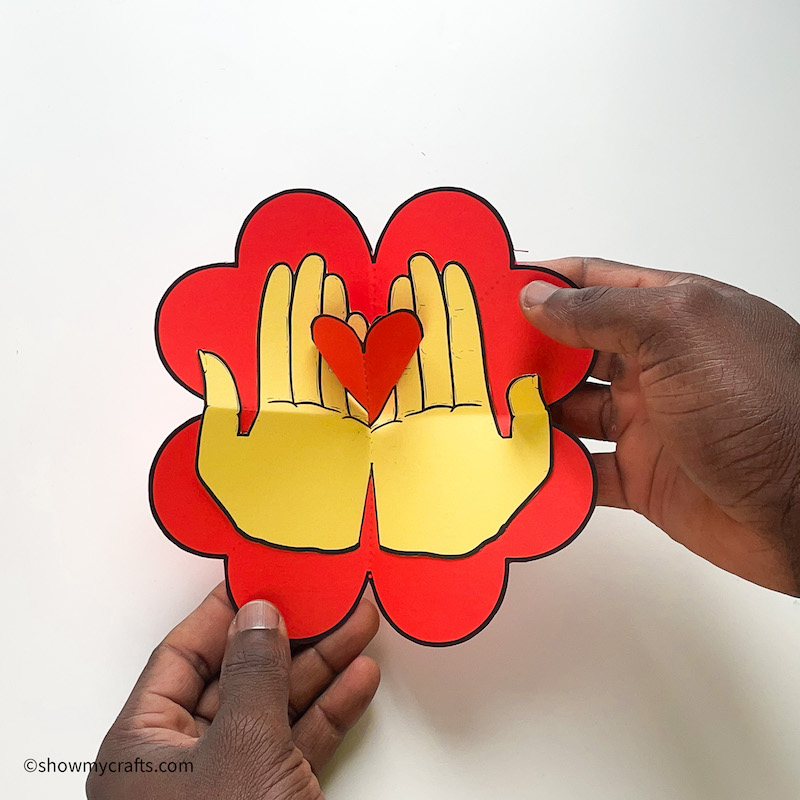
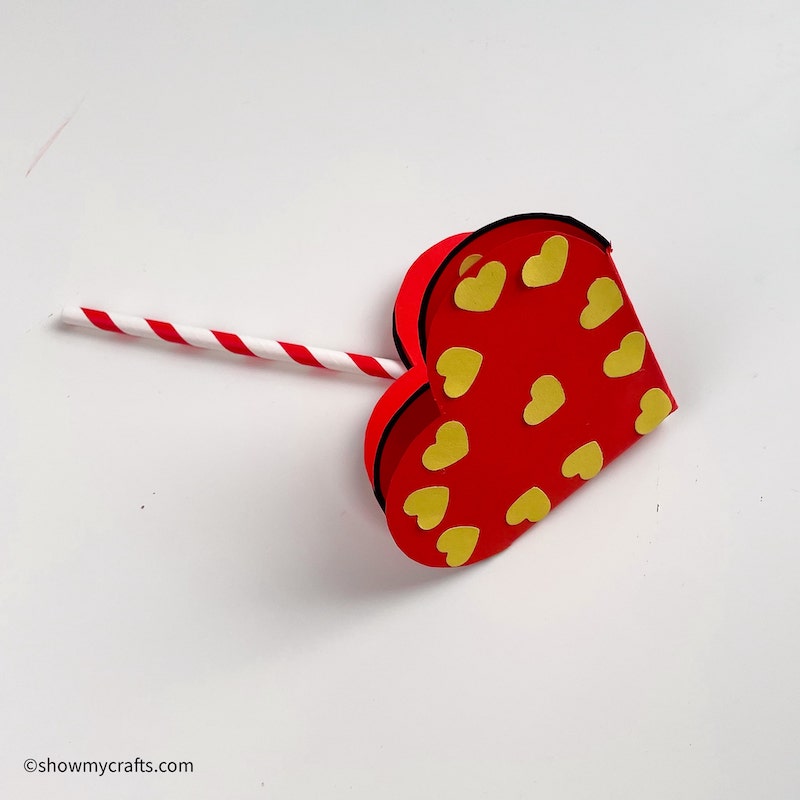
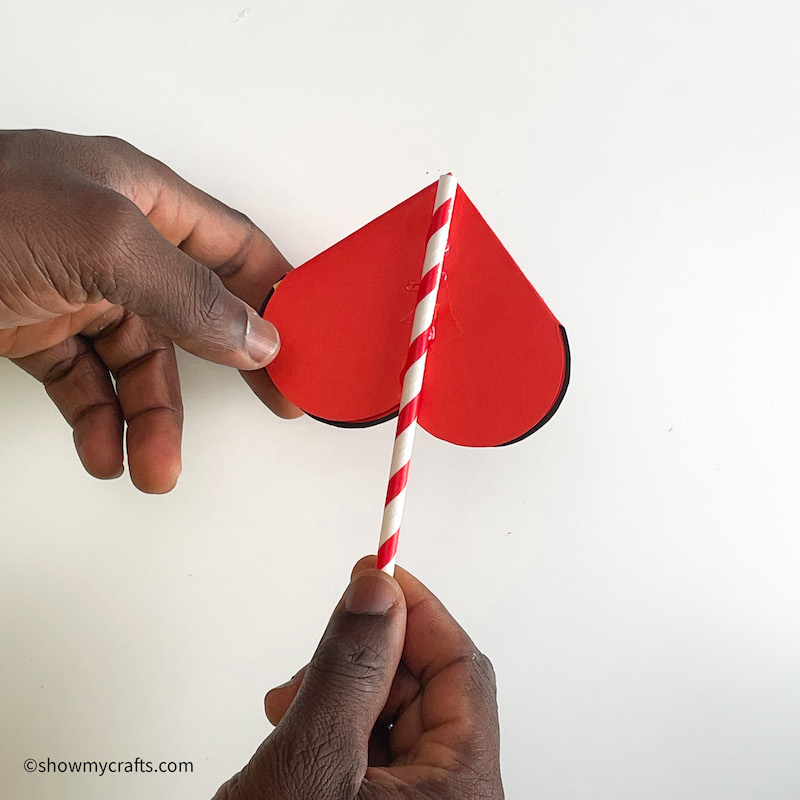
Glue the bee on to one of the extenders. Glue it firmly onto the centre.

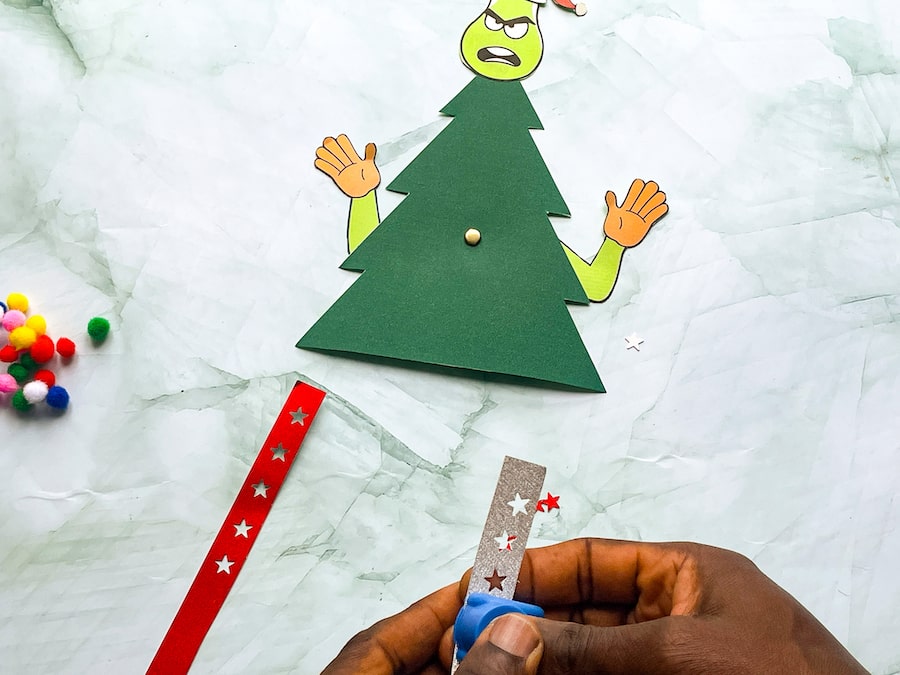
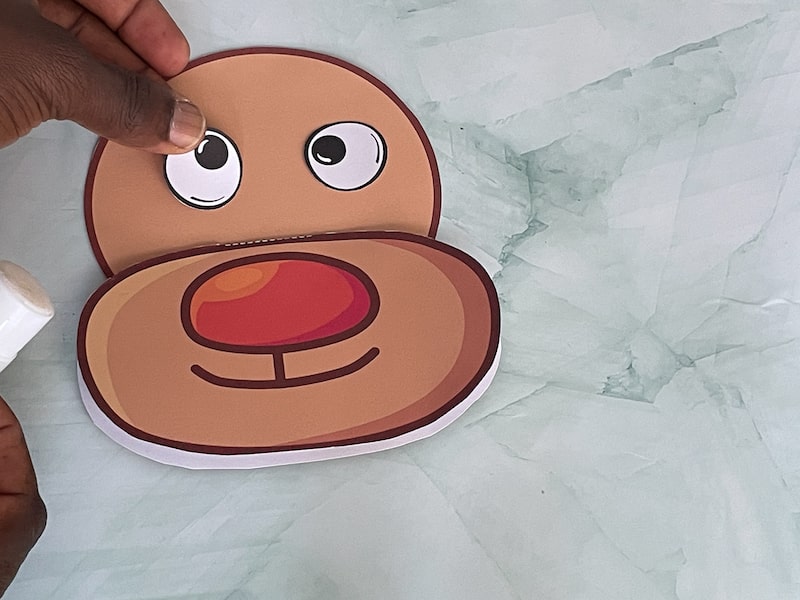
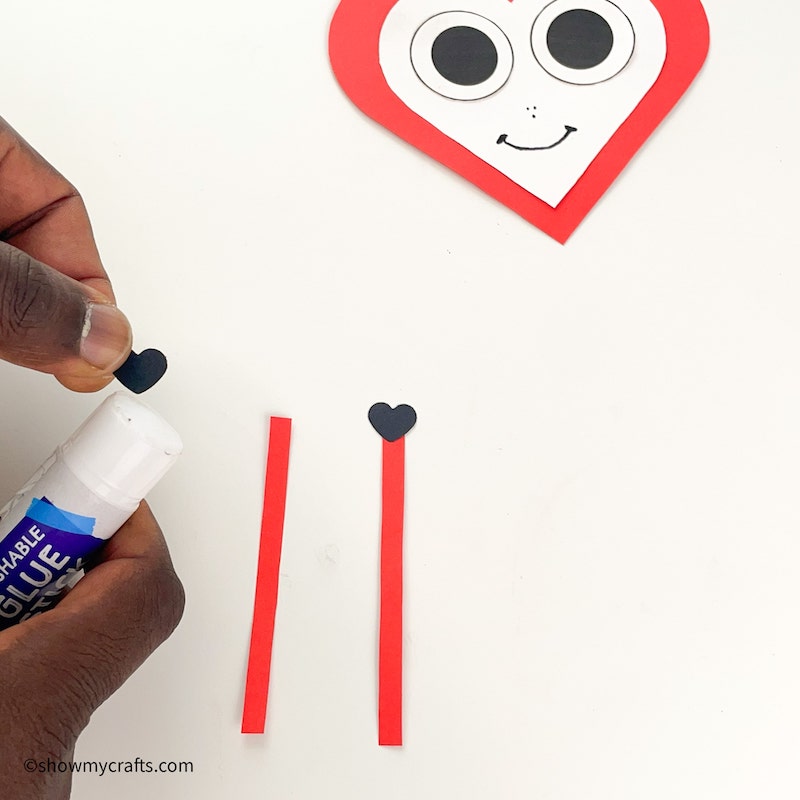
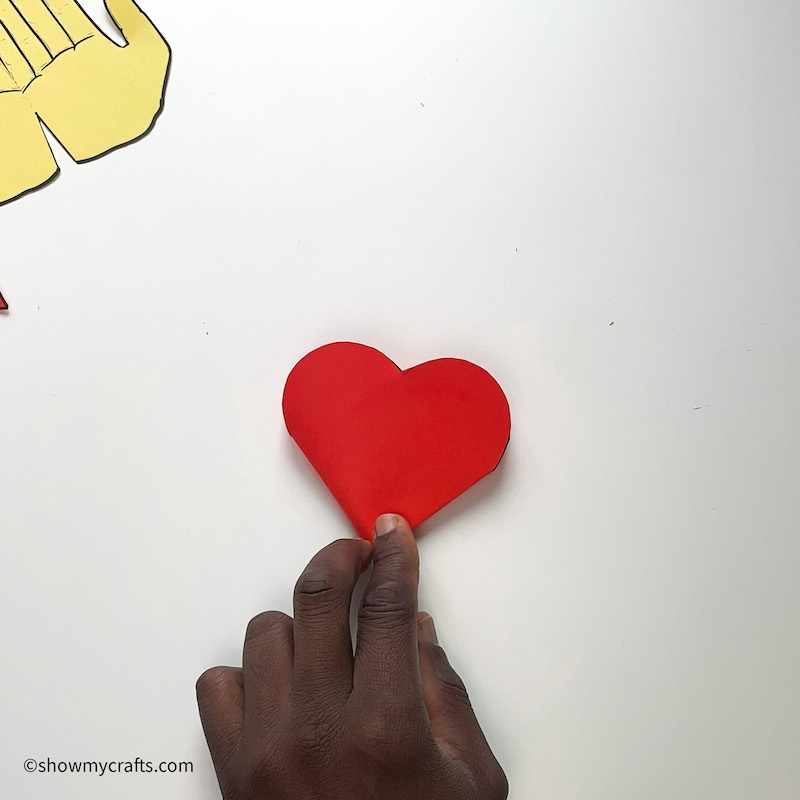
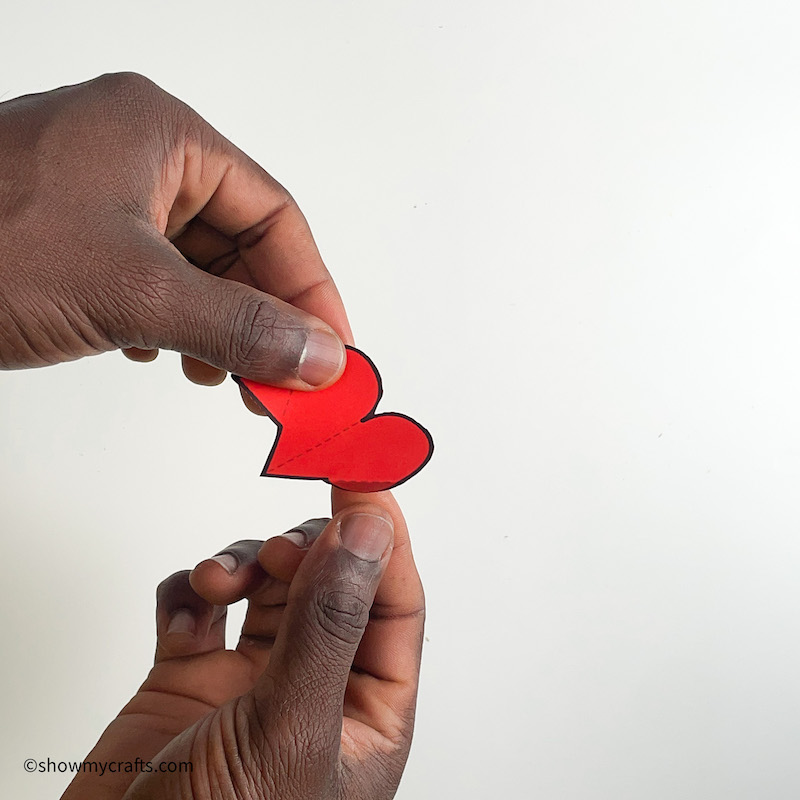
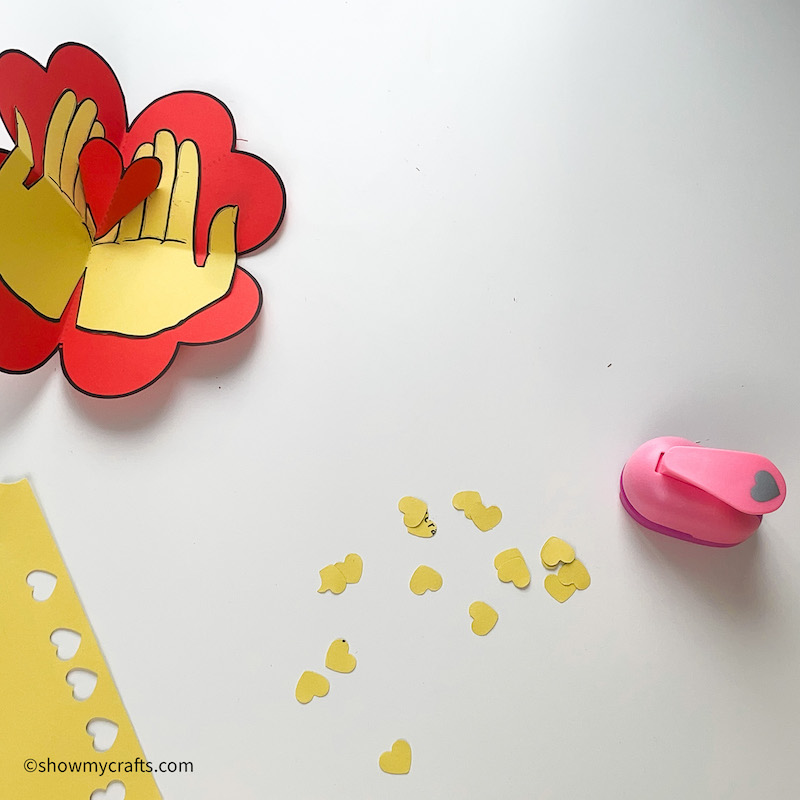
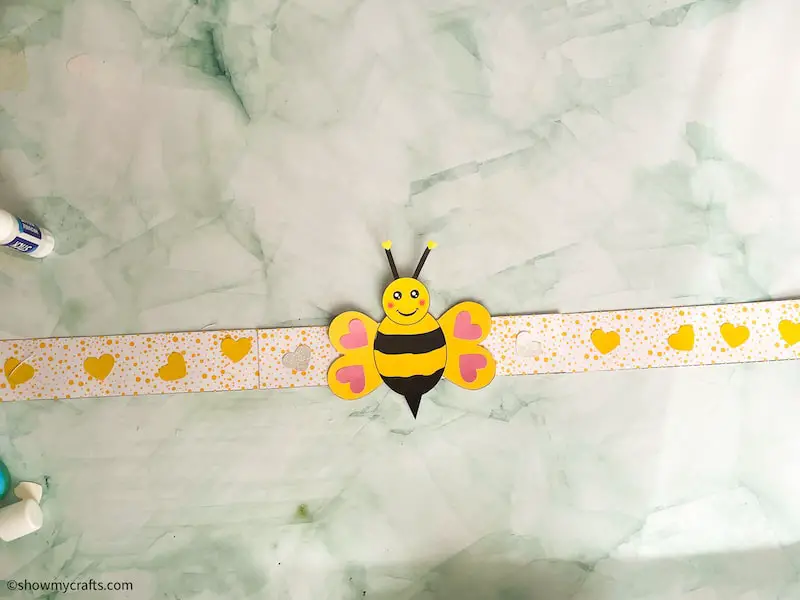
Cut out some hearts using the heart shape punch.
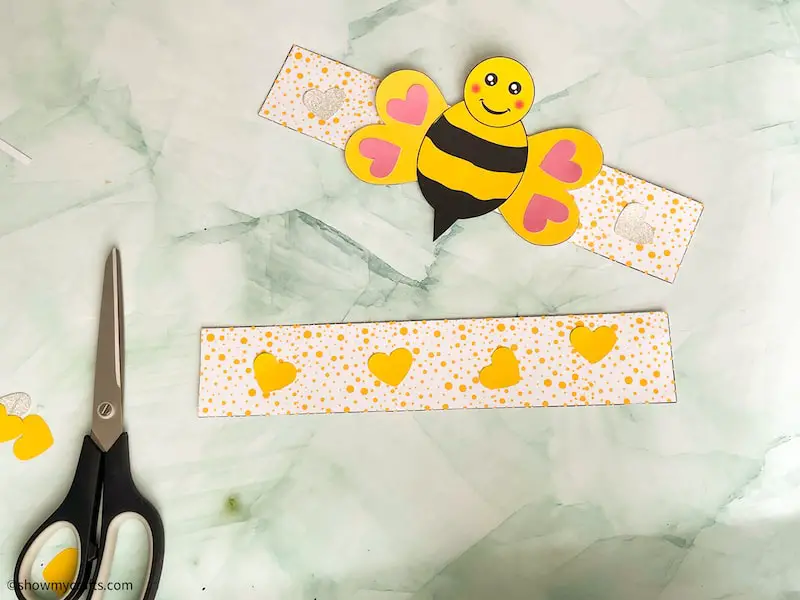
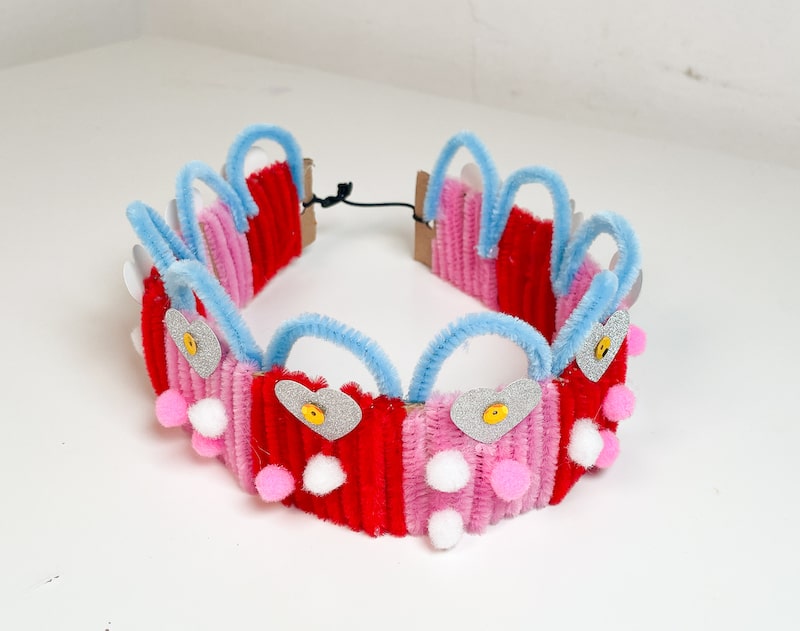
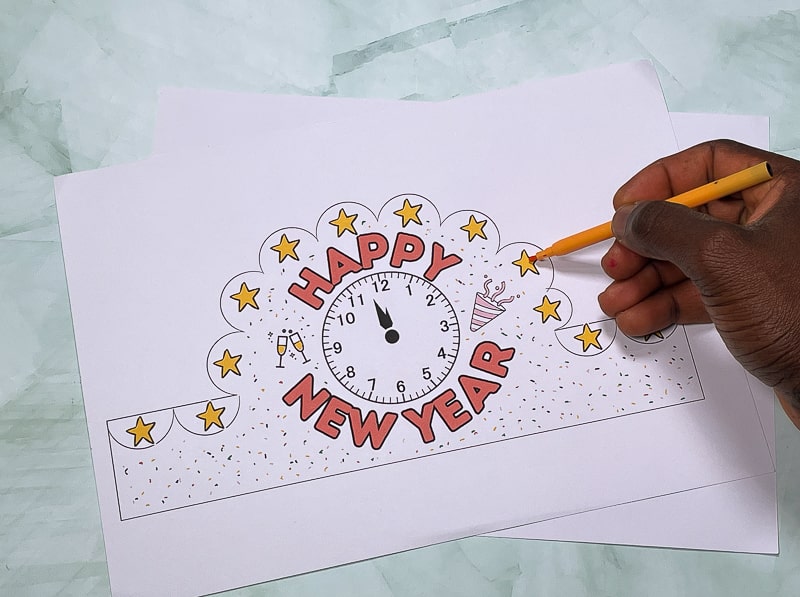
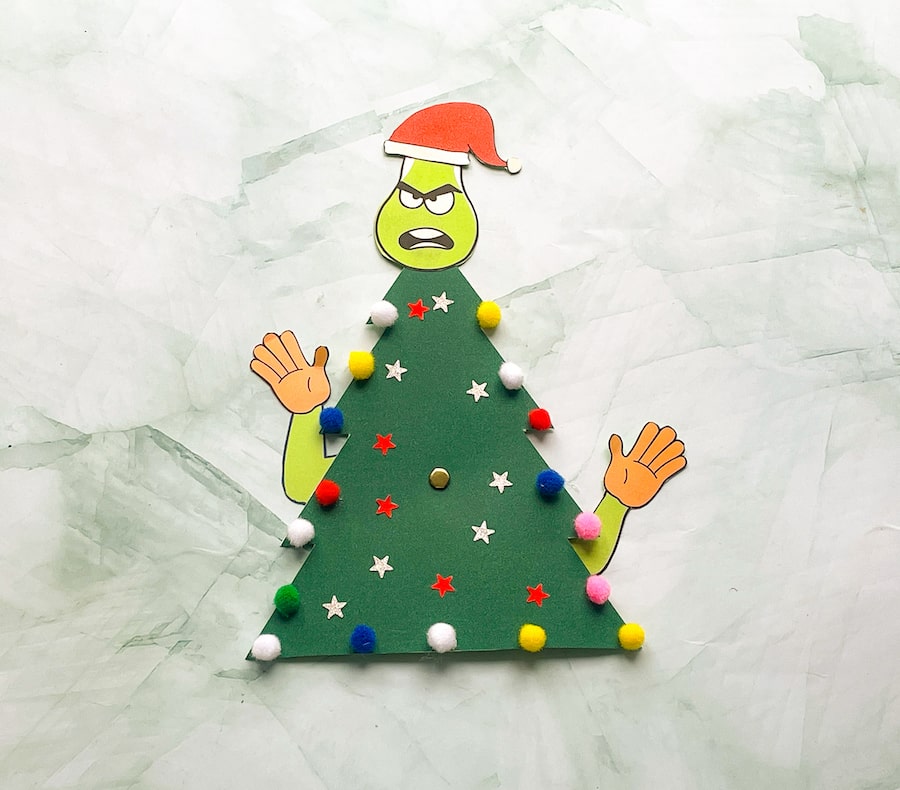
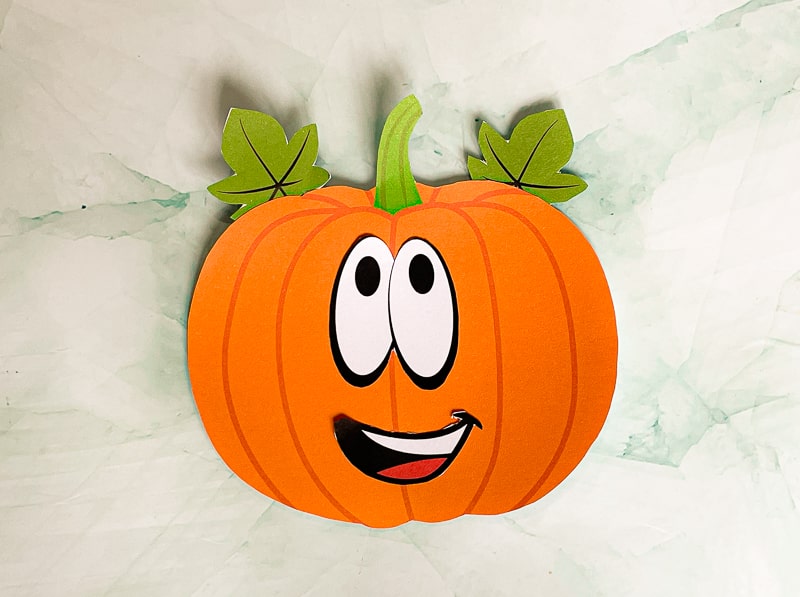
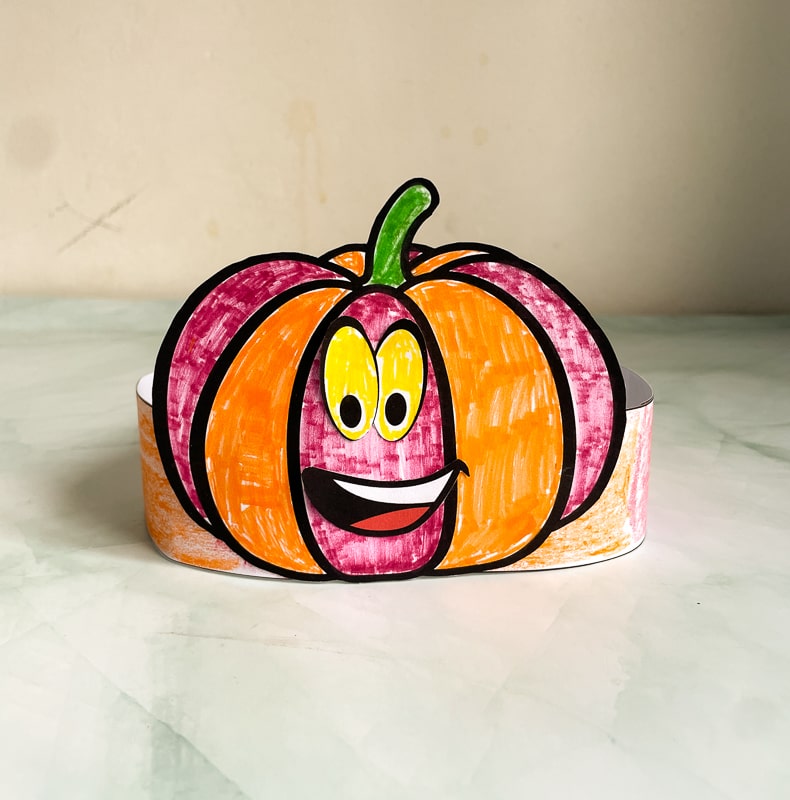
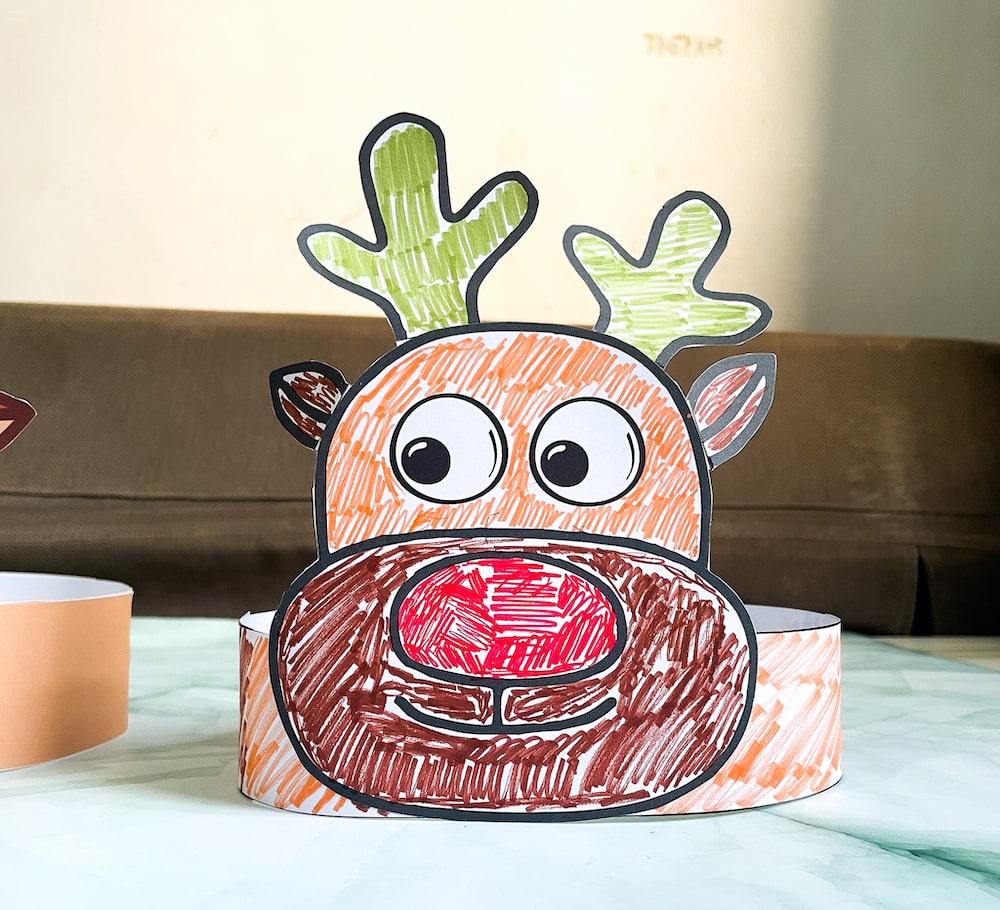
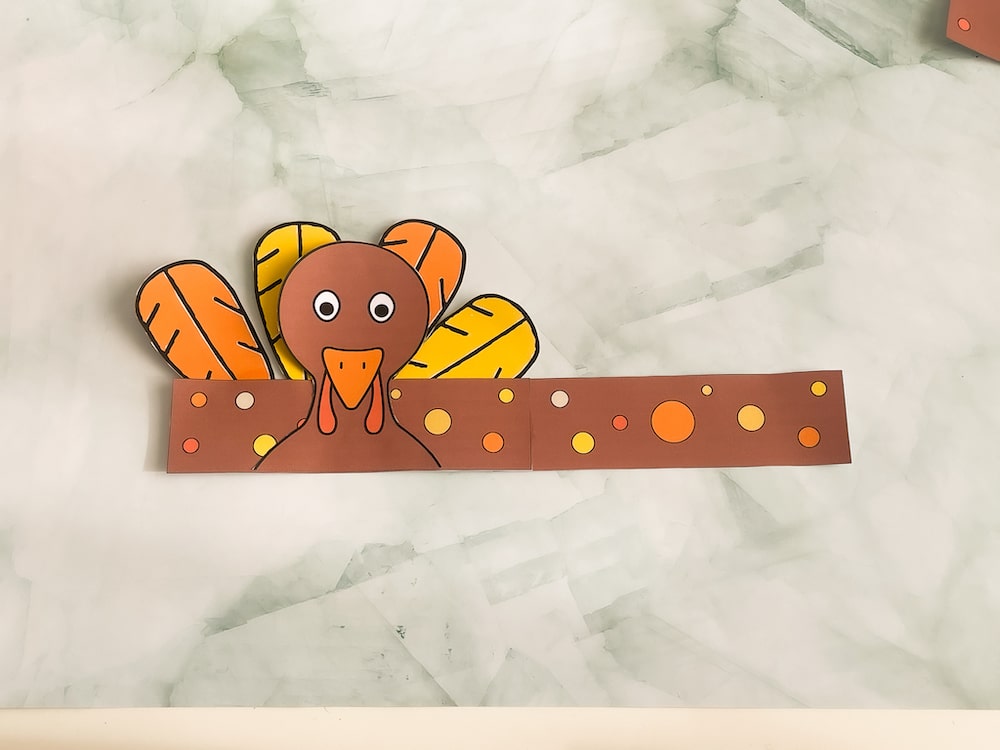
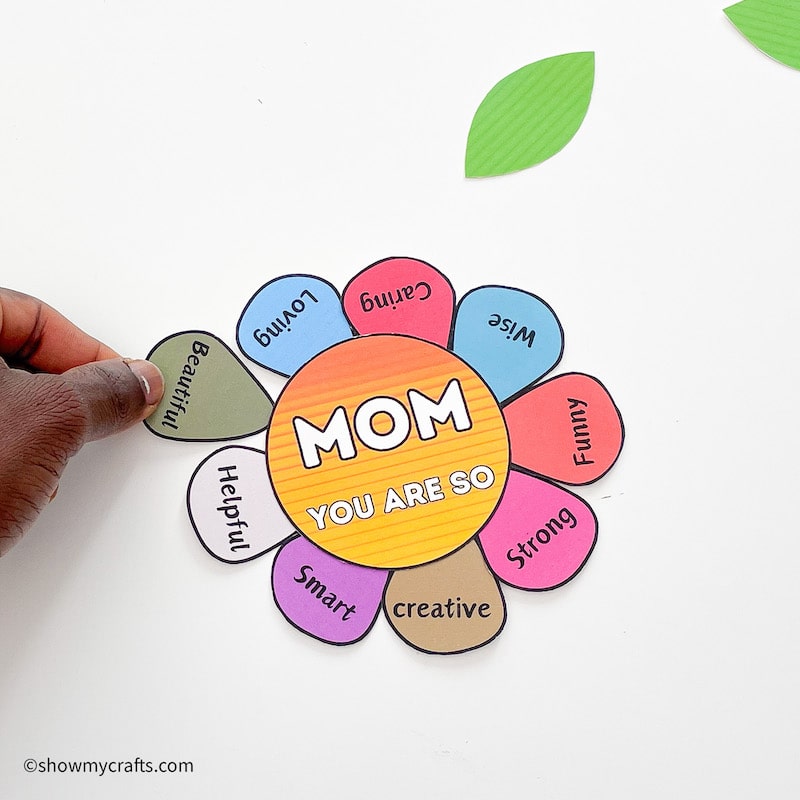
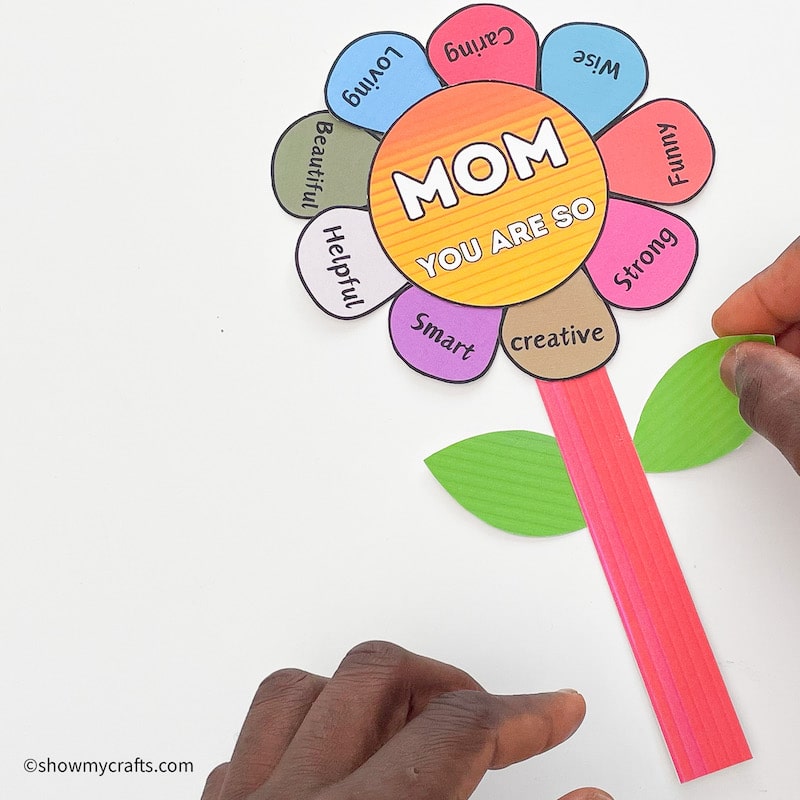
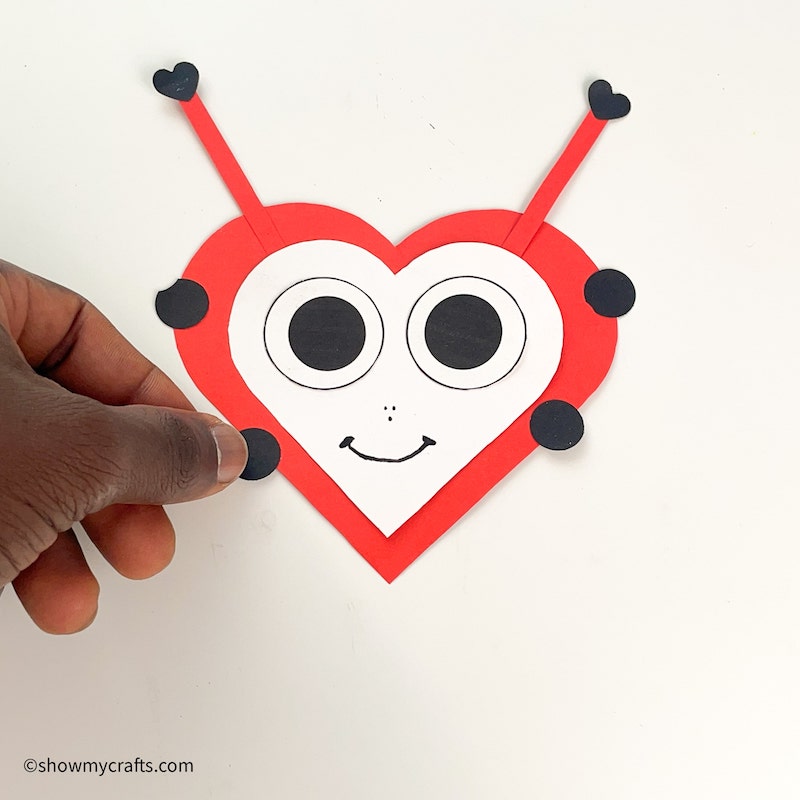
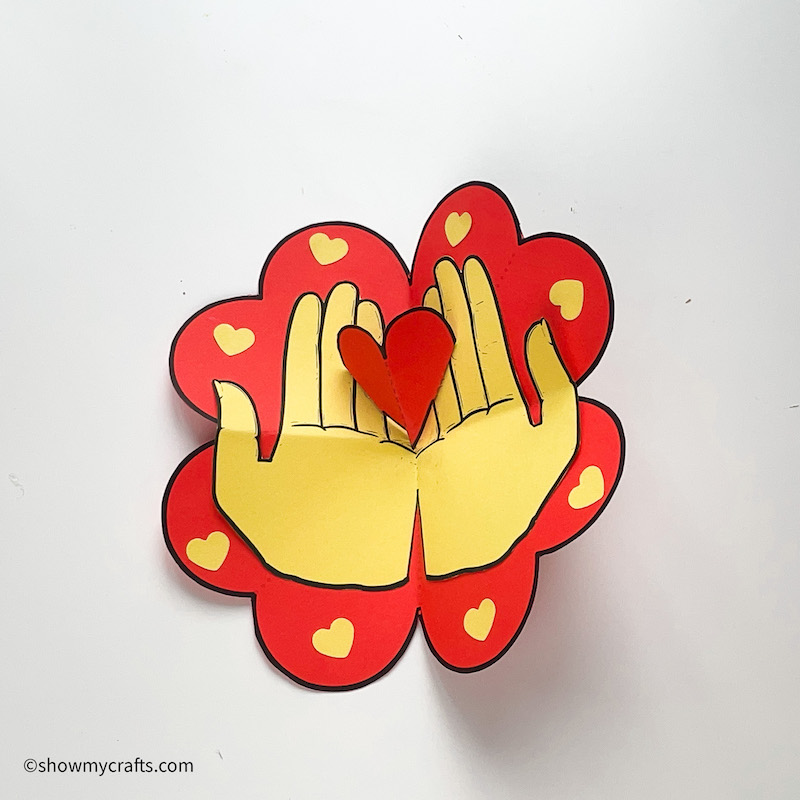
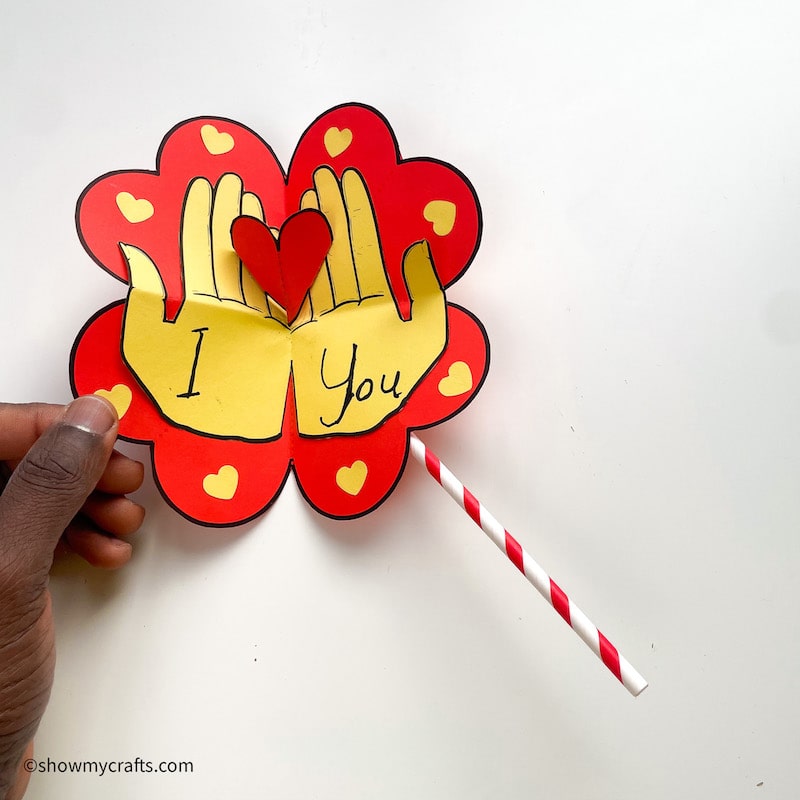
Glue the heart shapes and decorate as you please. Decorate with any craft items you want.
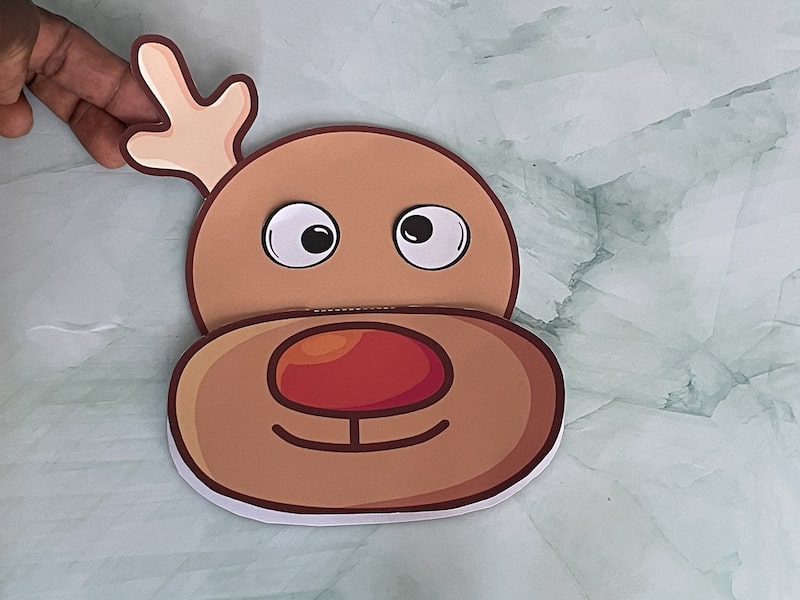
Glue the hearts and use to decorate the extenders as well.
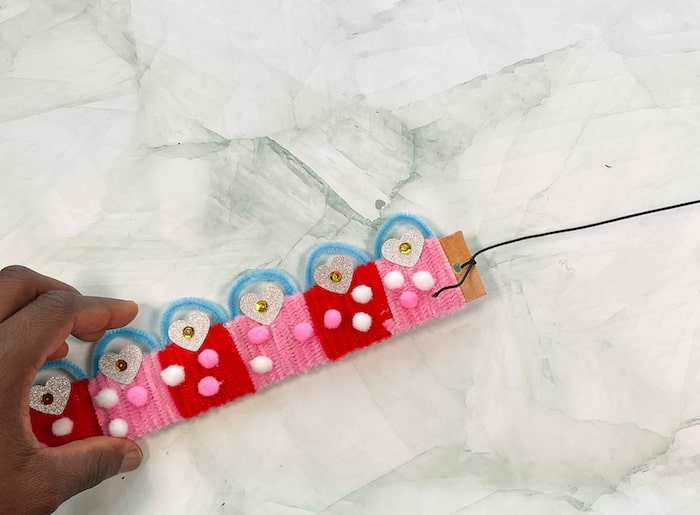
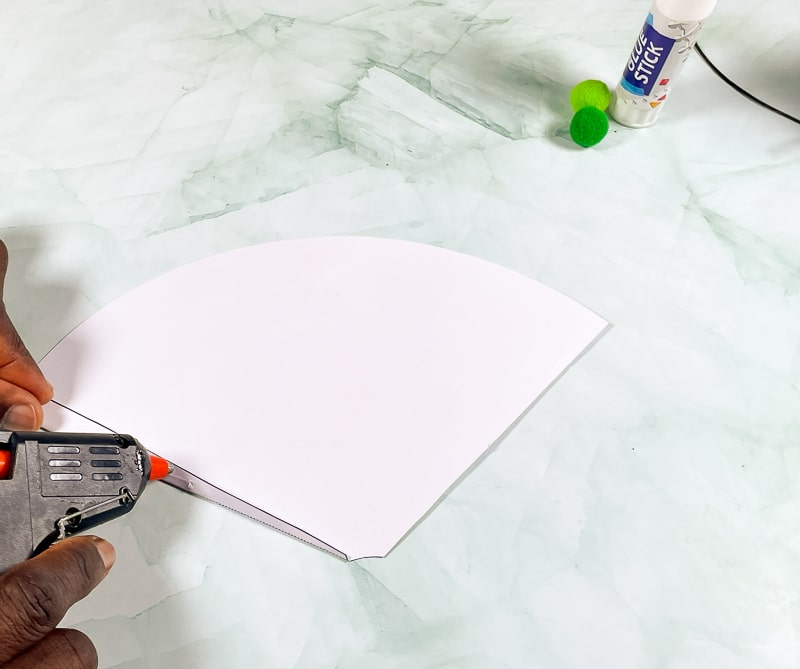
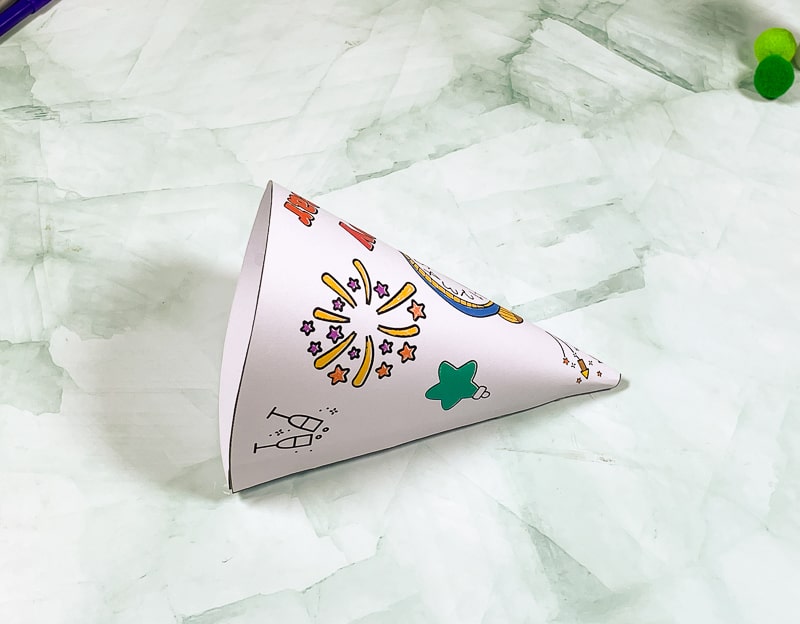
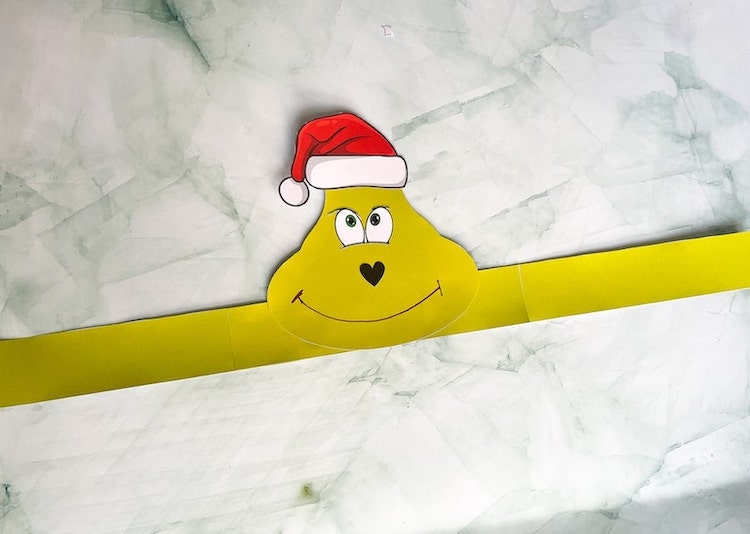
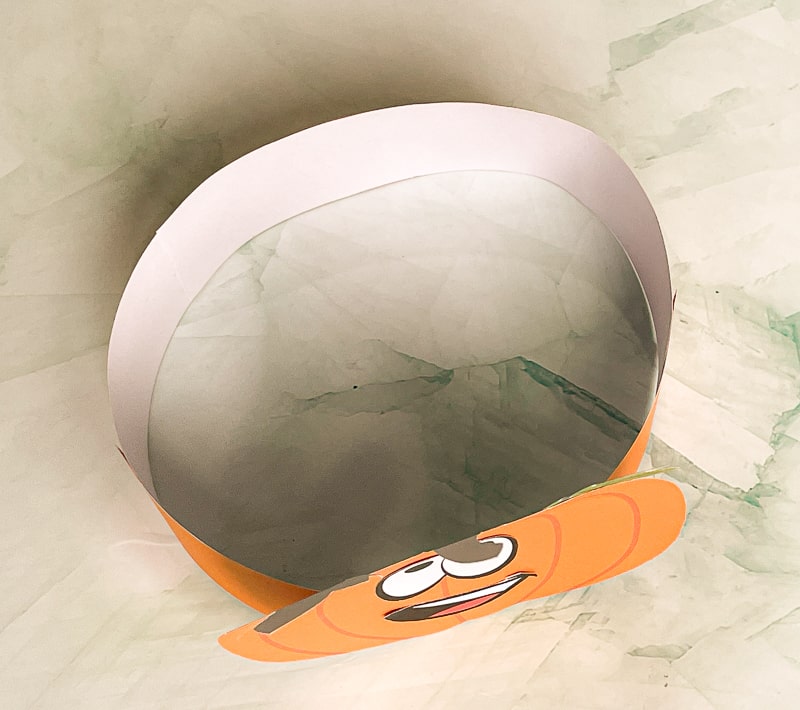
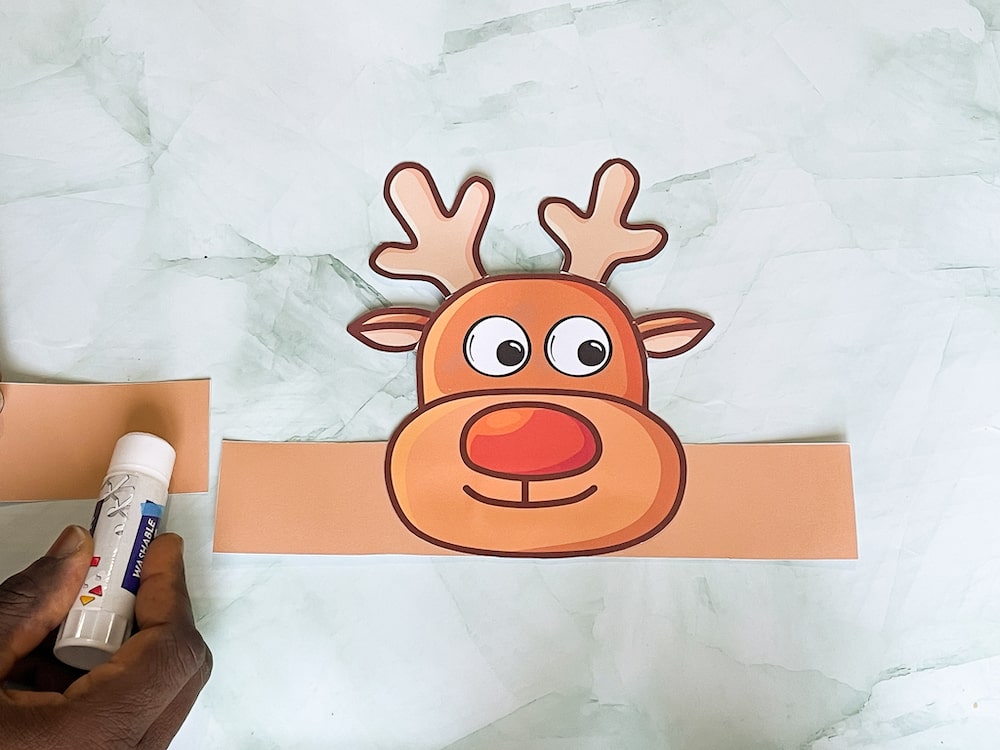
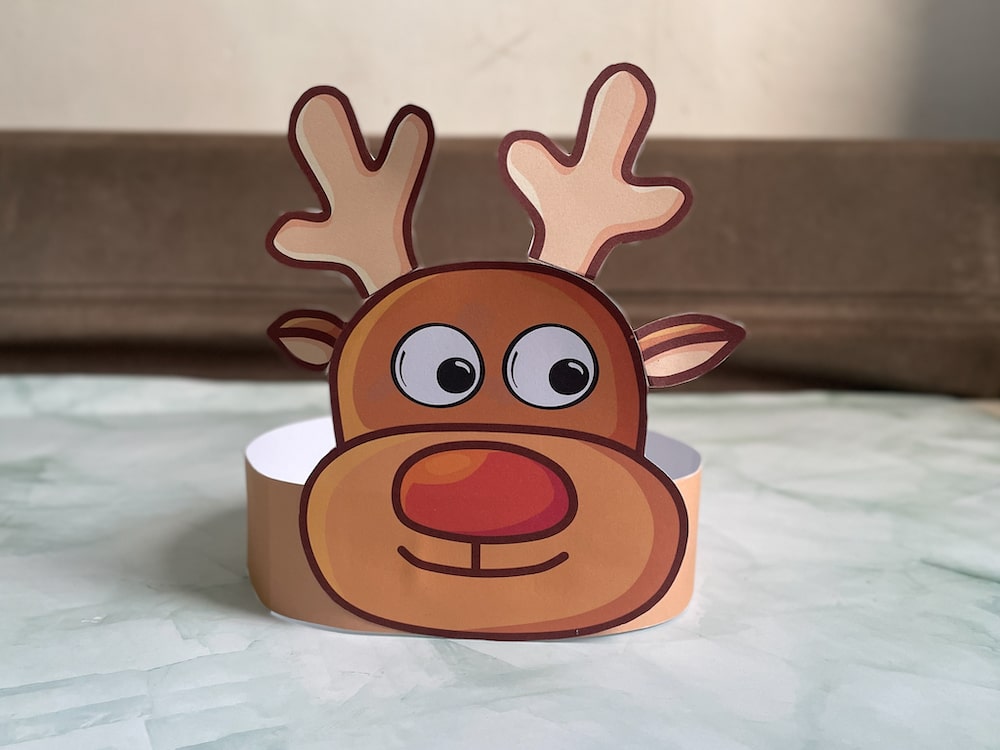
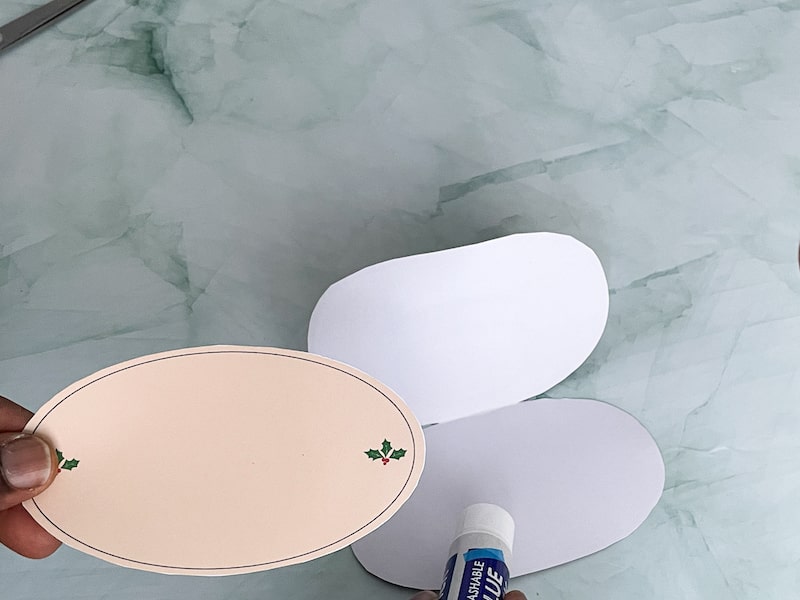
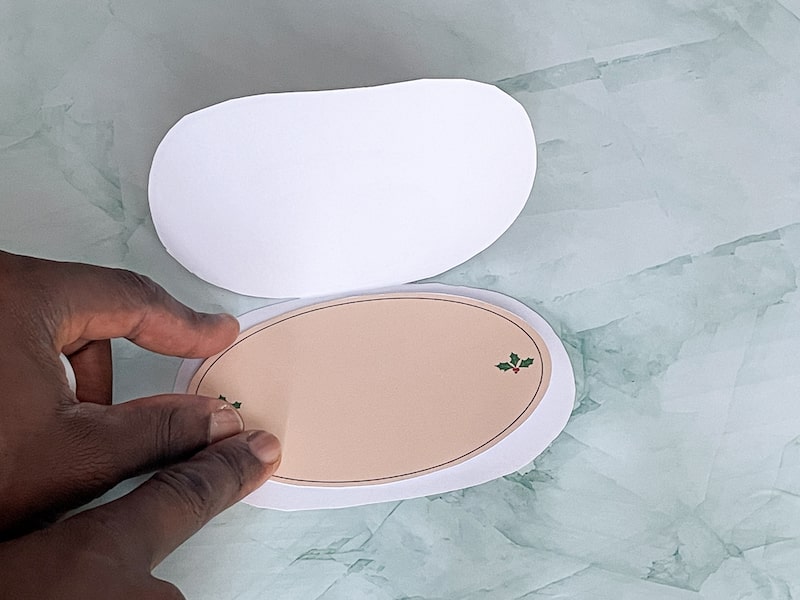
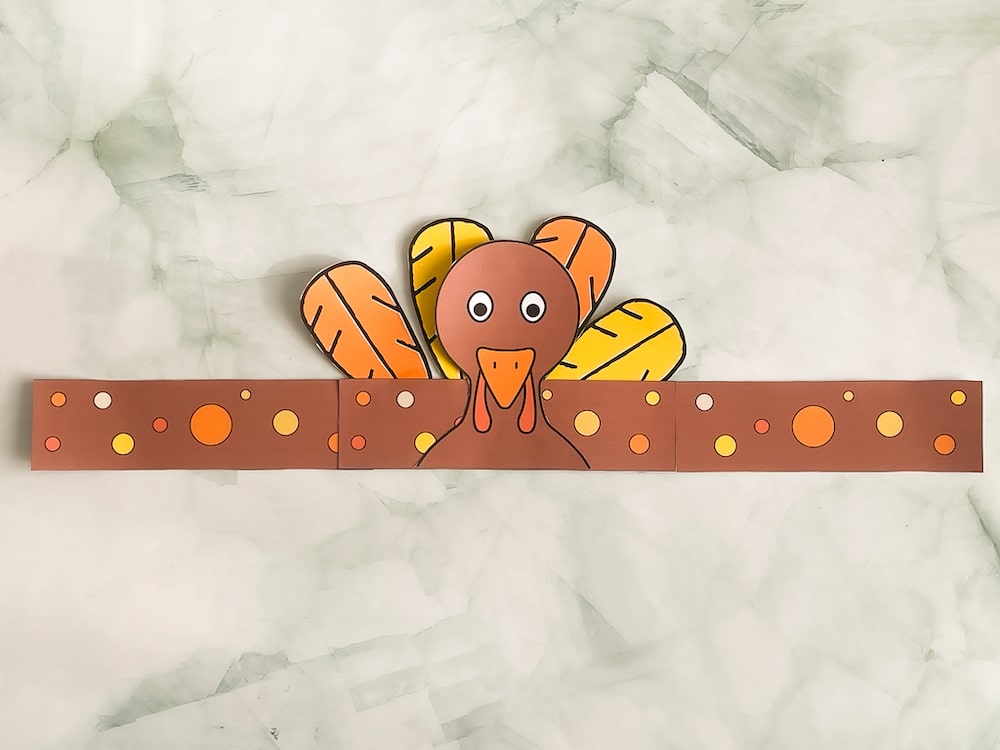
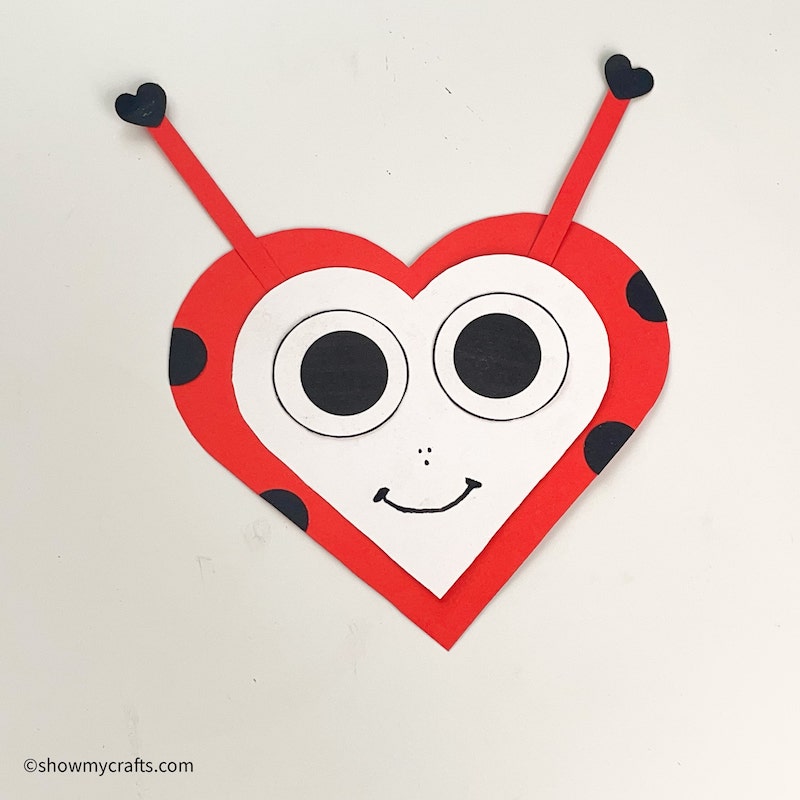
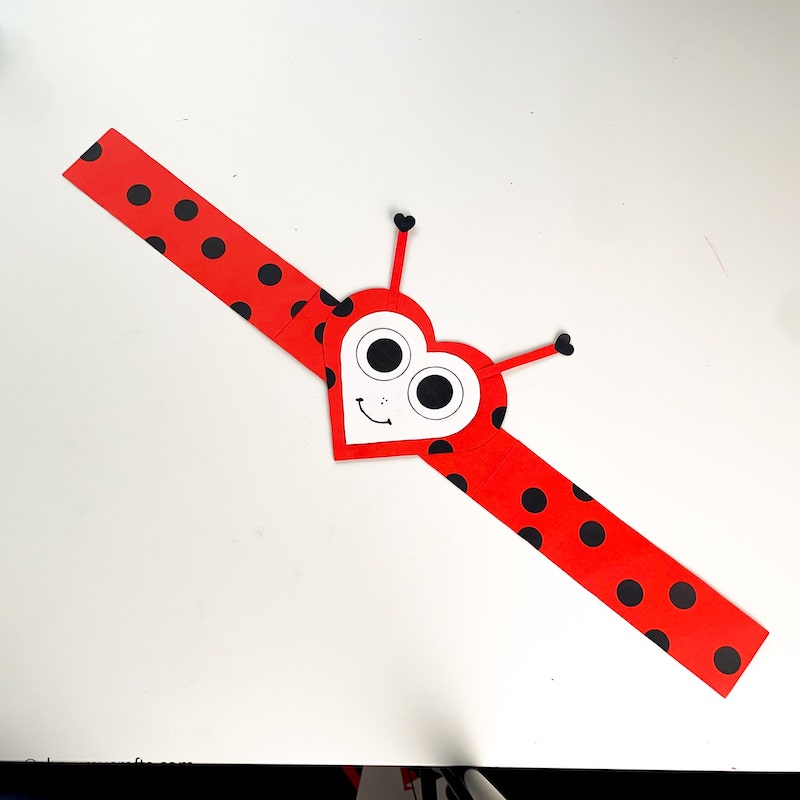
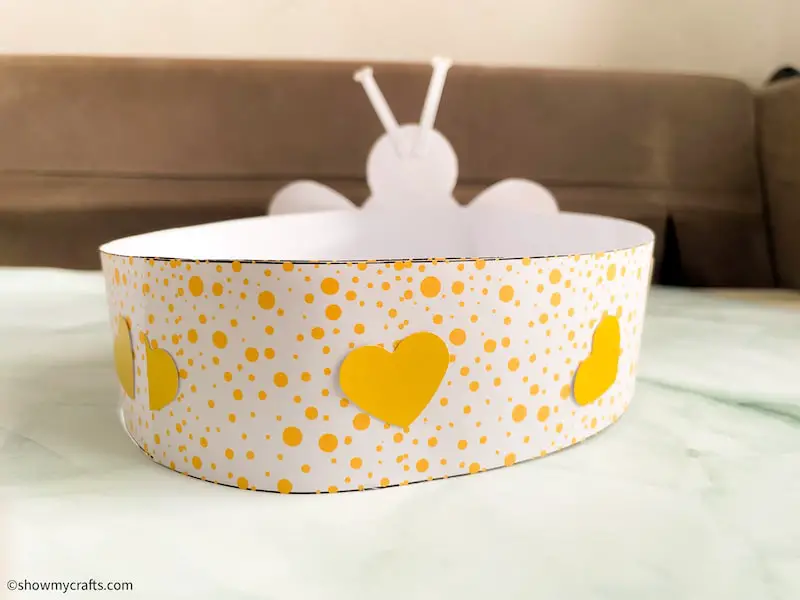
Glue both sides of the extenders and close to make your headband.
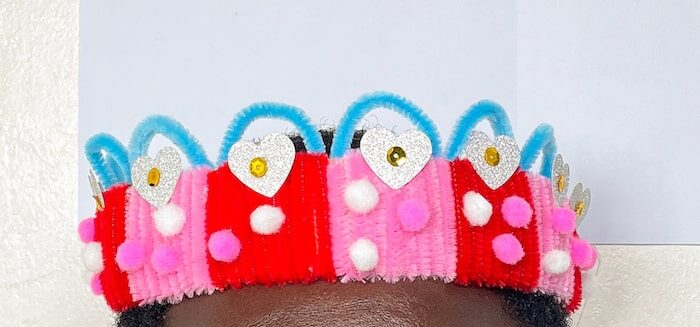
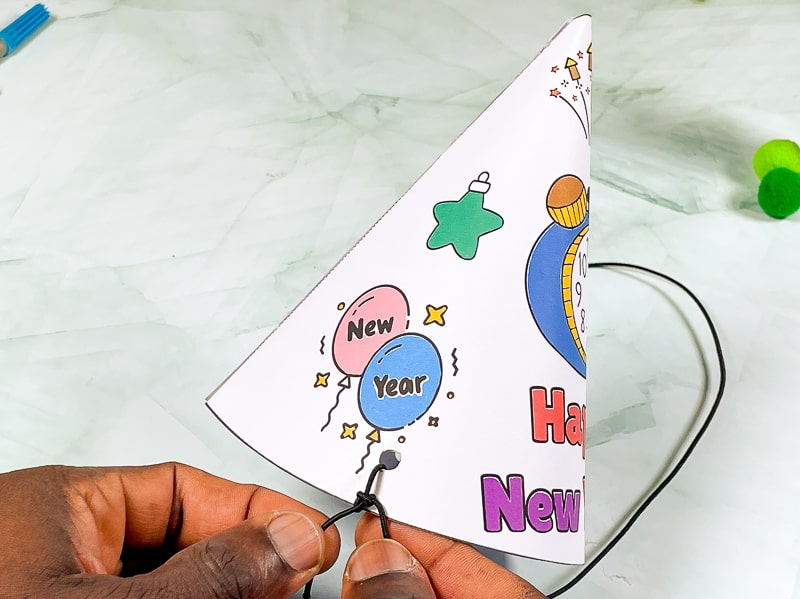
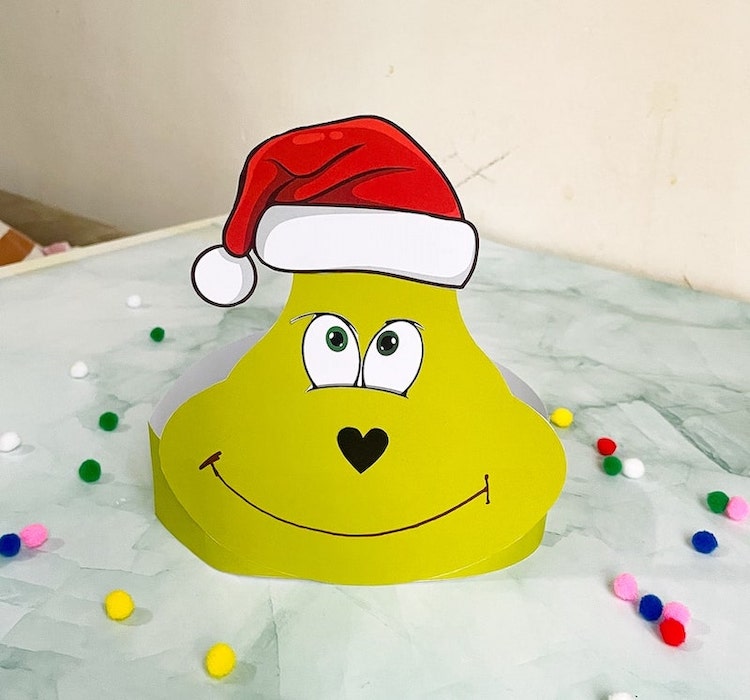
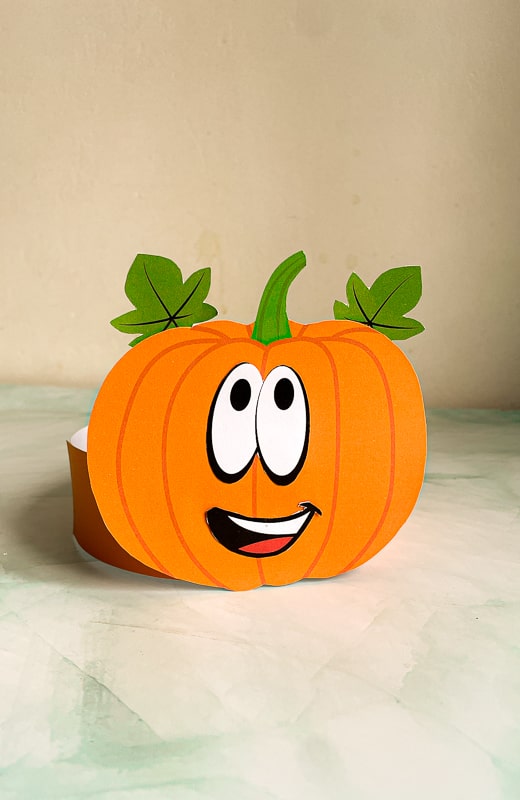
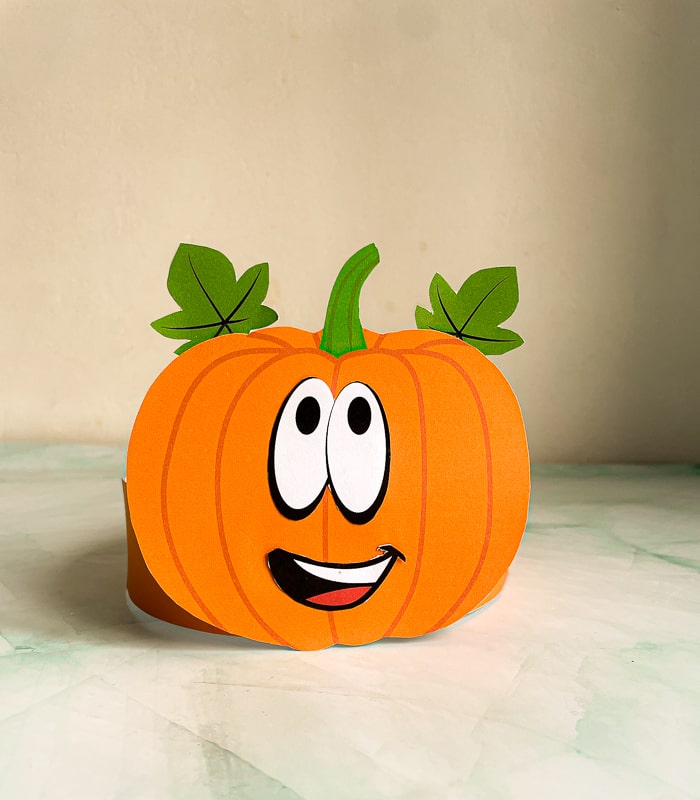
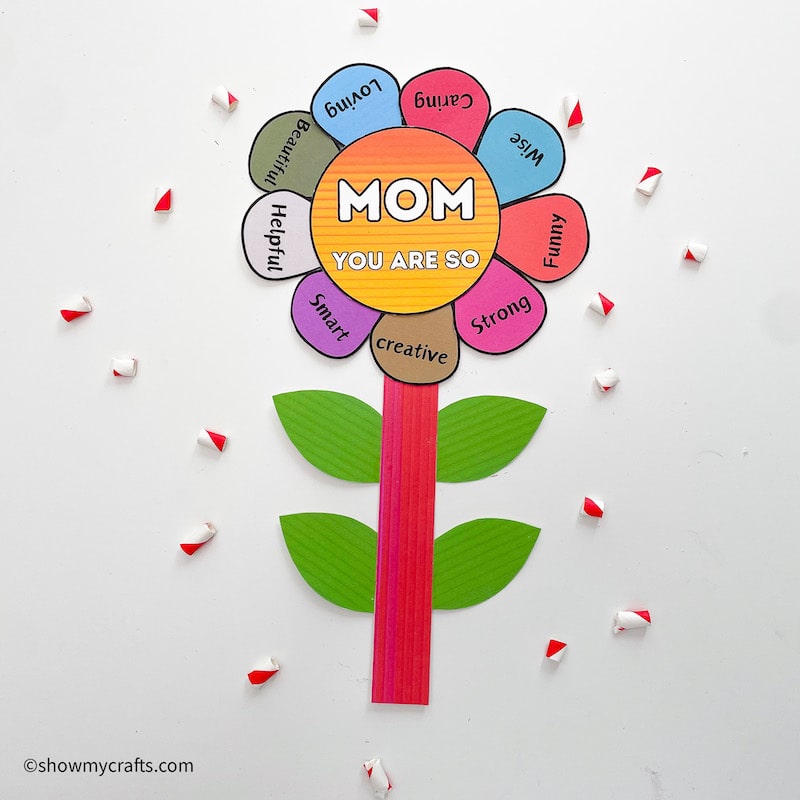
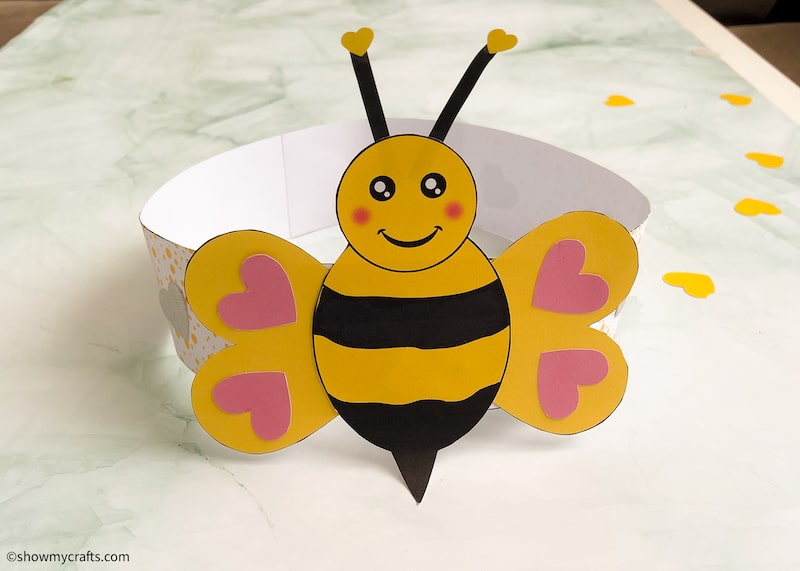
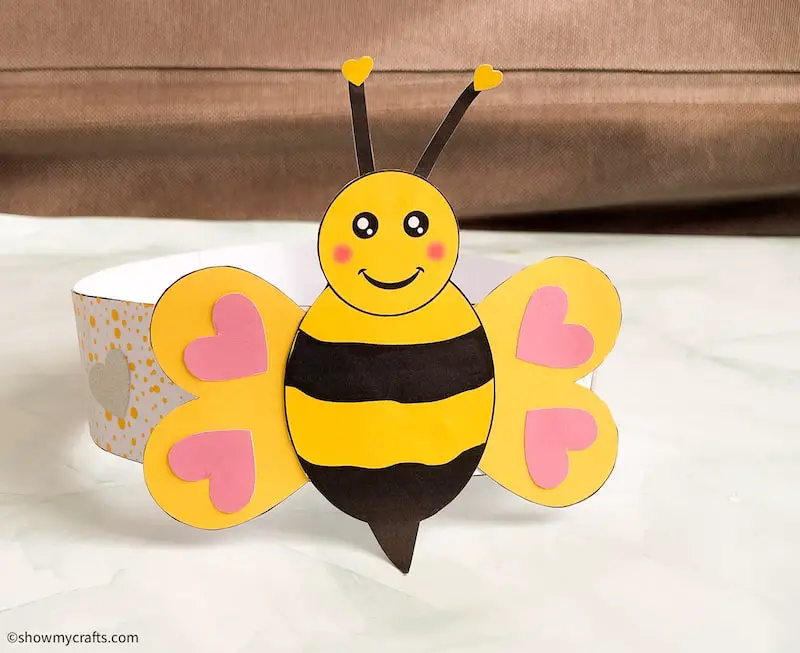
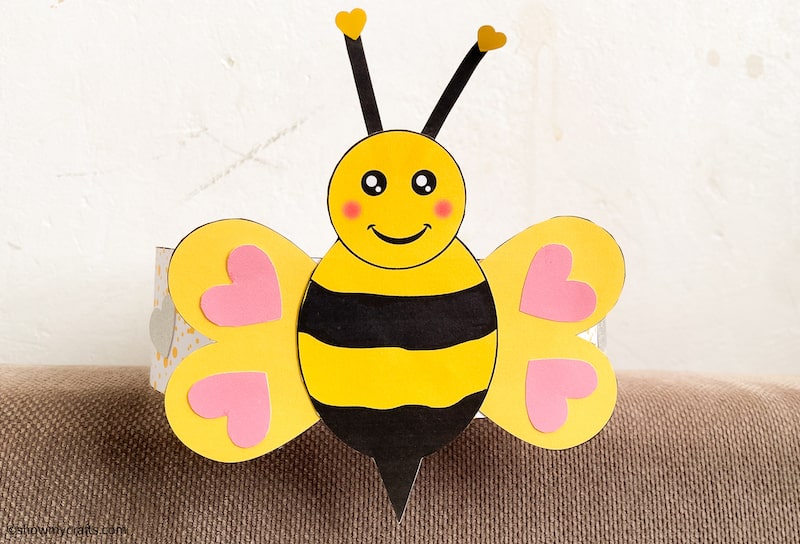
Wear and Enjoy: Secure the headband around your child’s head and let them buzz around the house or classroom as adorable little bees!

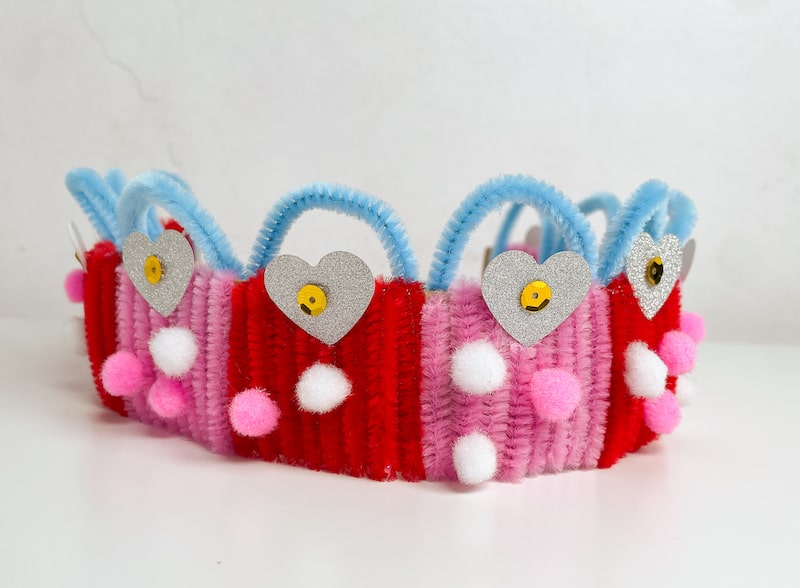
Valentine’s Bee Headband Craft
This bee headband craft isn’t just for general activities; it also makes a delightful Valentine’s craft for kids!

Use heart-shaped cutouts for the bee’s wings or antennae.
Add a sweet message like “Bee Mine” or “You’re the Bee’s Knees” to the headband.
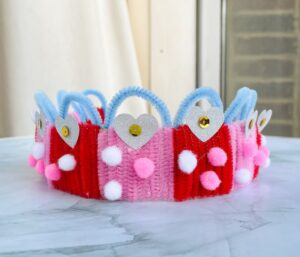
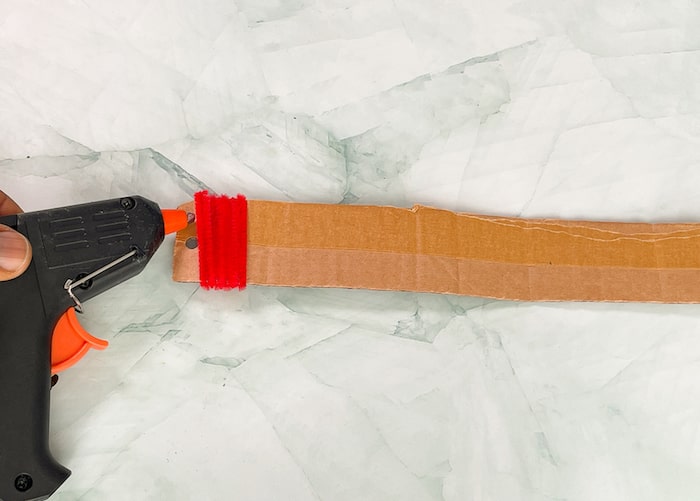
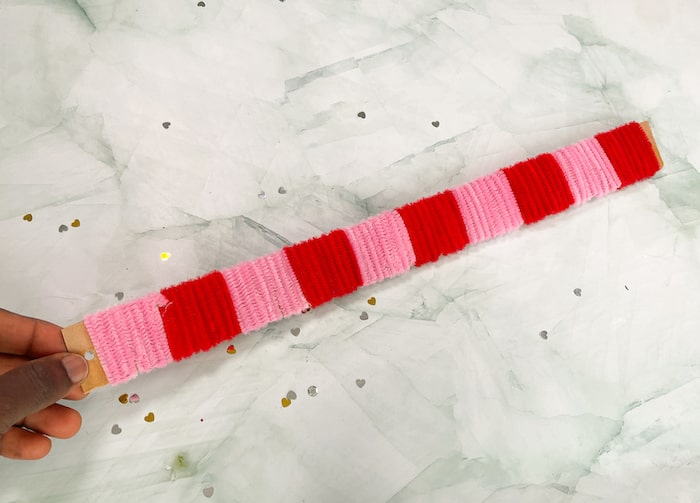
Incorporate Valentine’s colours like red and pink alongside the traditional yellow and black.
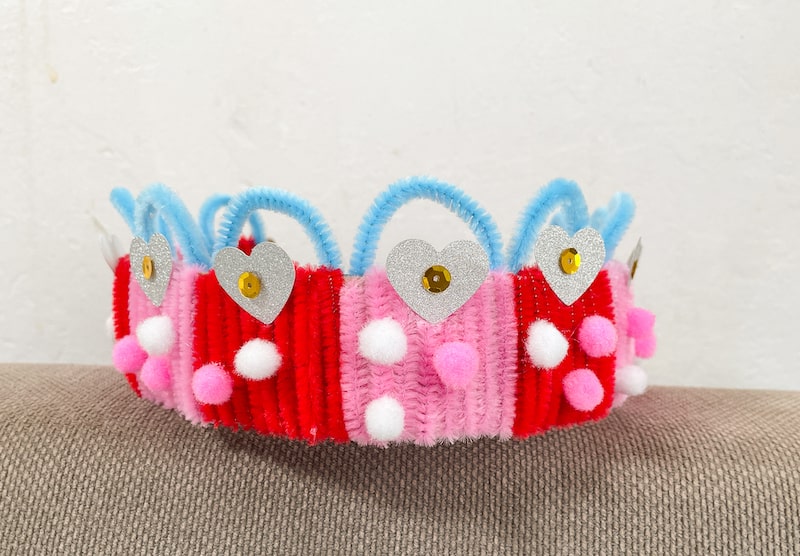
This Valentine’s bee headband craft is suitable for kids aged 3-10 and works perfectly for classroom Valentine’s parties, family craft time, or even as a party favour activity. It’s simple, quick, and gives children a creative way to celebrate the holiday while learning about bees.
Occasions for Making a Bee Headband Craft
A bee headband craft is versatile and can be made for a variety of occasions, such as:
Spring and Summer Activities: Celebrate the arrival of warmer weather and blooming flowers with a bee-themed craft.
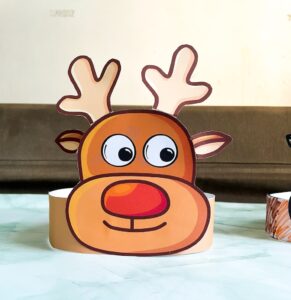
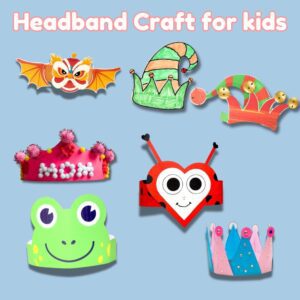
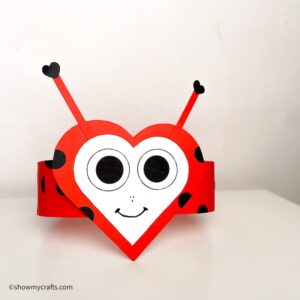
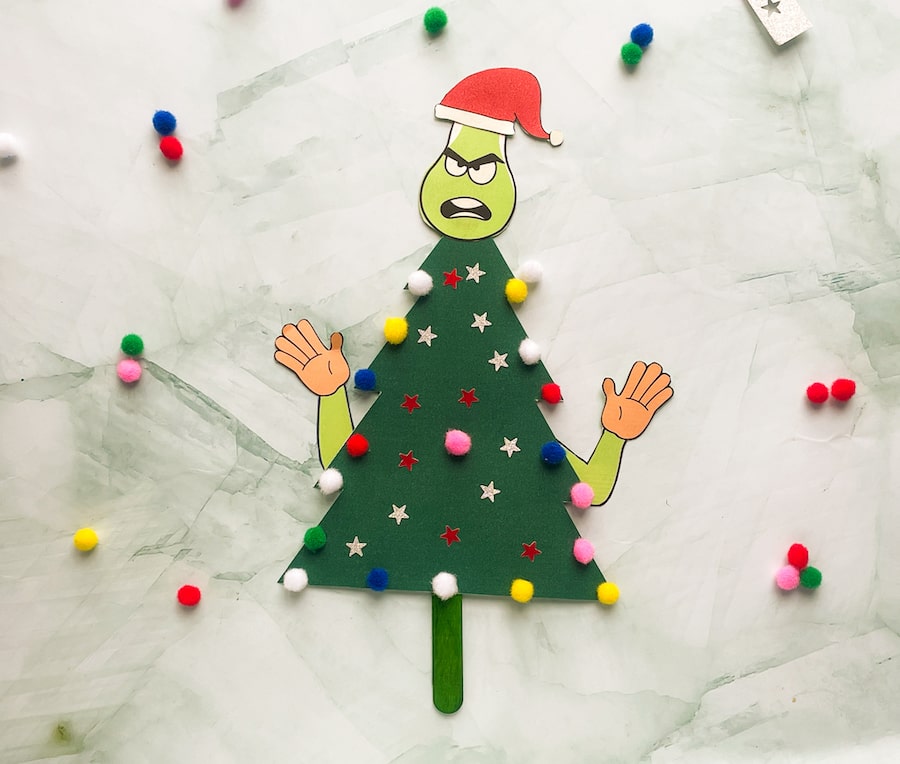
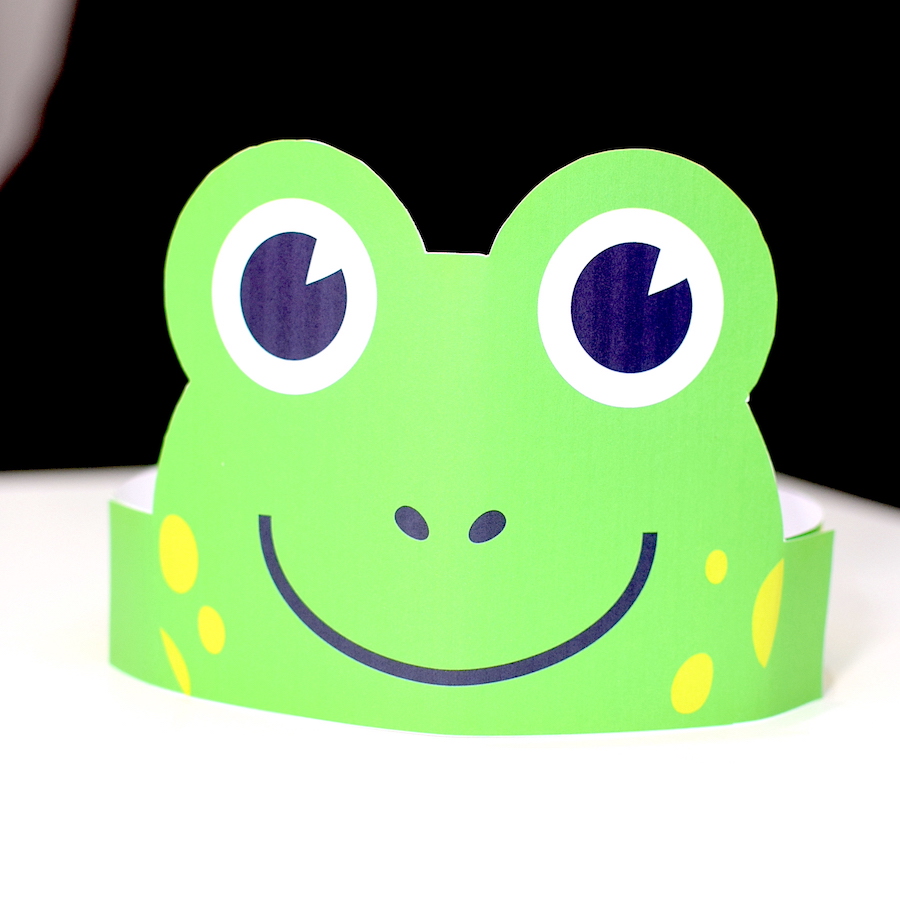
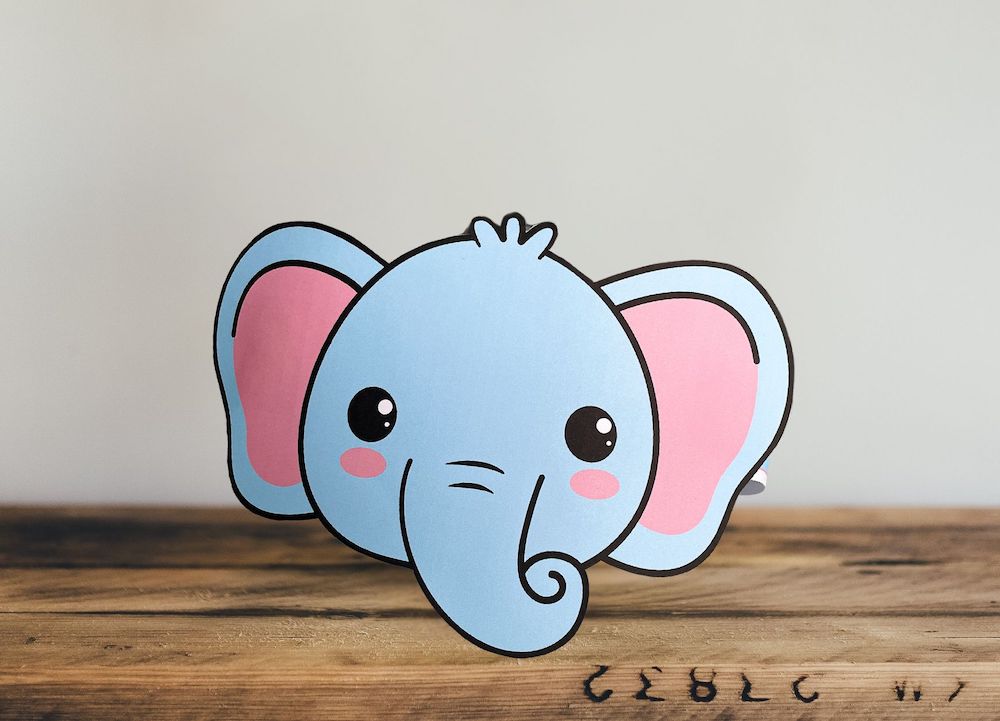
Birthday Parties: Add a buzzing activity to a nature or insect-themed party. For example, this ladybird headband craft or Frog Headband Craft
School Projects: Incorporate this craft into lessons about pollination, bees, and the environment.
Valentine’s Day: As mentioned above, a Valentine’s bee headband is both adorable and meaningful.
Rainy Day Fun: Keep kids entertained indoors with a creative project that lets their imagination take flight.

Download Your Free Printable Bumble Bee Template
Click here to get started with your free bee headband template today!
Making a bee headband craft is an enjoyable and enriching activity for kids of all ages. Whether you’re creating a simple bee headband for fun or customising it for a Valentine’s Day craft, this project is sure to bring smiles and creativity into your home or classroom. Happy crafting!