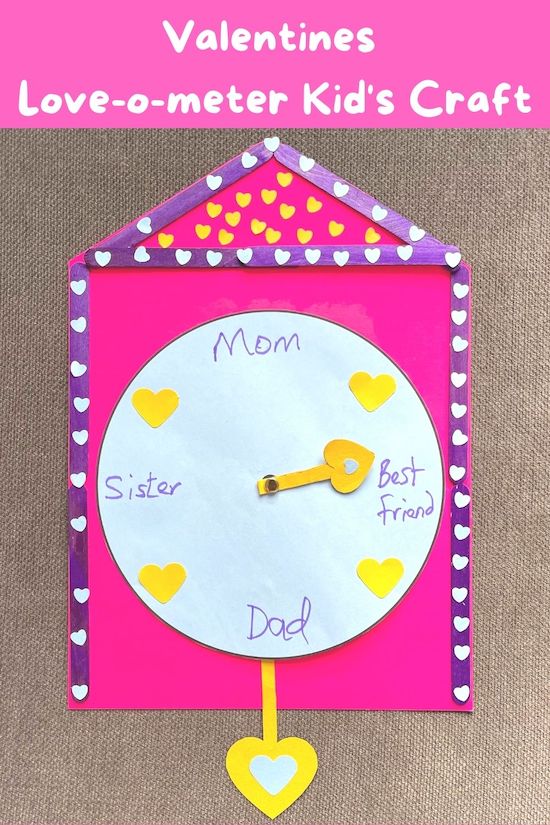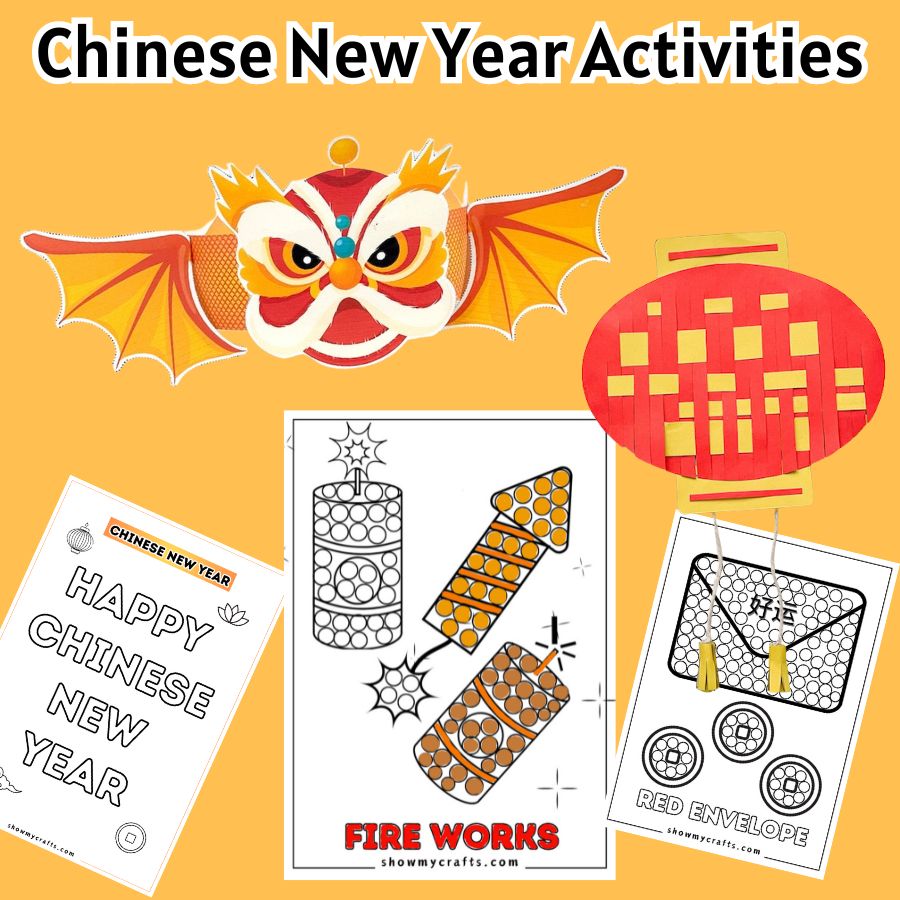
Chinese new year activities for kids

Get ready to add a touch of tradition and creativity to your Chinese New Year celebrations with these delightful crafts.
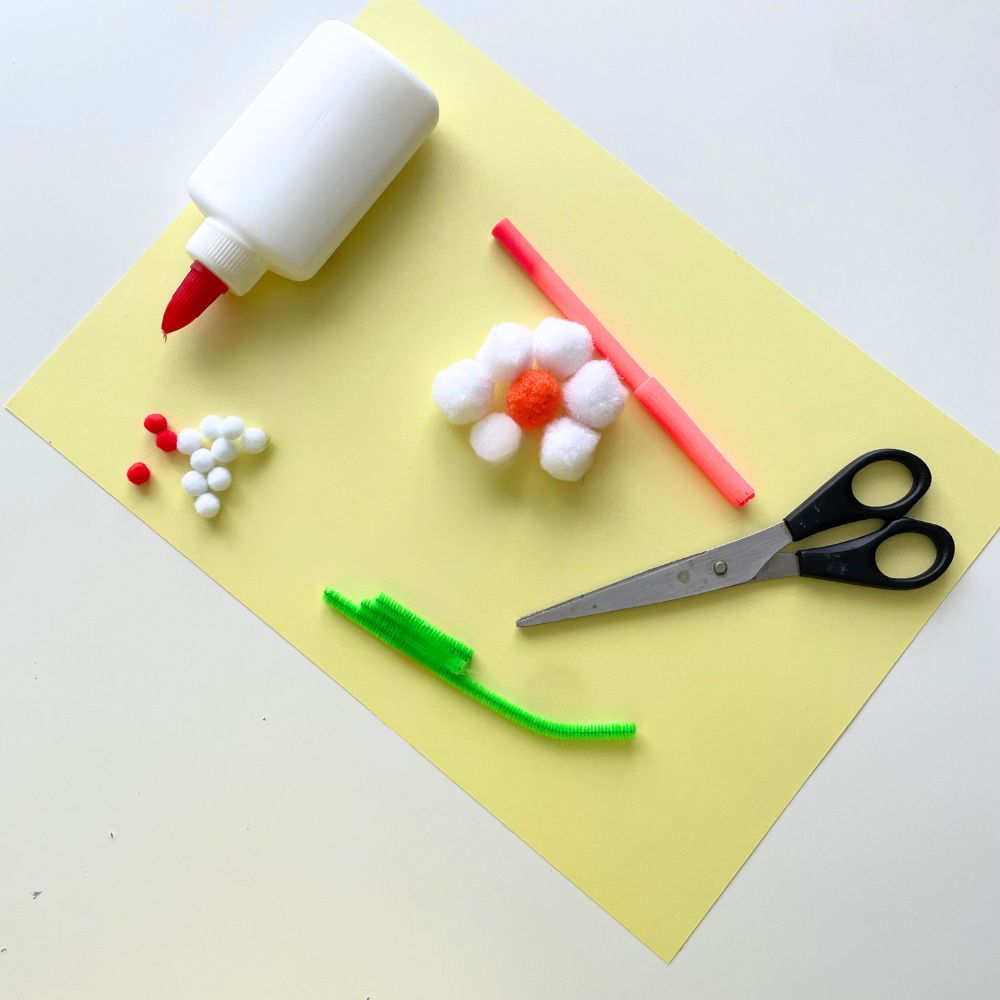
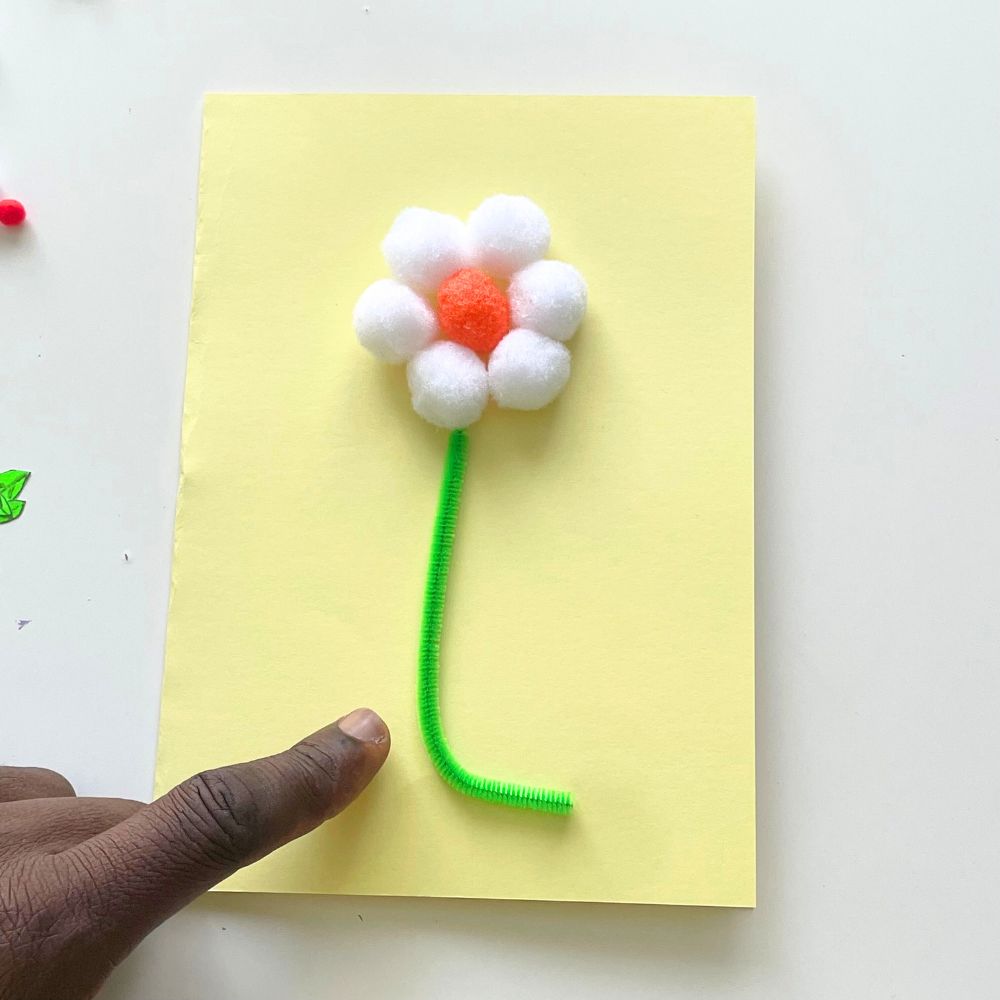
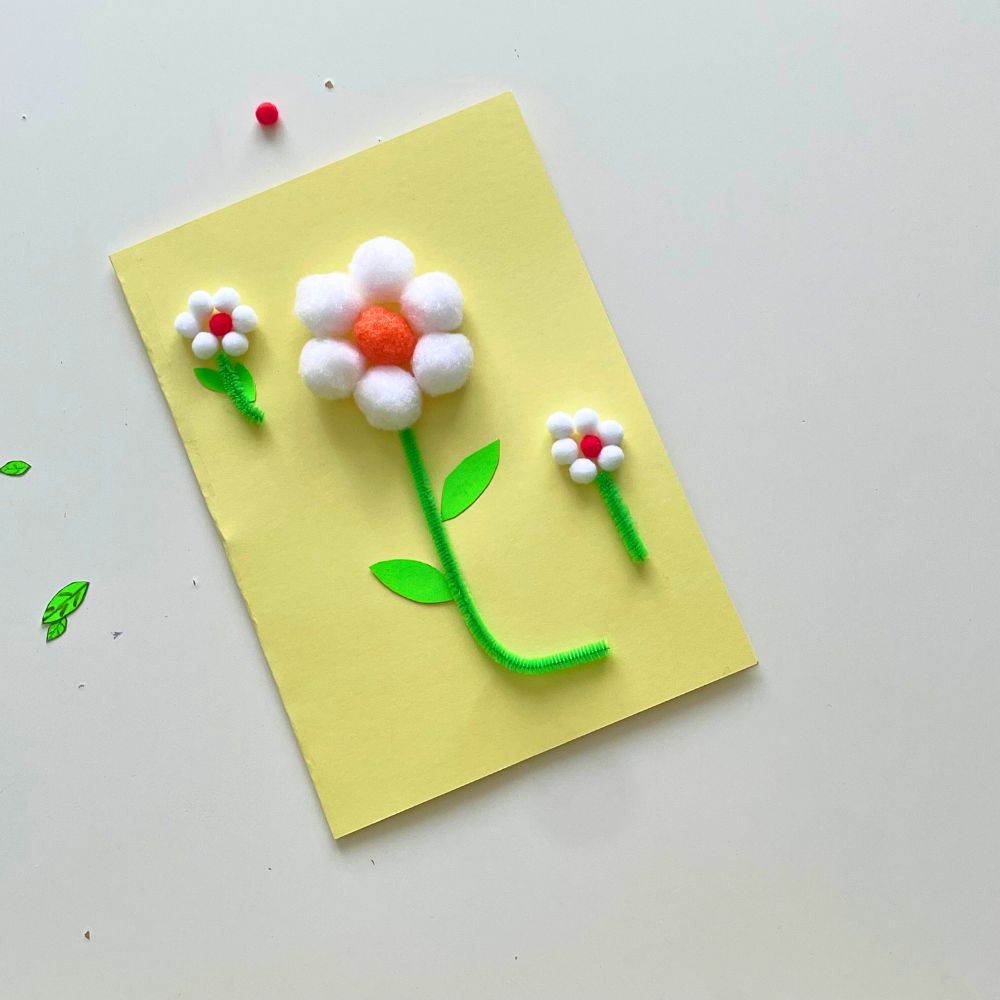
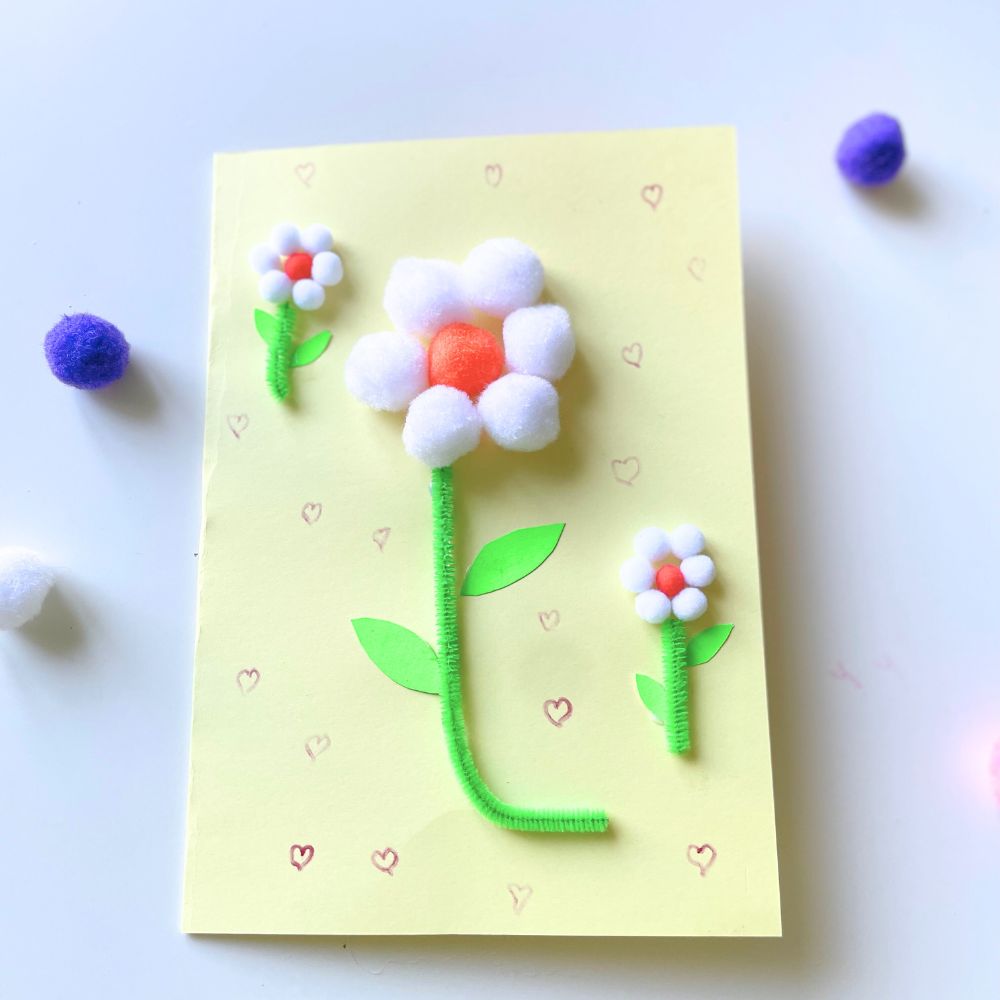
From vibrant red lanterns to intricate paper cuttings, this list of Chinese New Year activities is packed with inspiring ideas that will bring some creative fun to your home during this special time of year.
Whether you’re looking for fun activities for the kids or unique decorations for your space, these crafts and activities offer something for everyone.
Free Chinese New Year Activities
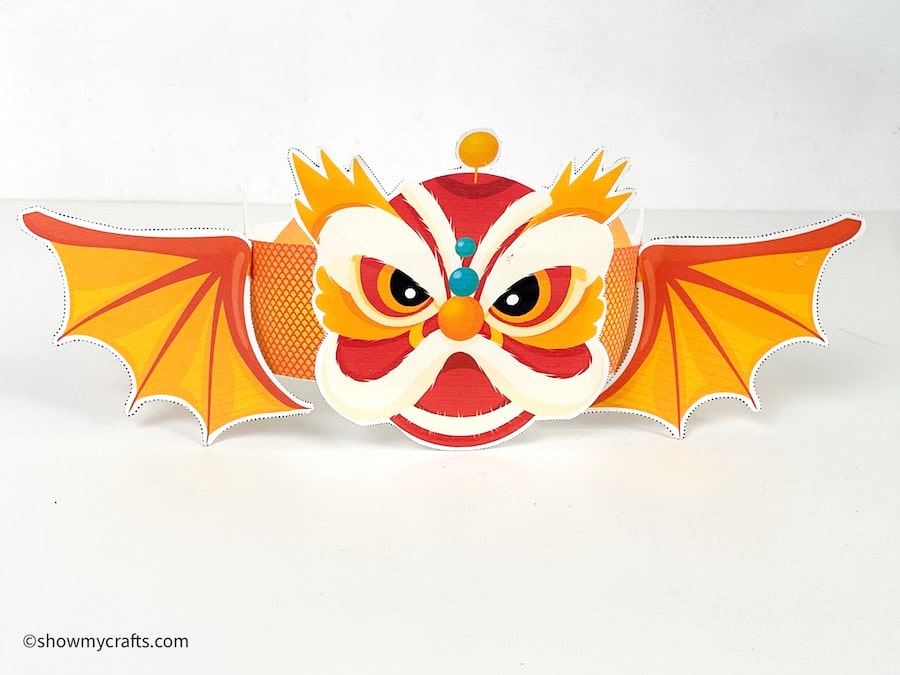
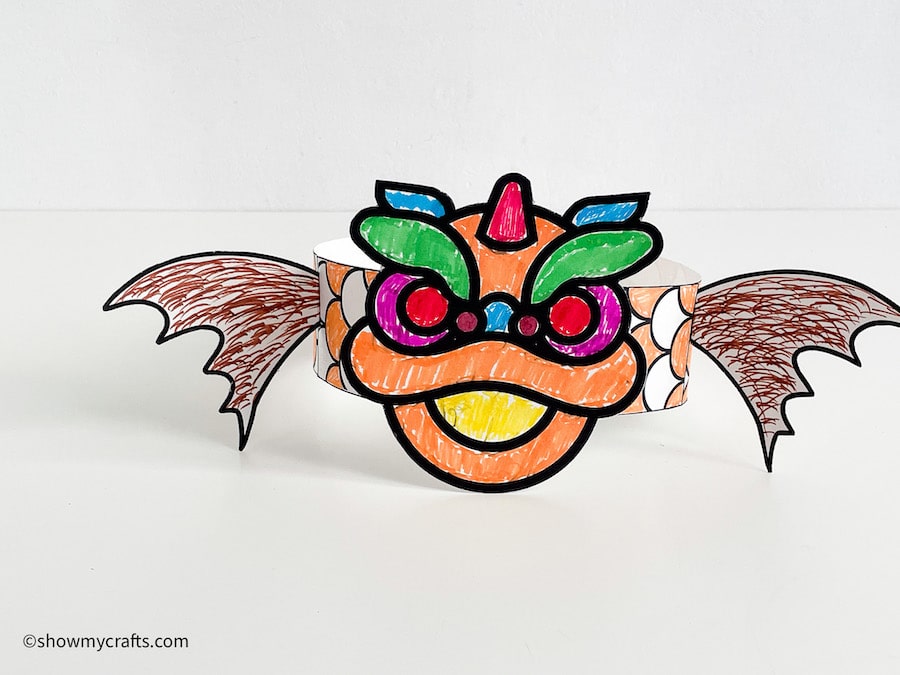
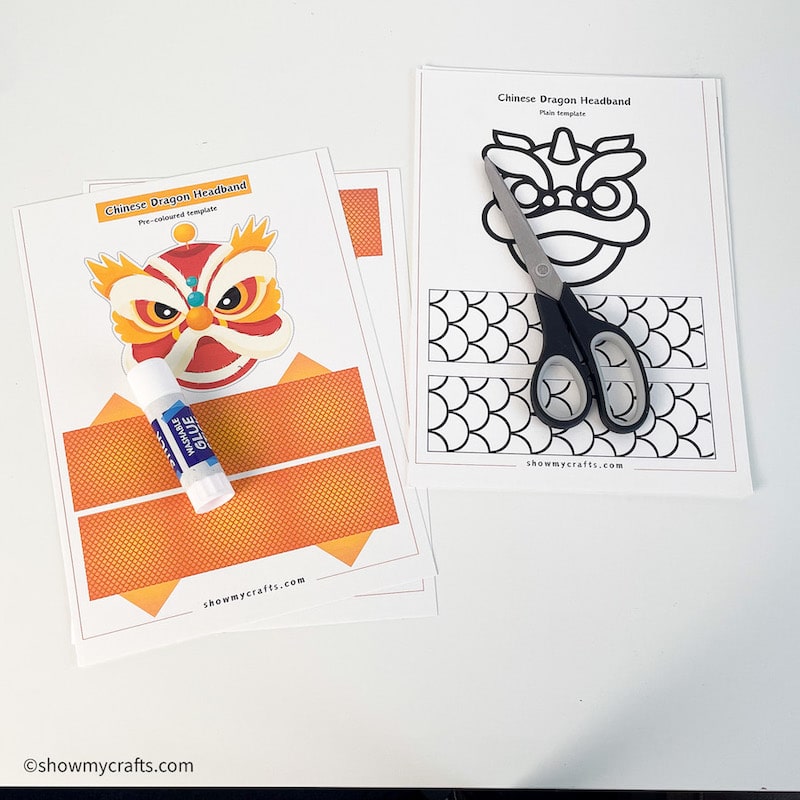
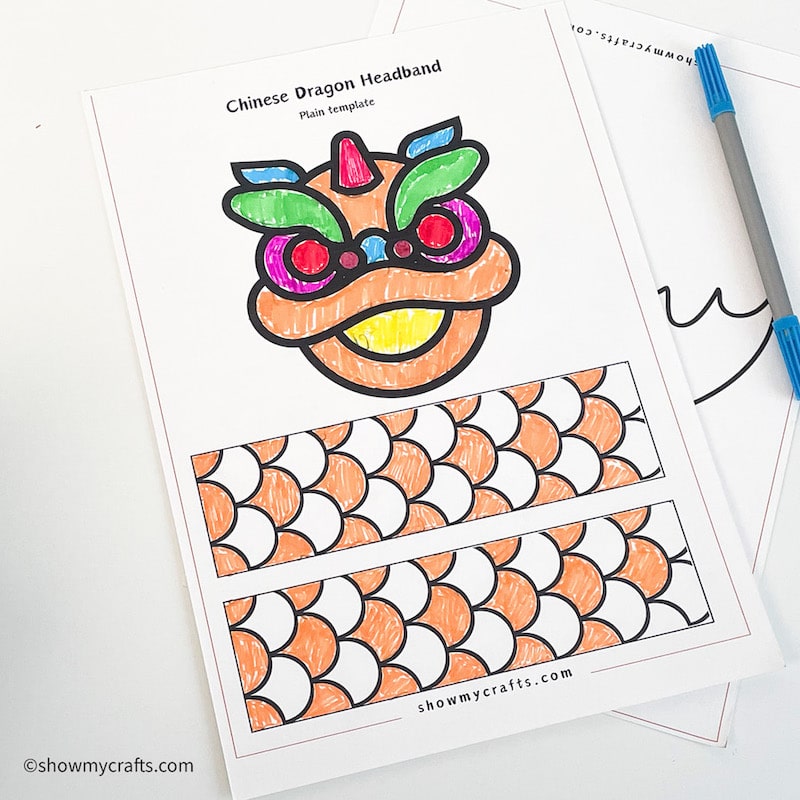
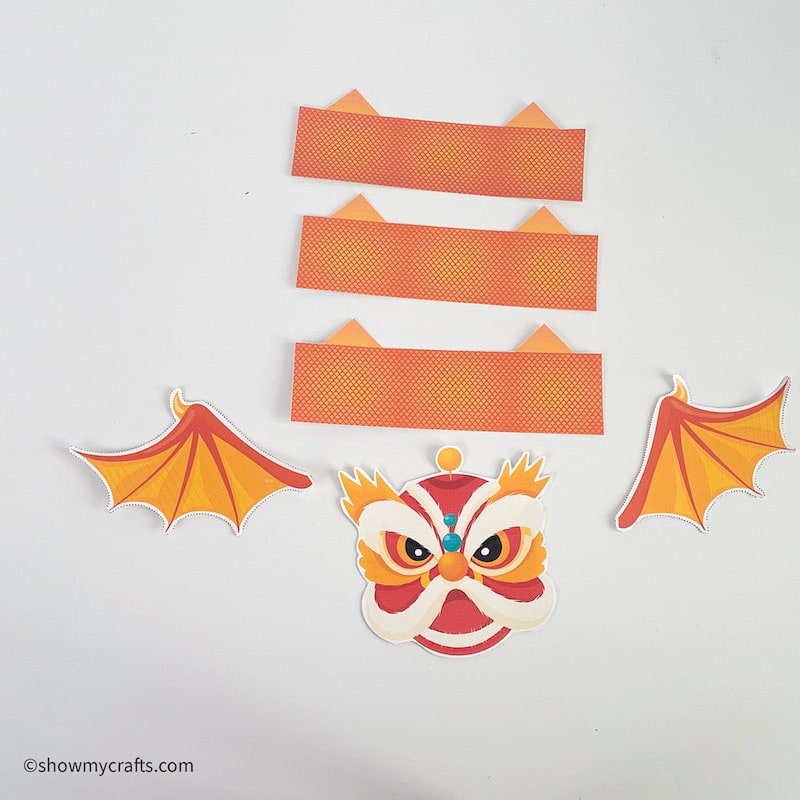
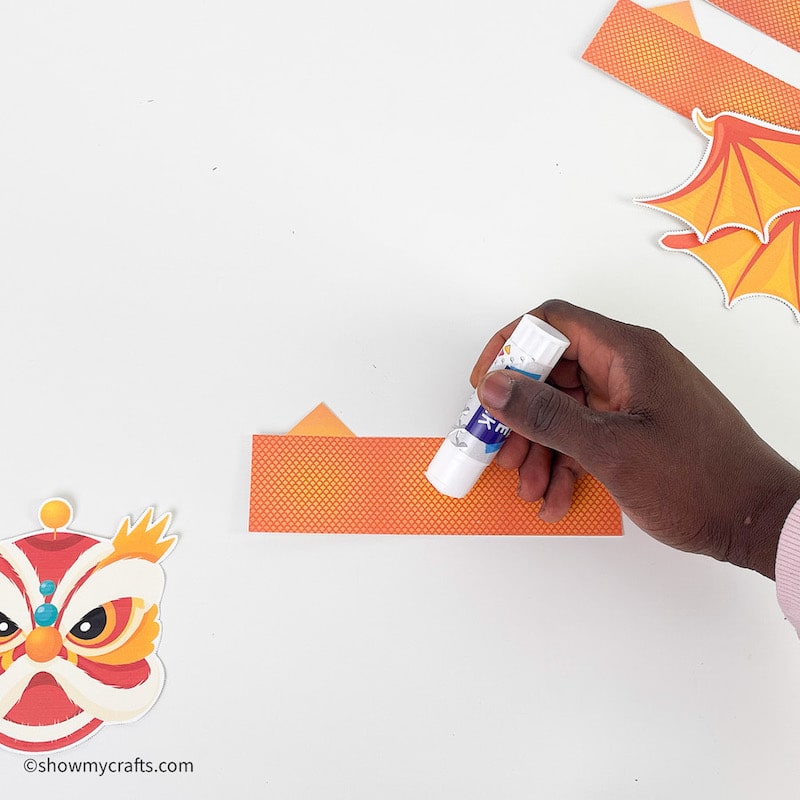
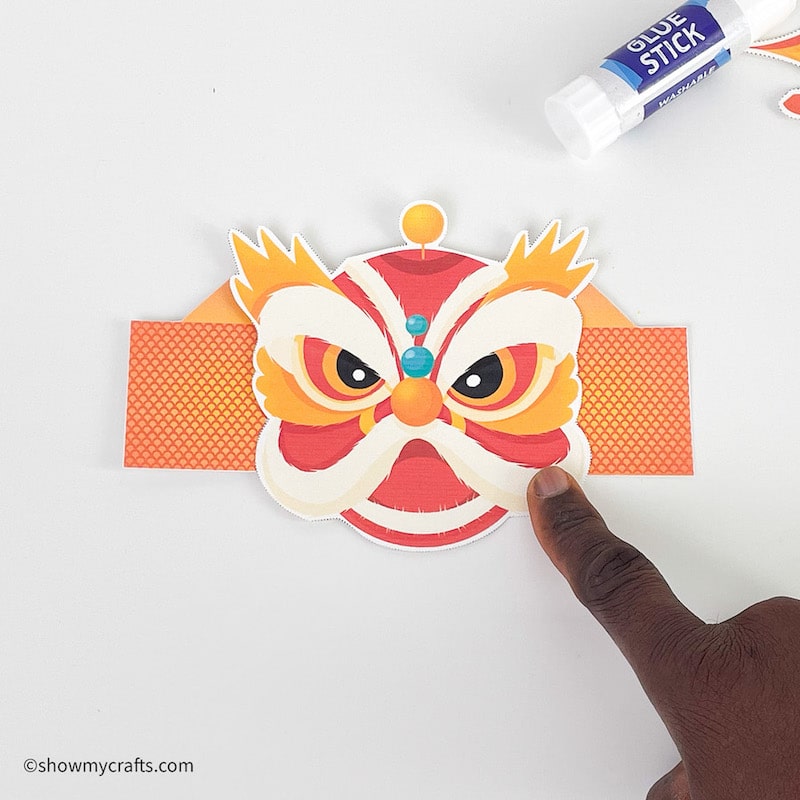
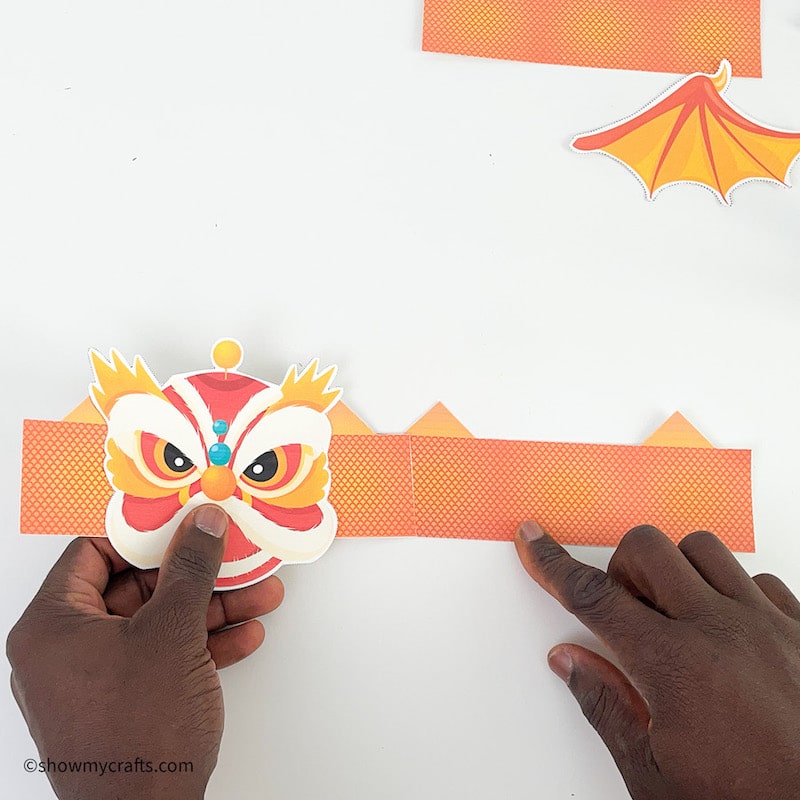
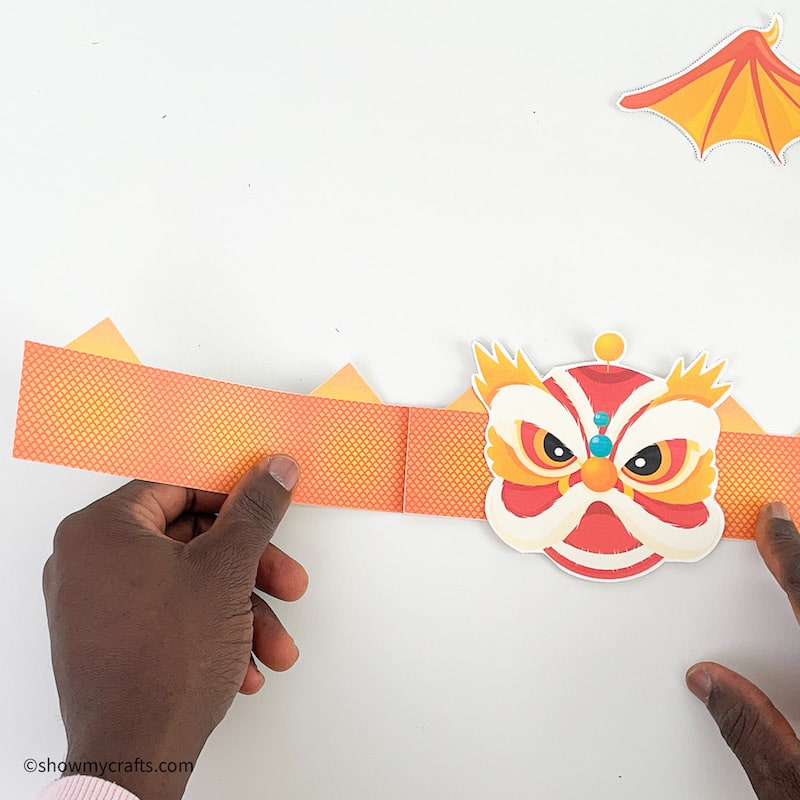
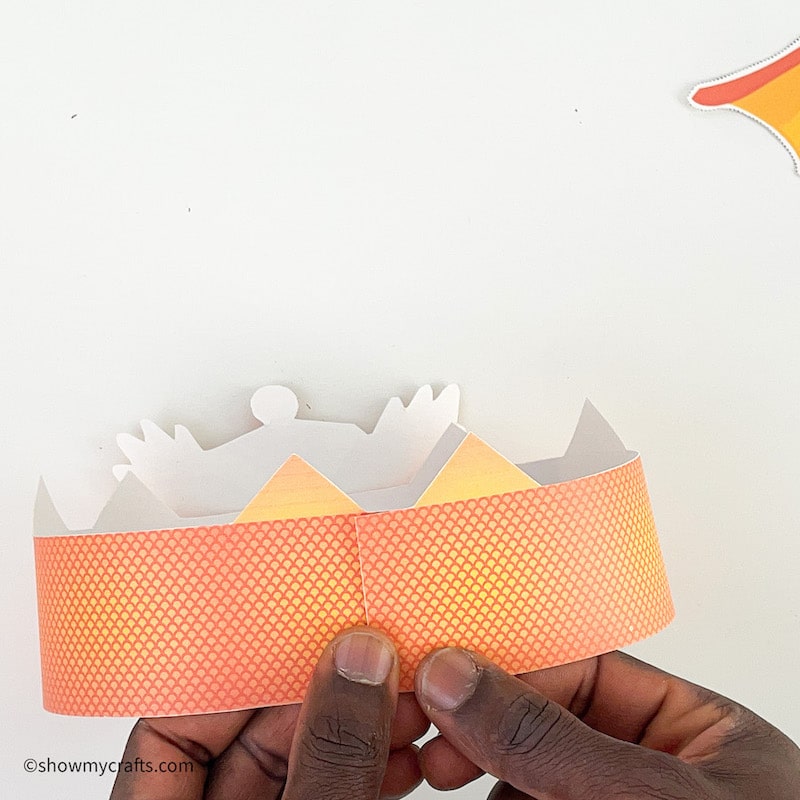
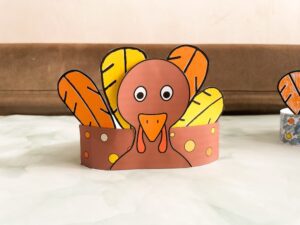
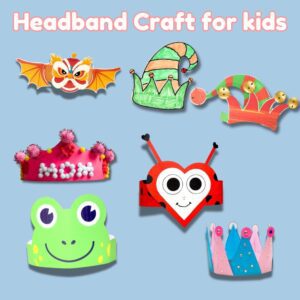
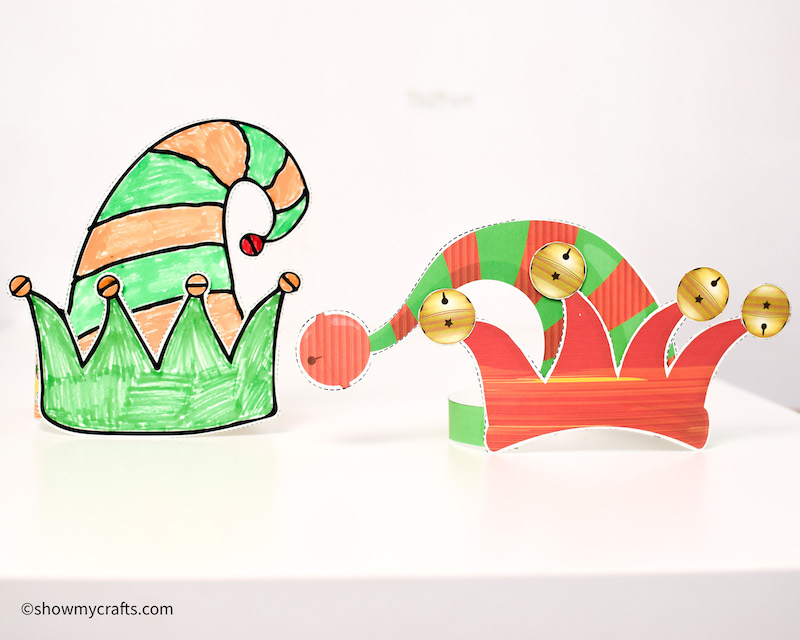
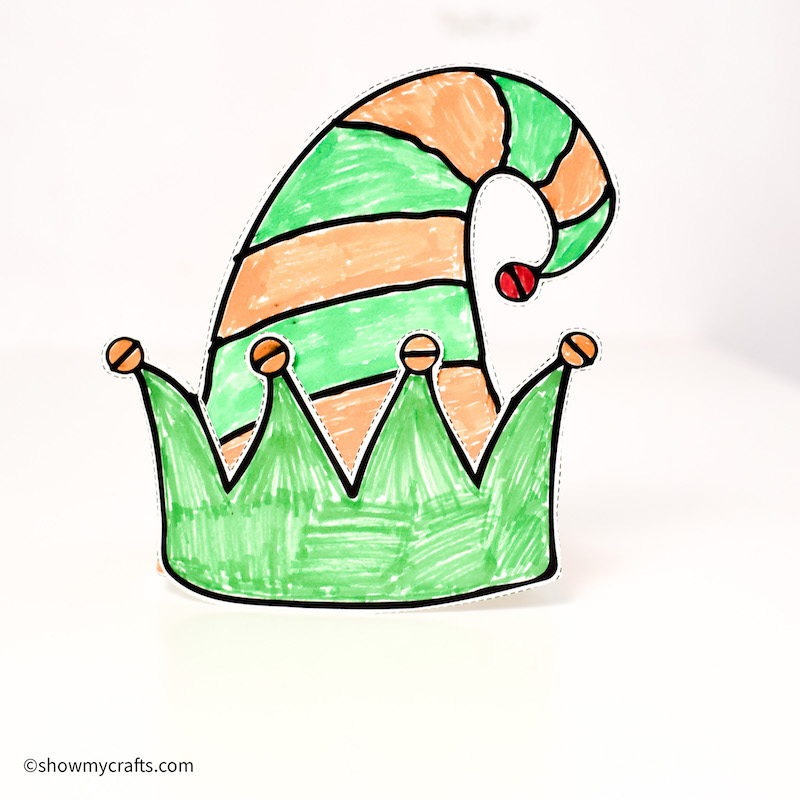
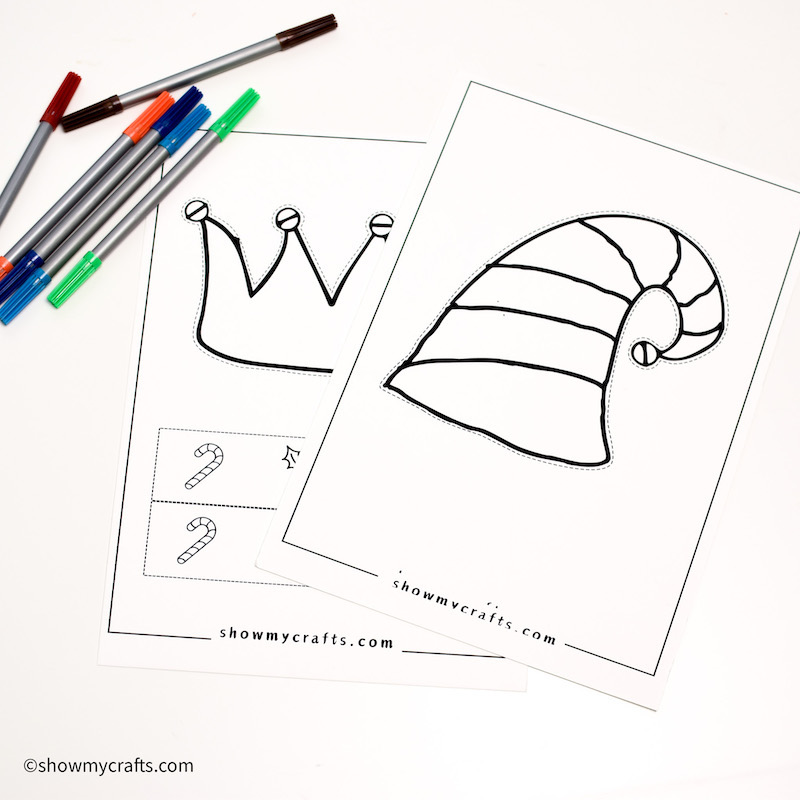
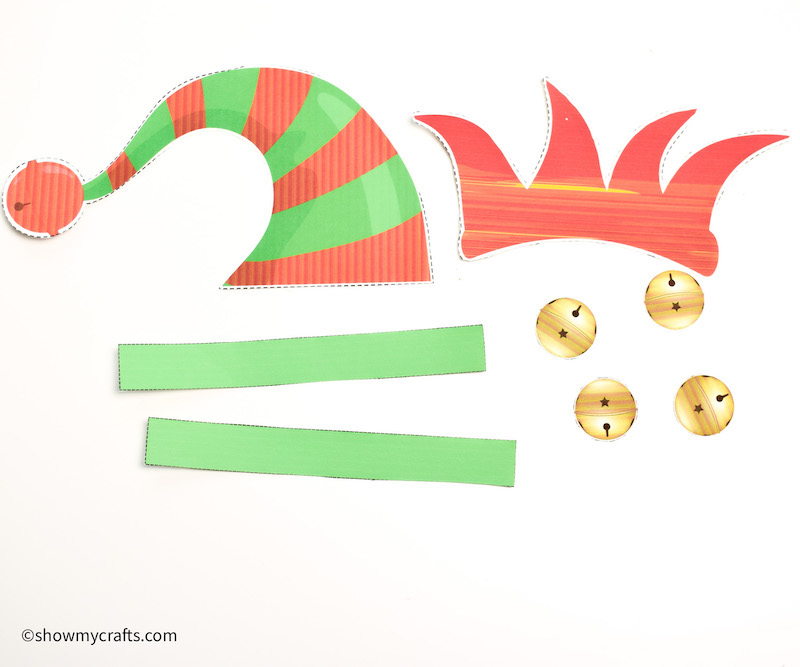
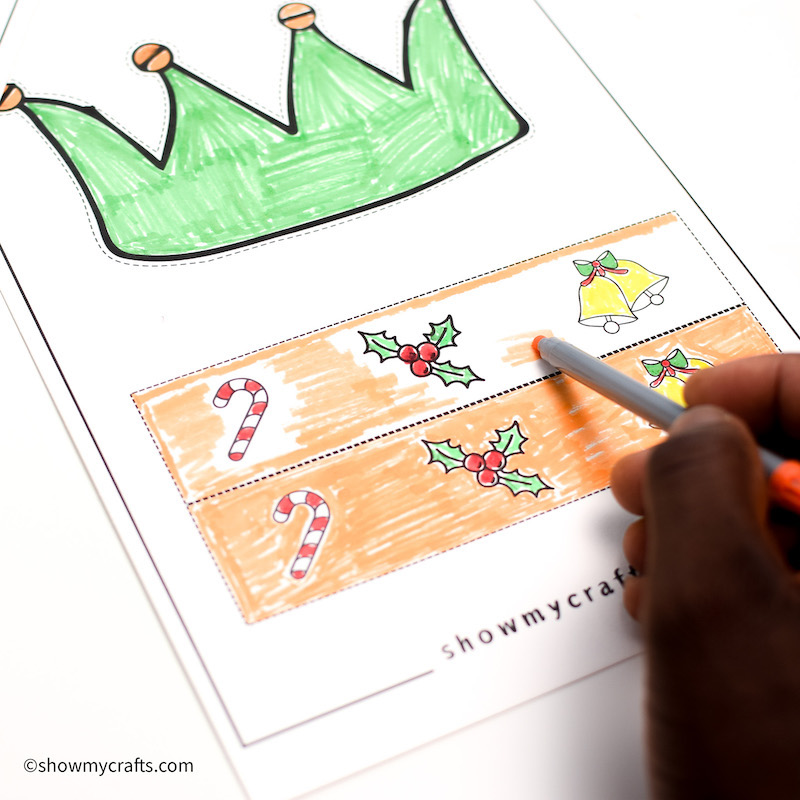
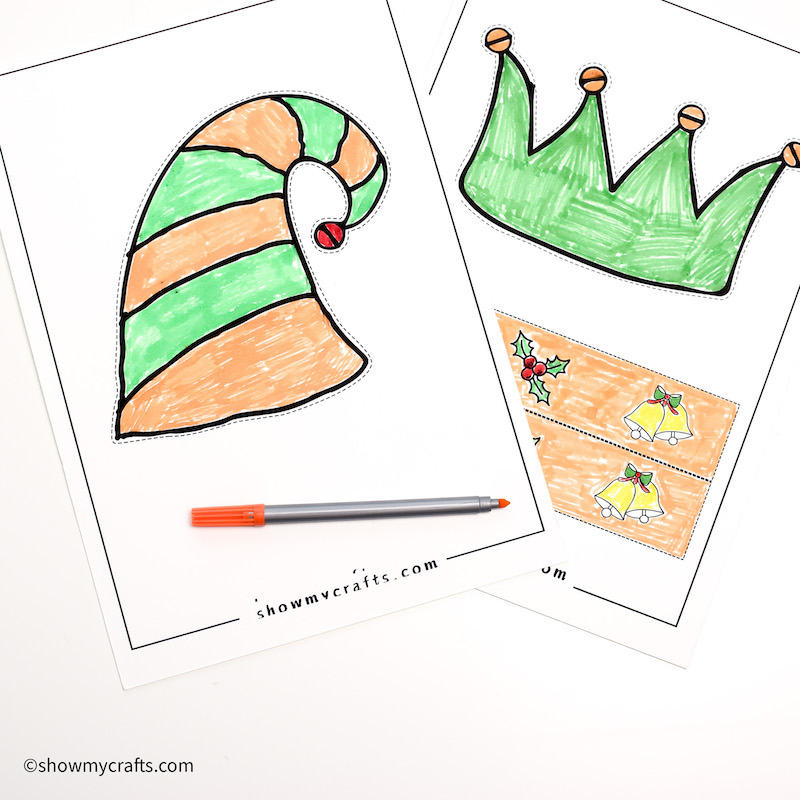
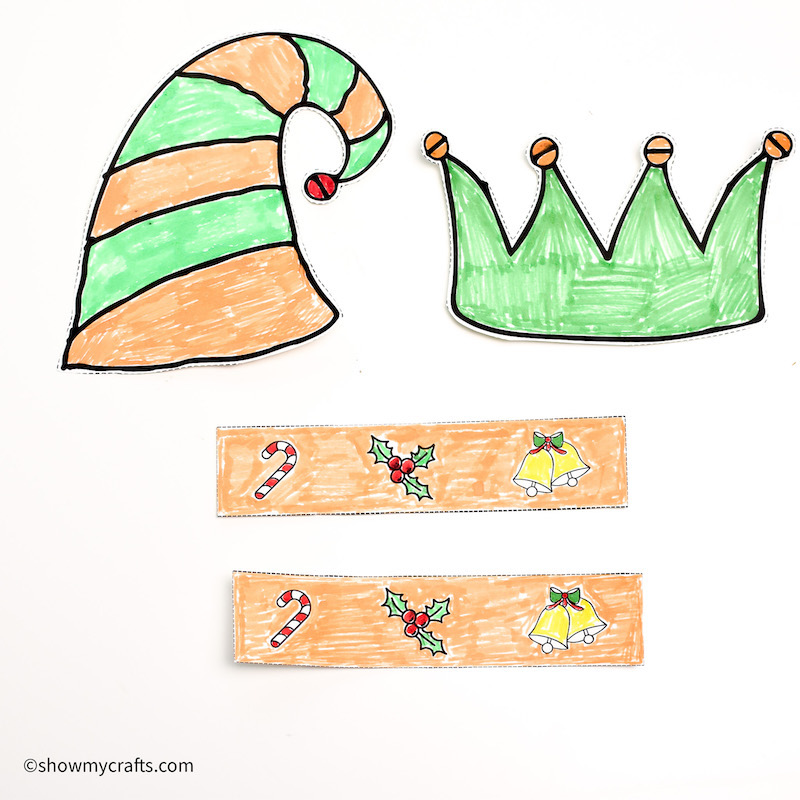
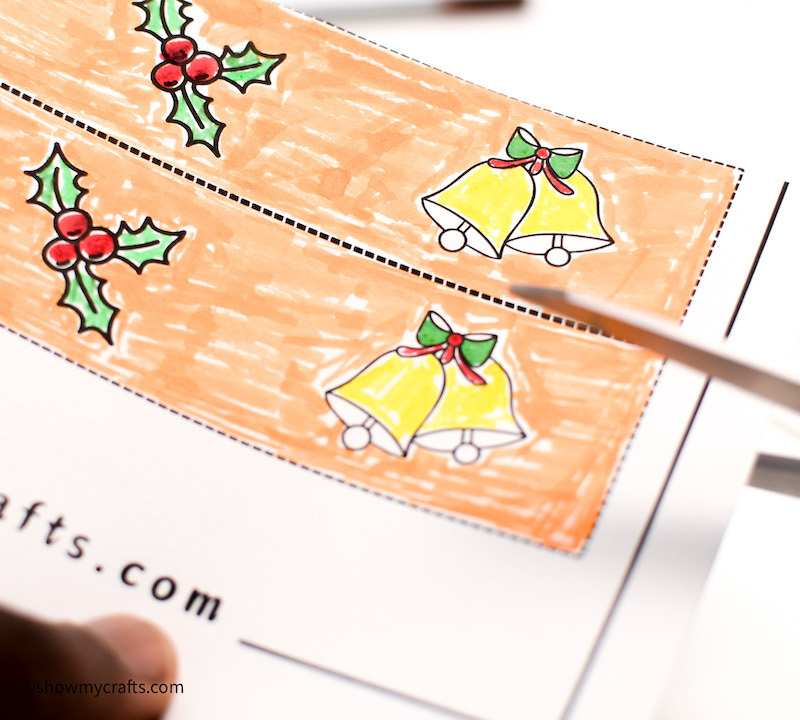
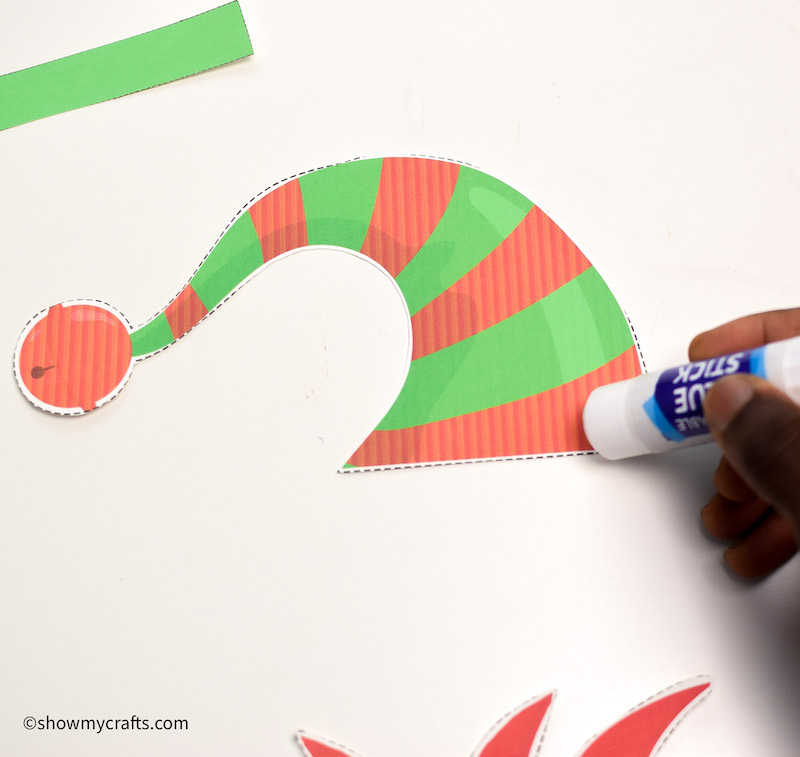
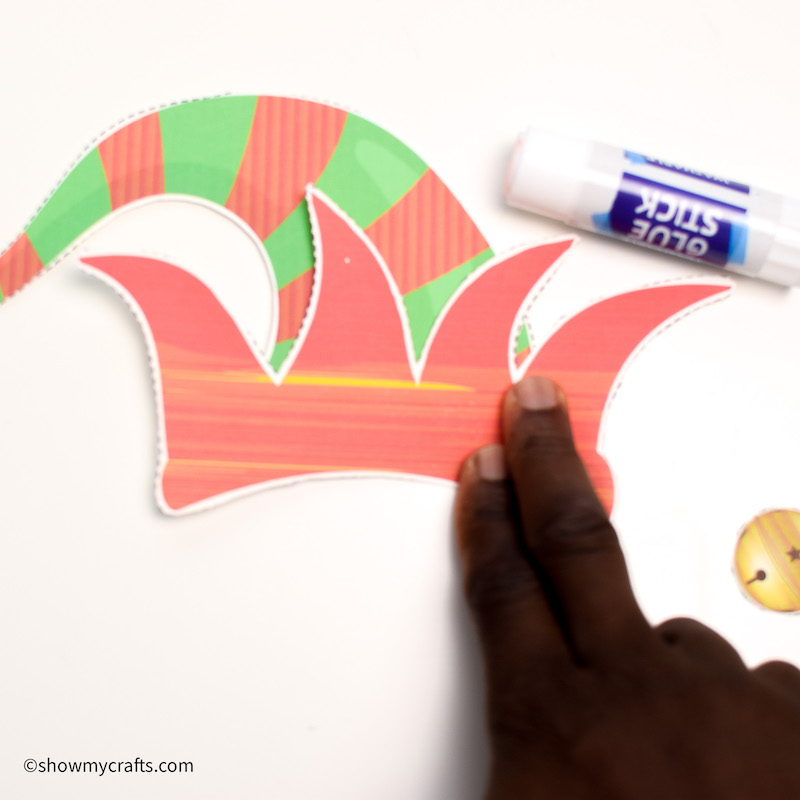
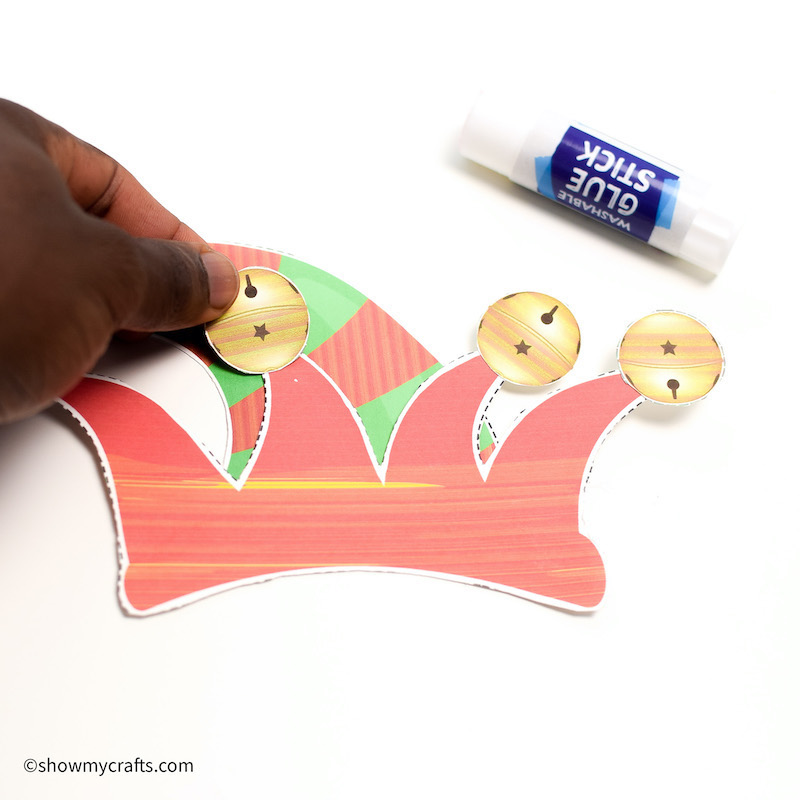
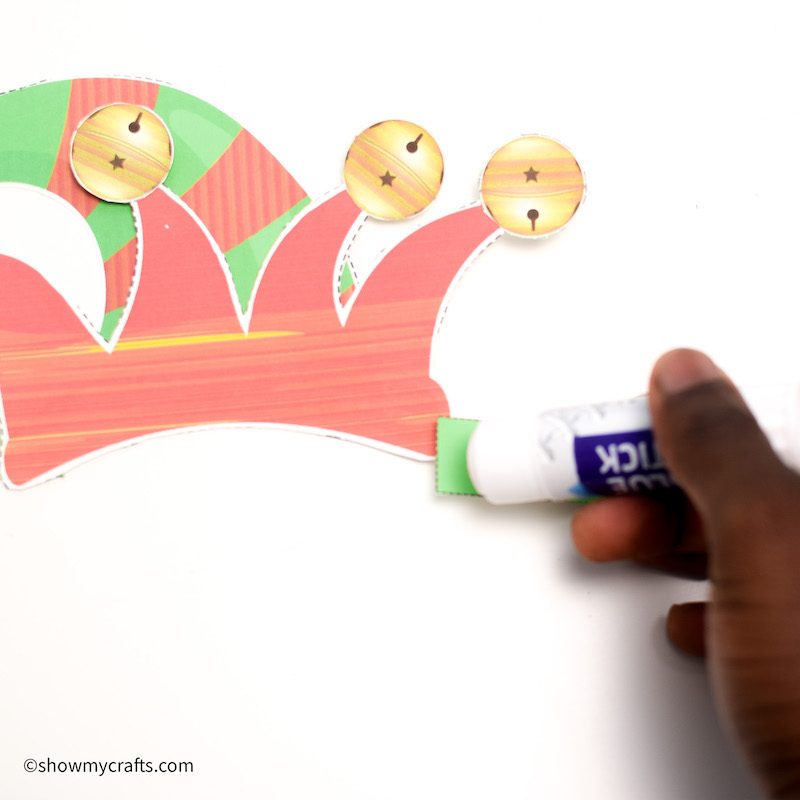
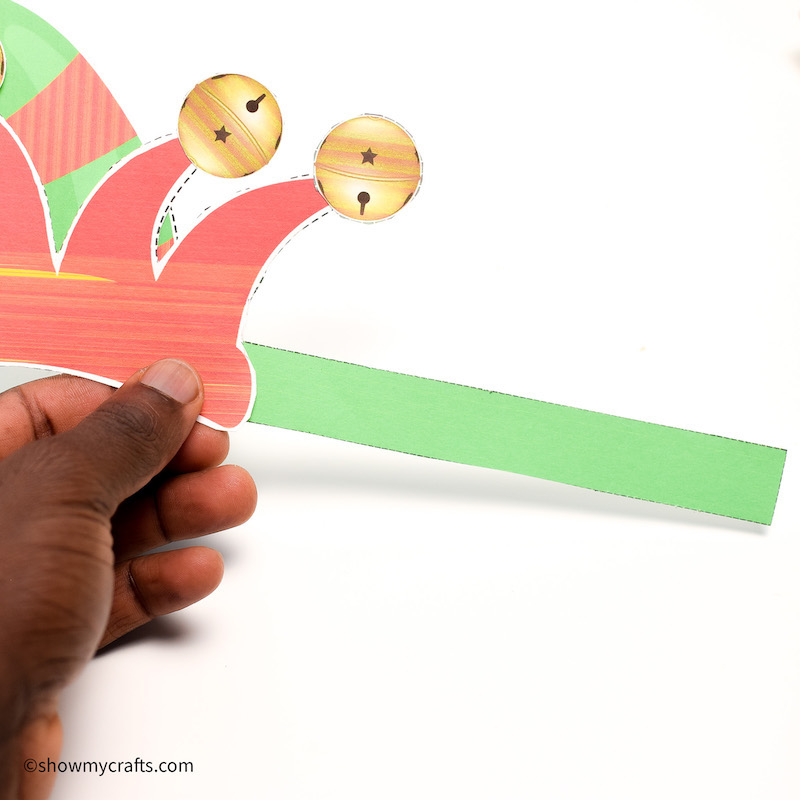
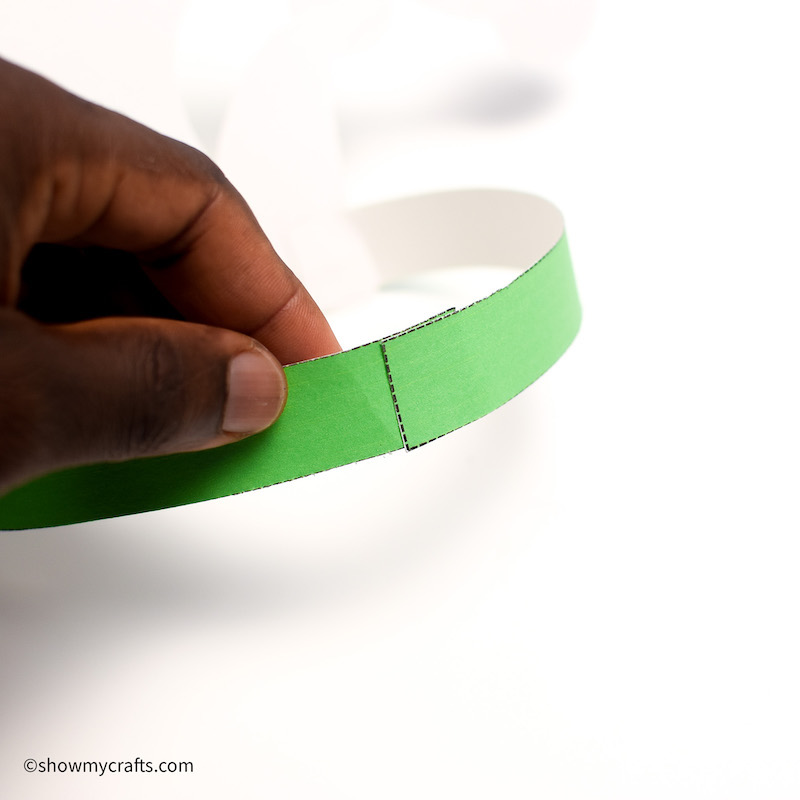
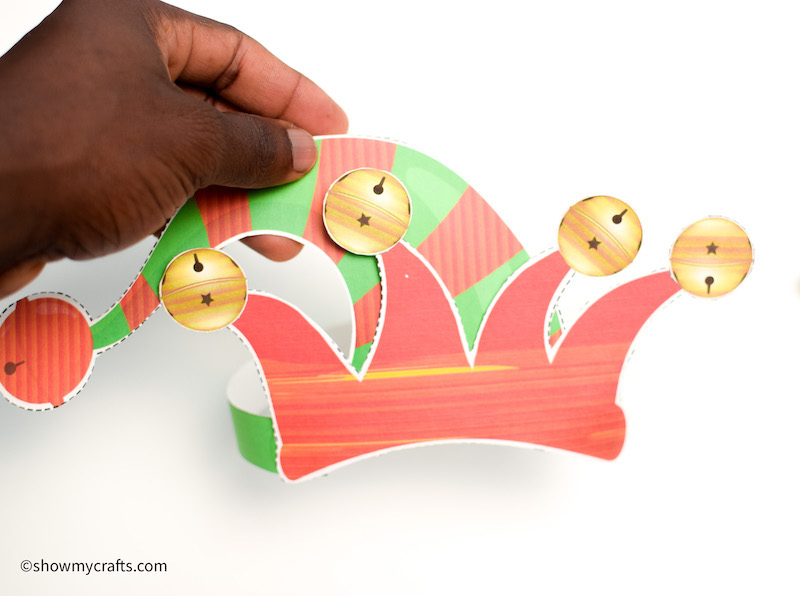
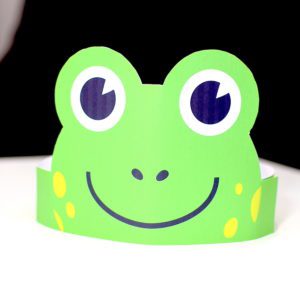
Chinese Dragon Headband
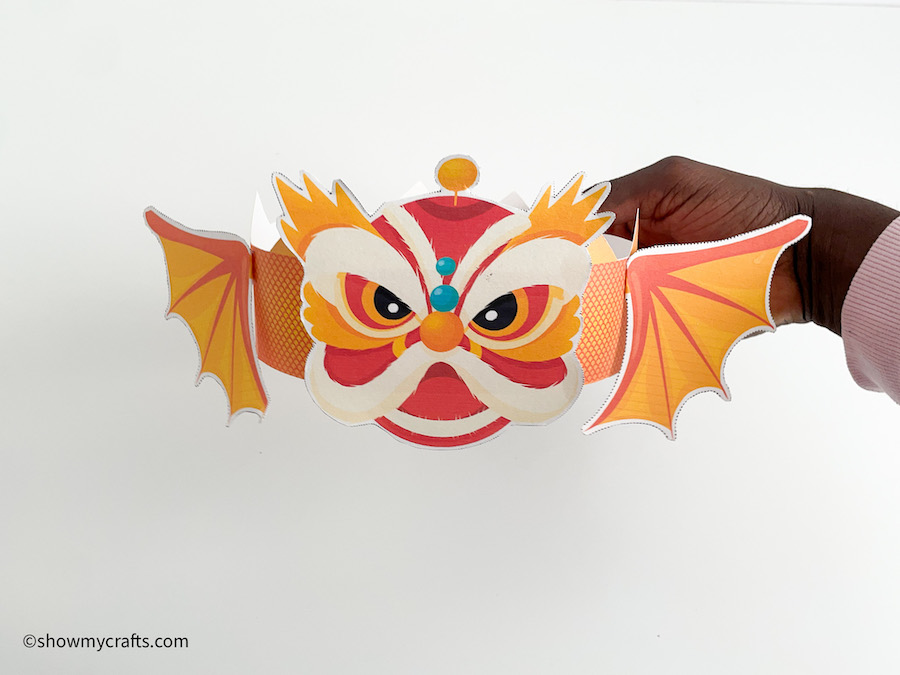

Printable Chinese Dragon headband that is fun and easy for the kids to make.
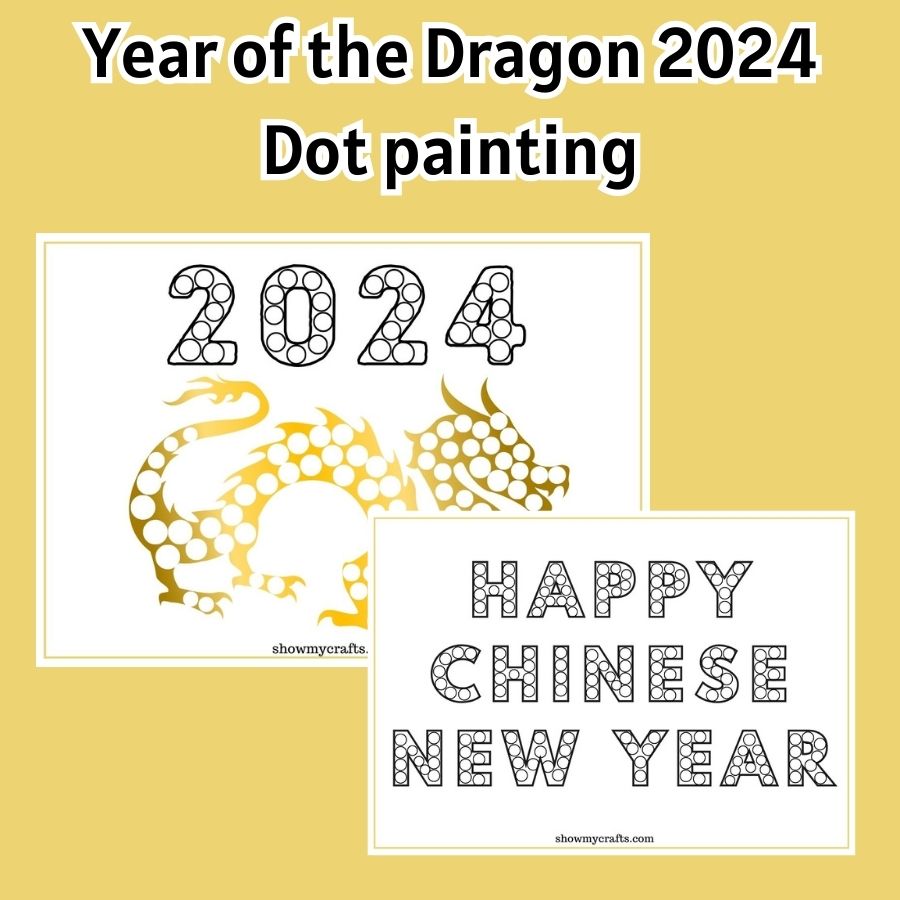
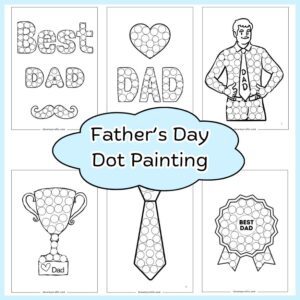
Chinese New Dot Painting
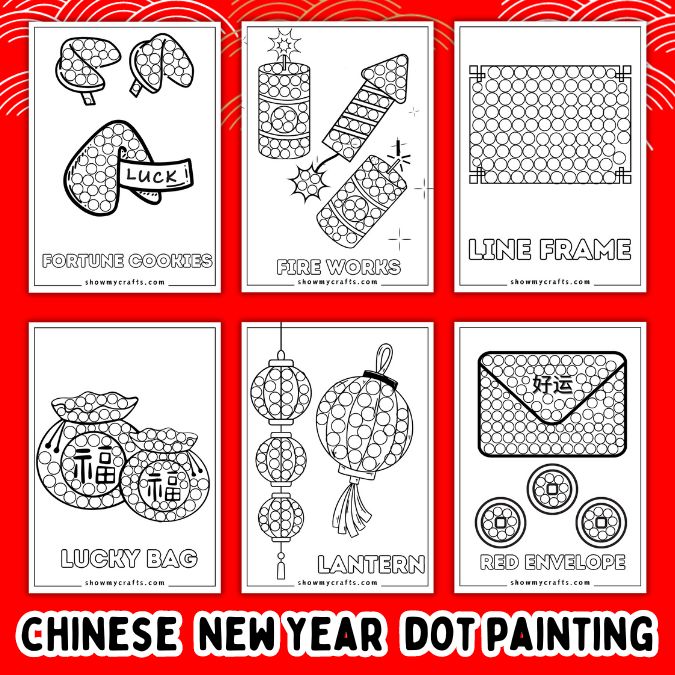

Celebrate Chinese New Year with festive dot marker activities that let kids explore colorful designs, practice fine motor skills, and learn about traditional symbols like lanterns, dragons, and lucky coins.
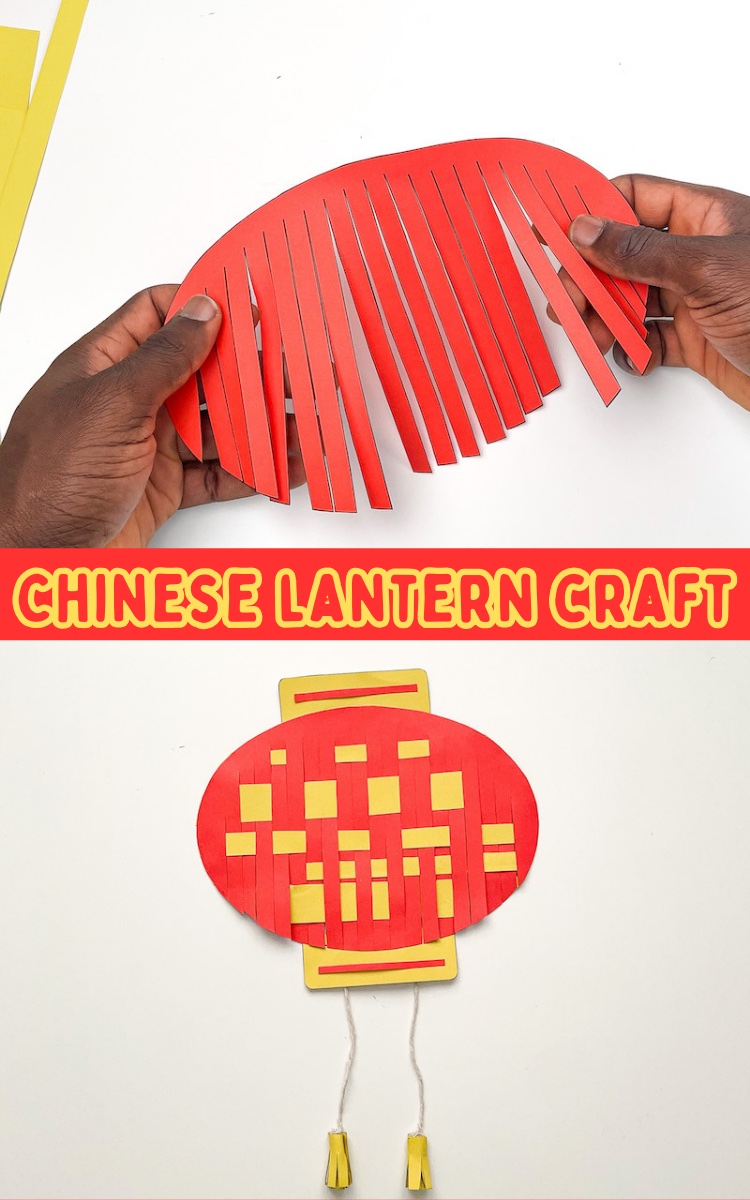
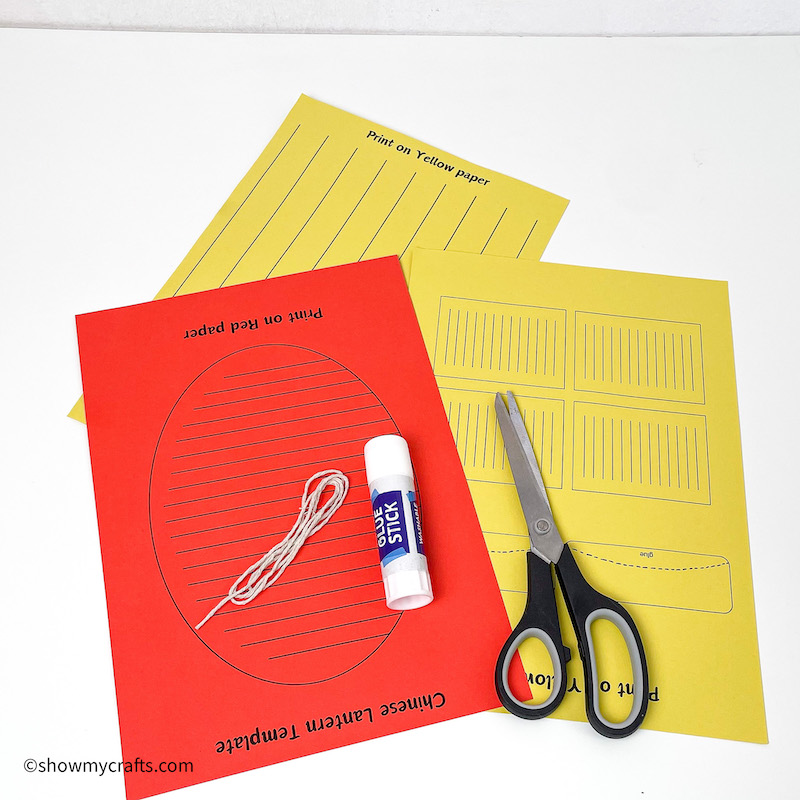
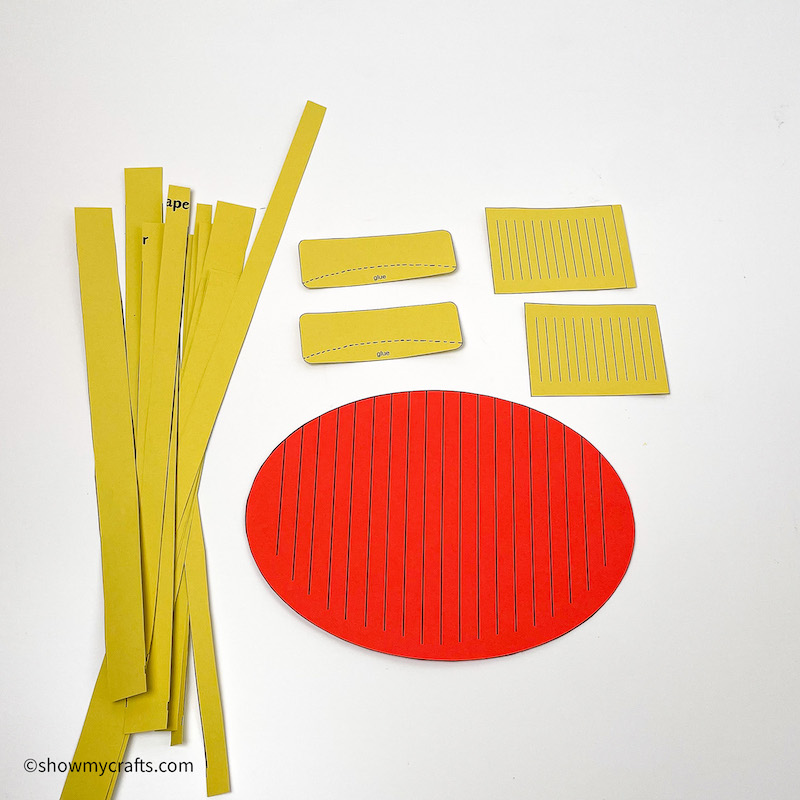
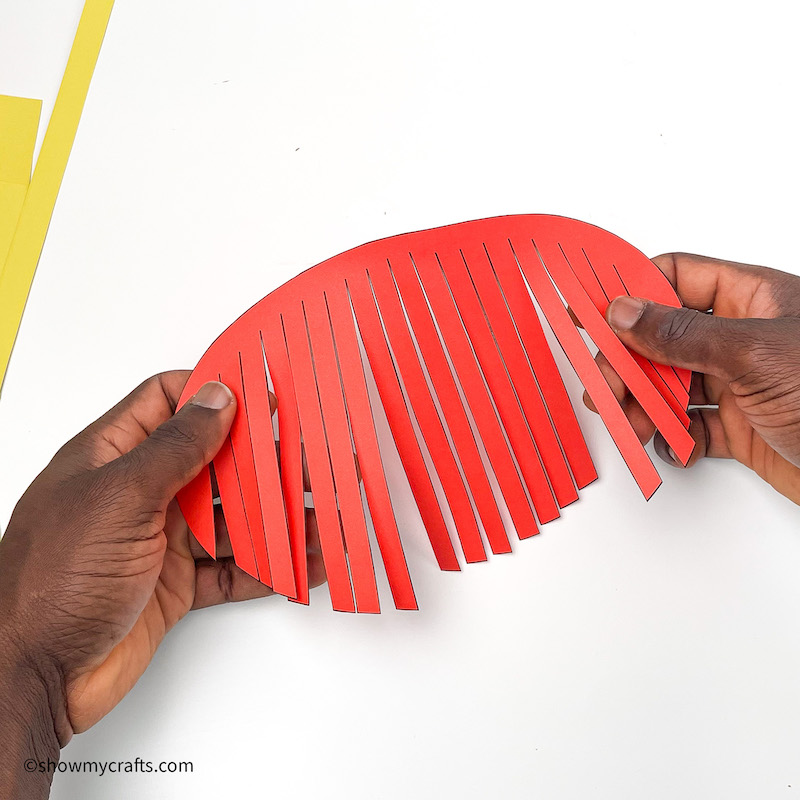
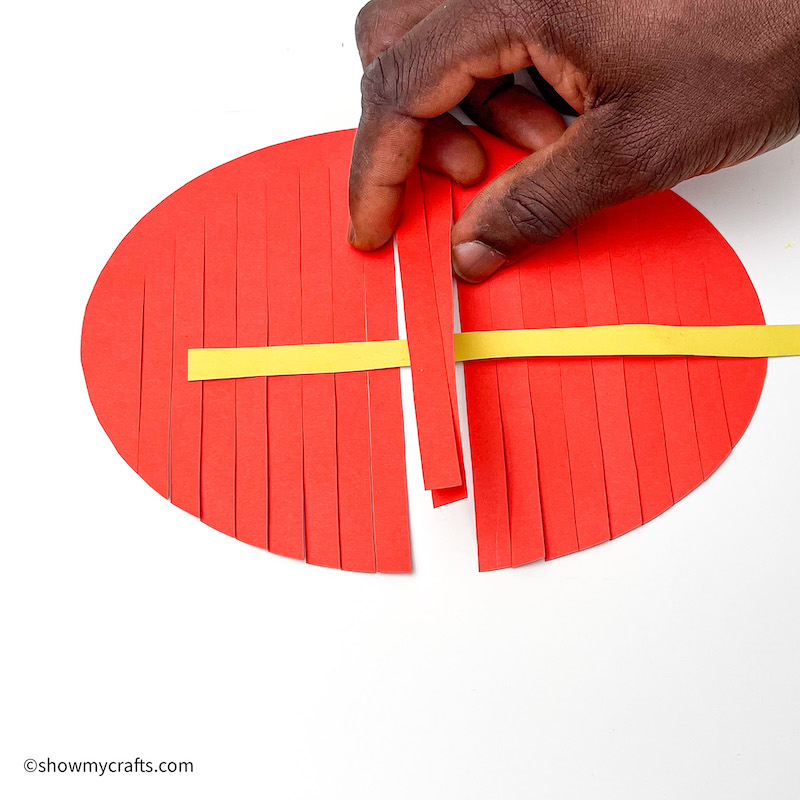
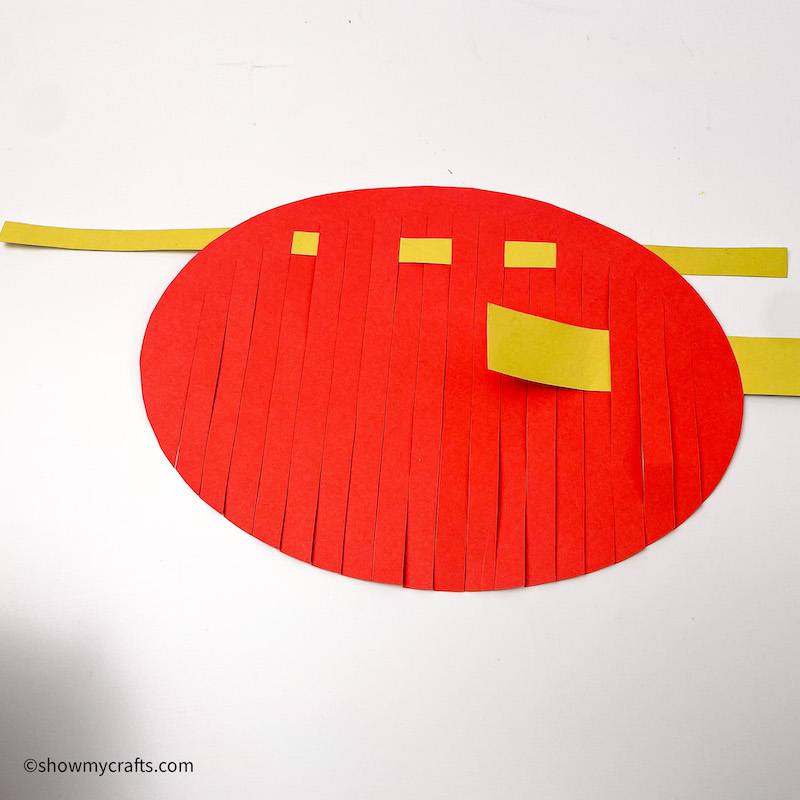
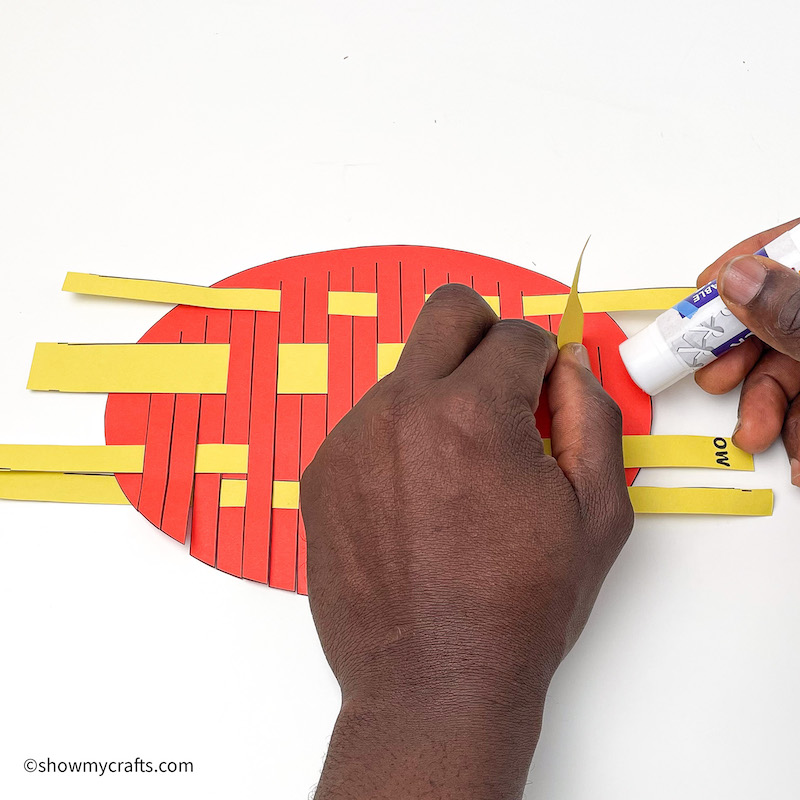
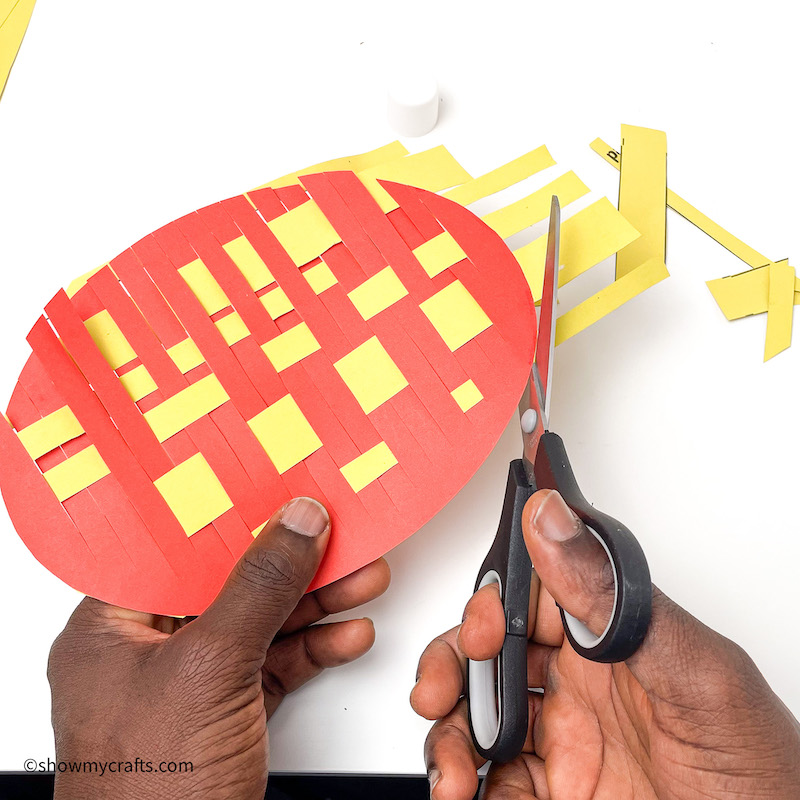
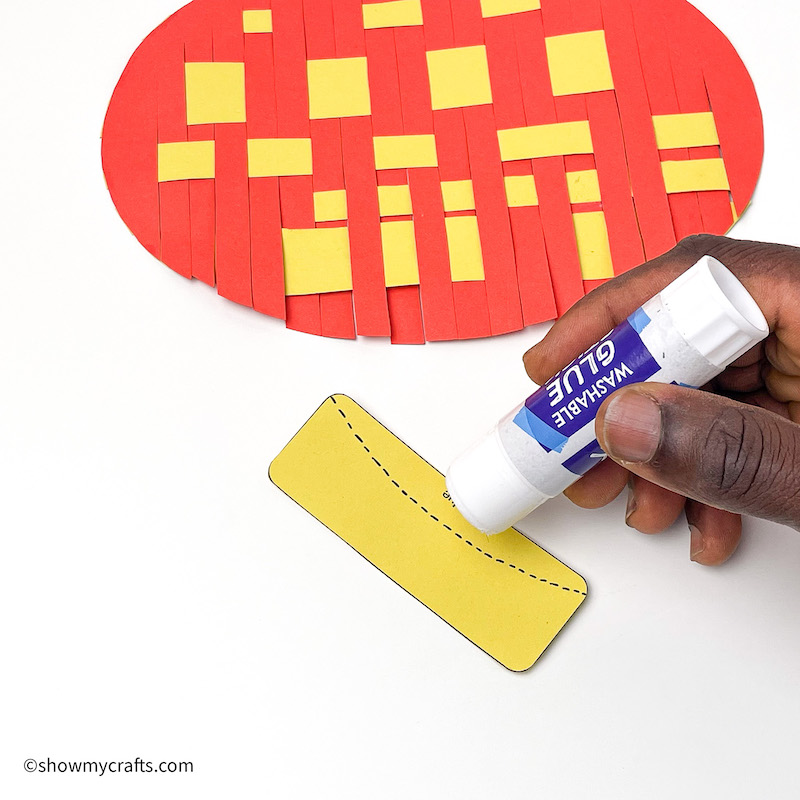
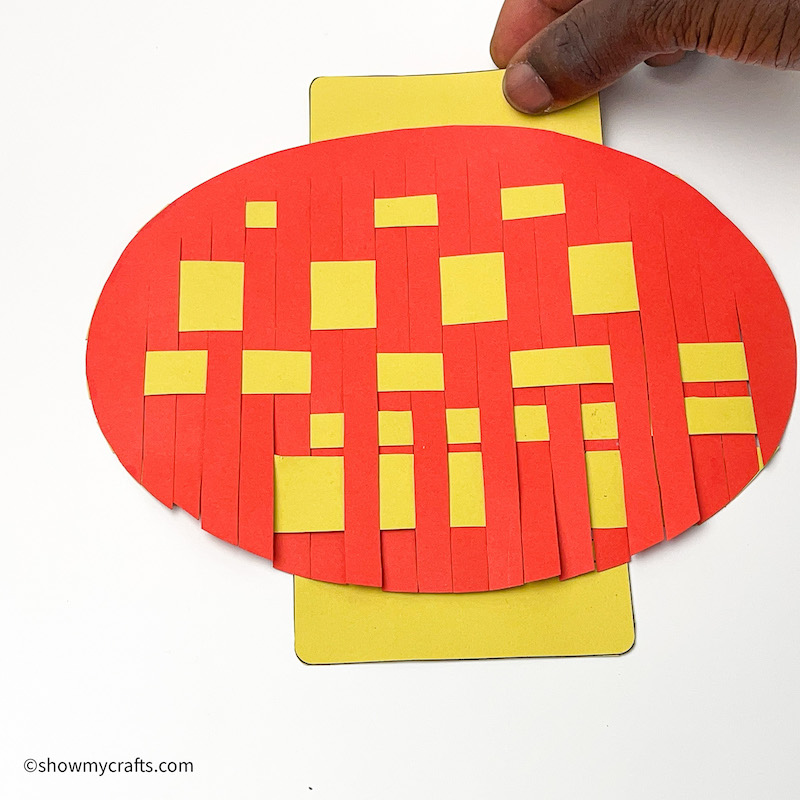
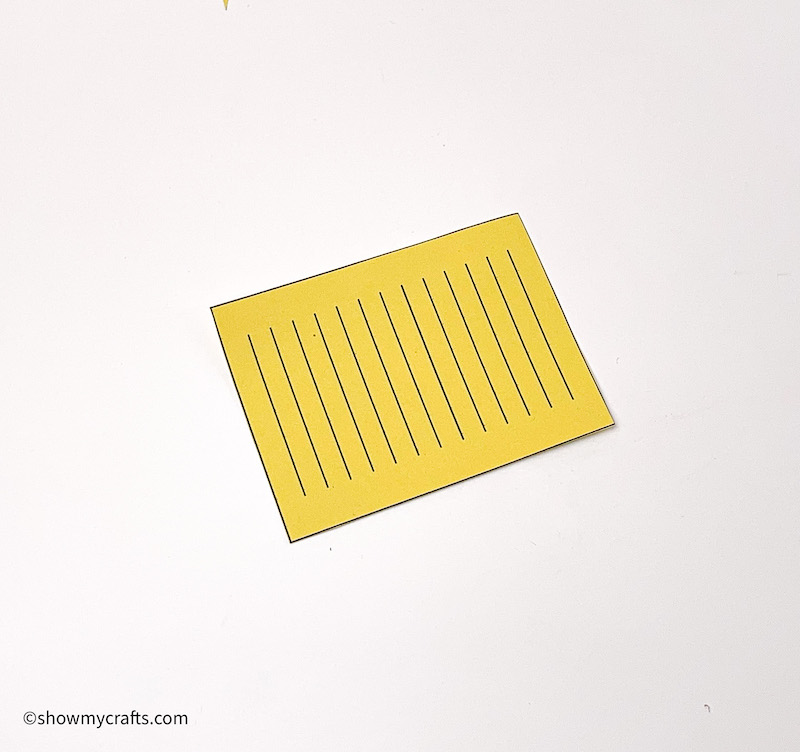
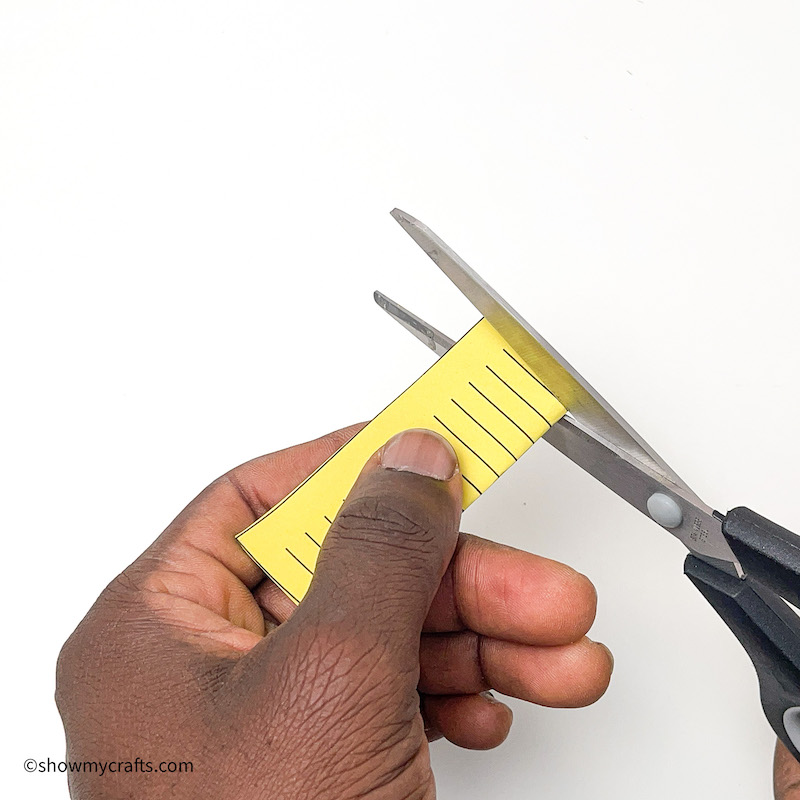
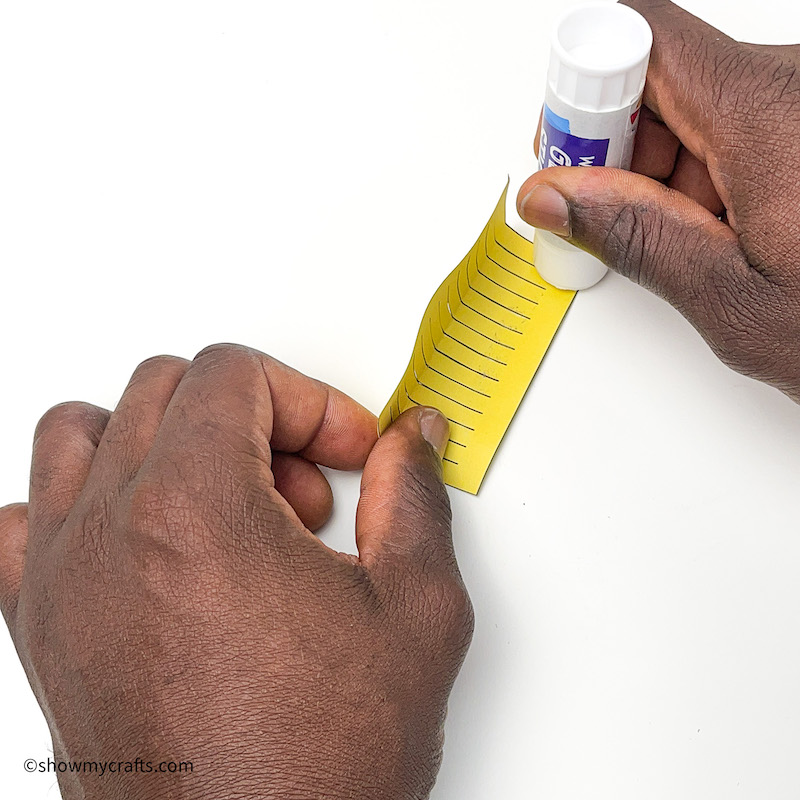
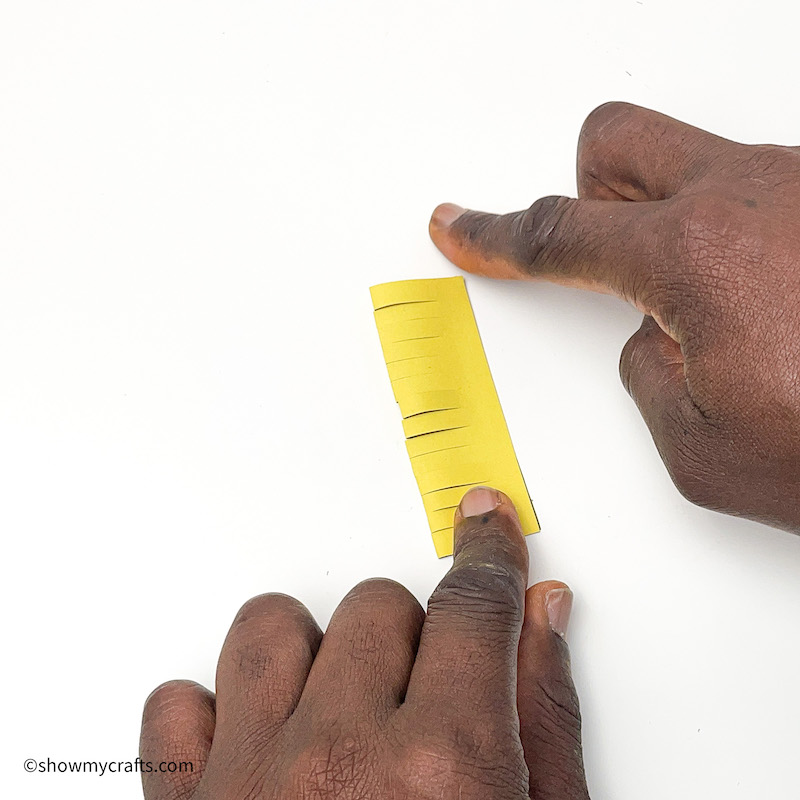
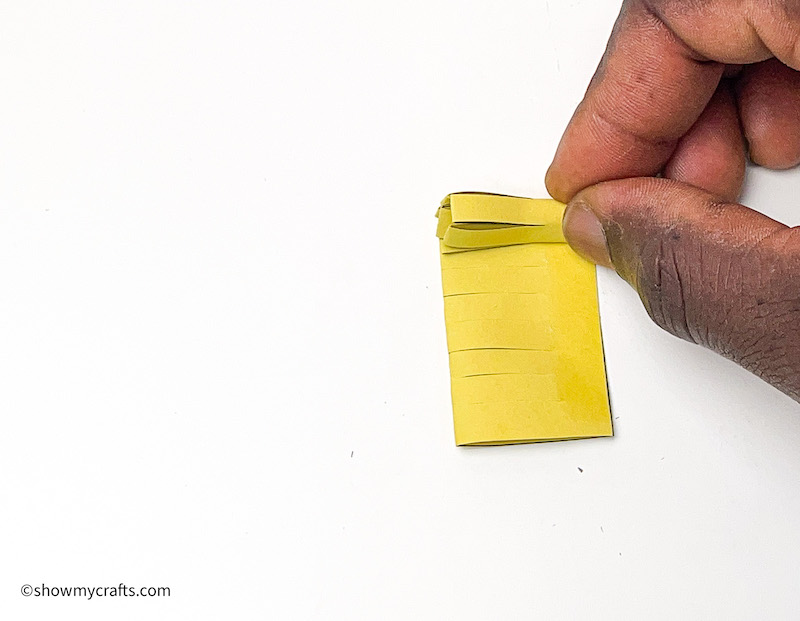
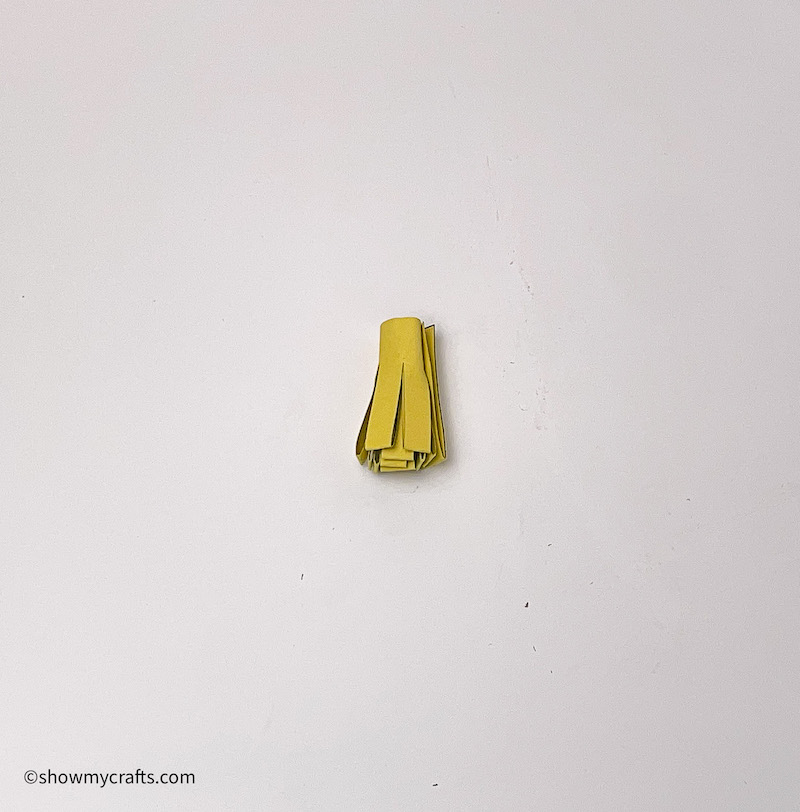
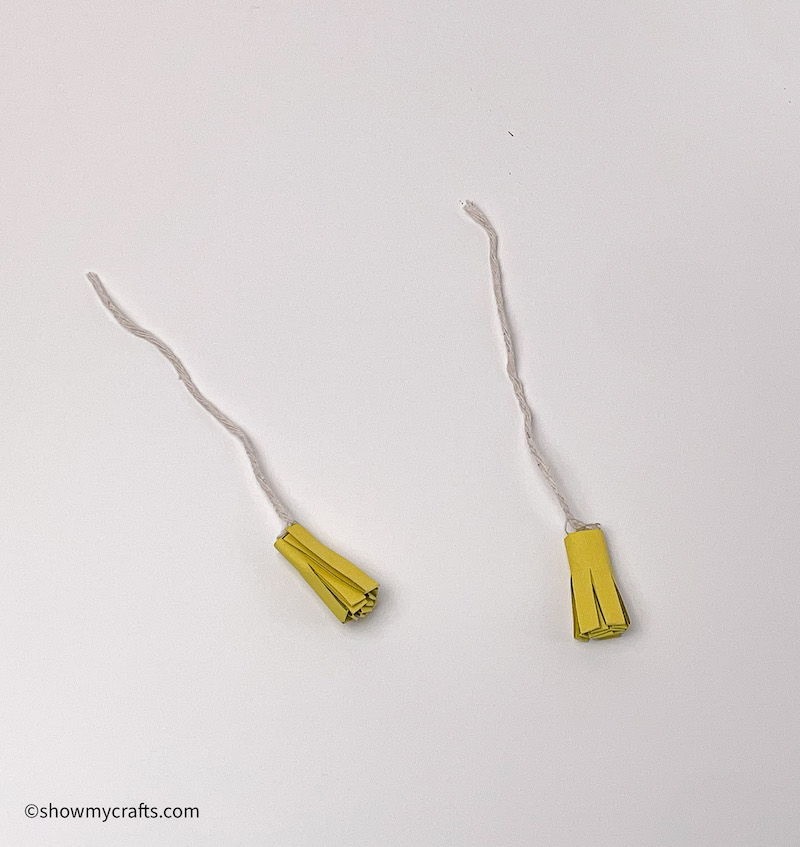
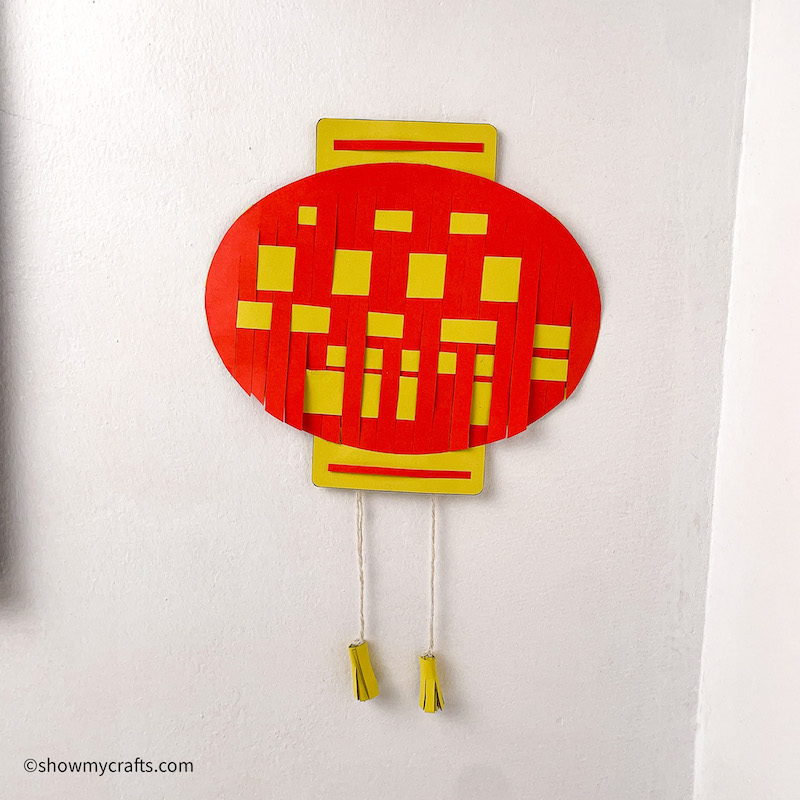
Woven Paper Lantern
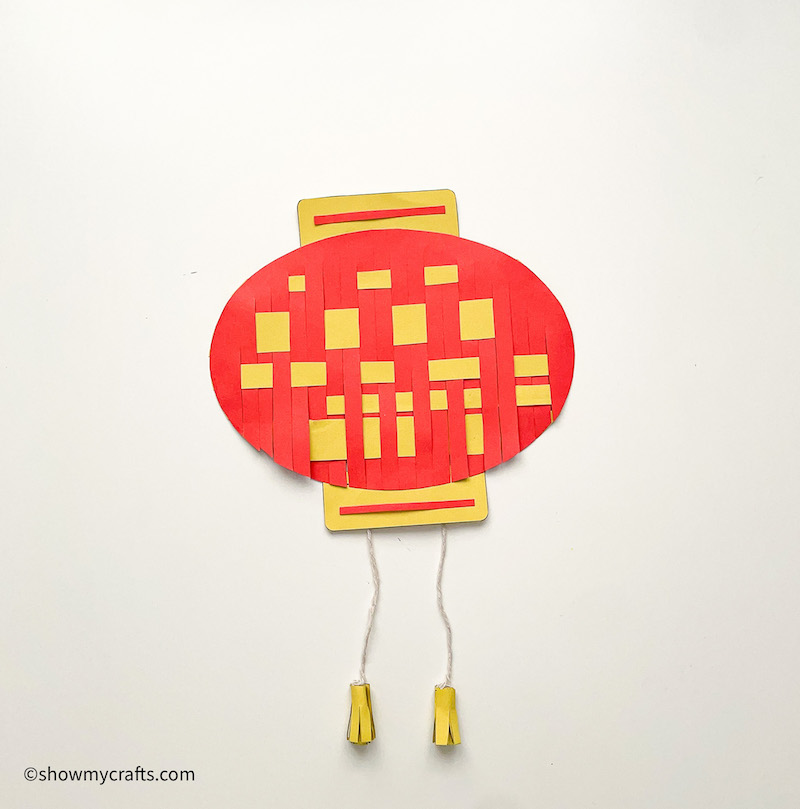

Without lanterns, the Chinese New Year festivities would not be complete.
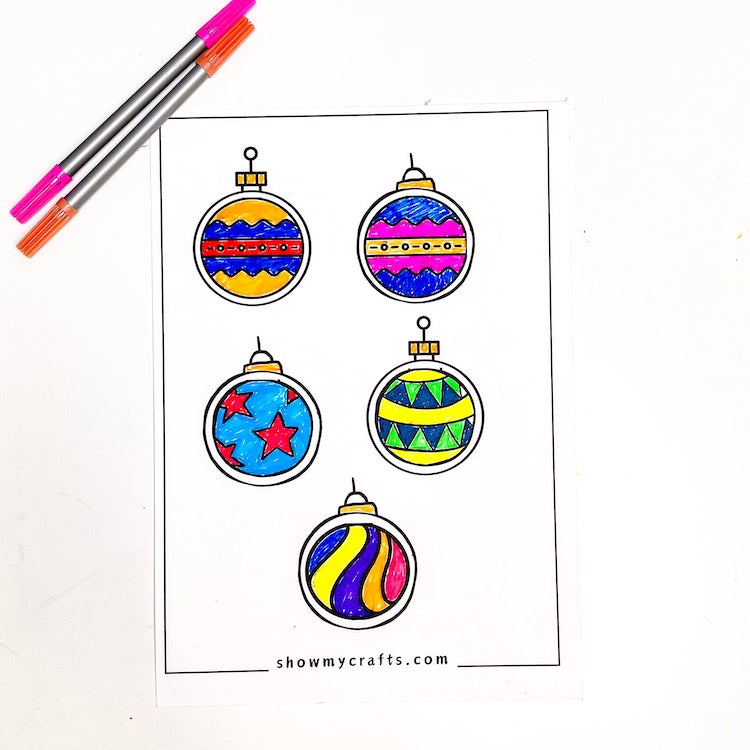
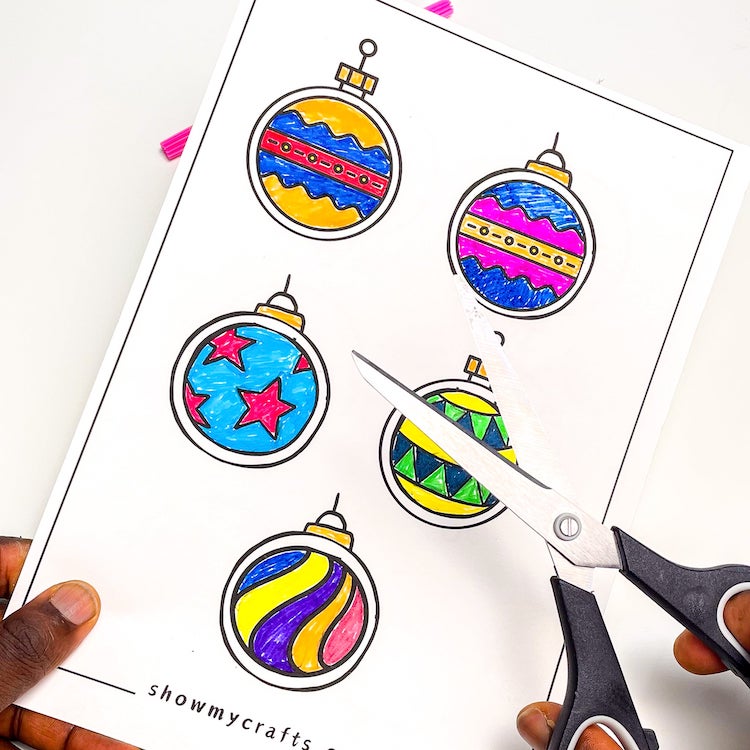
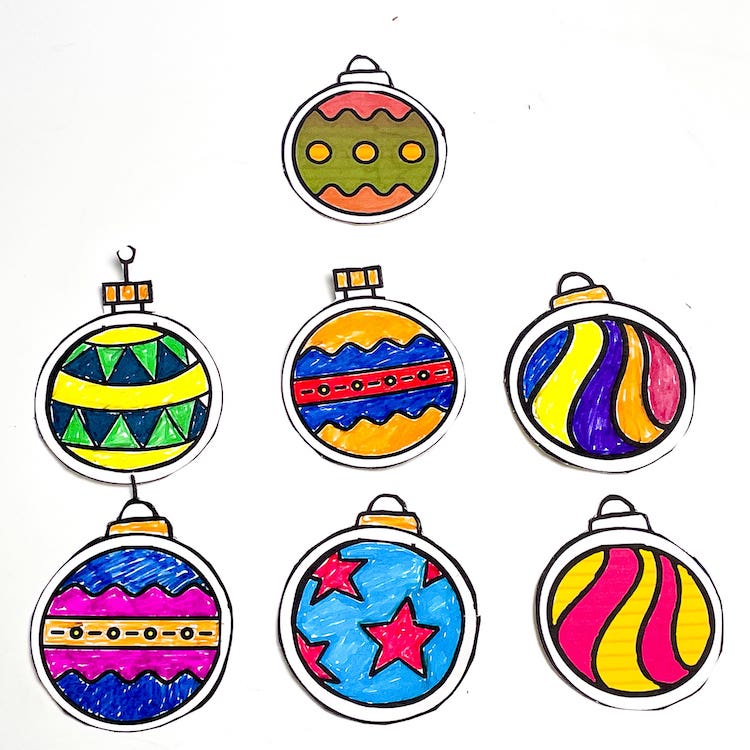
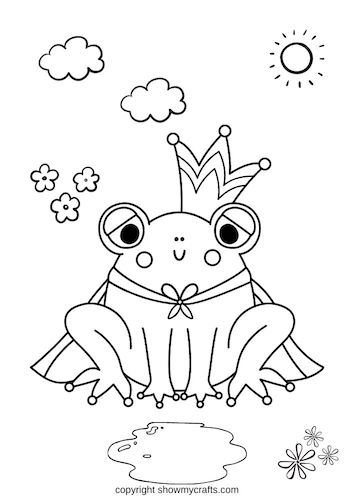
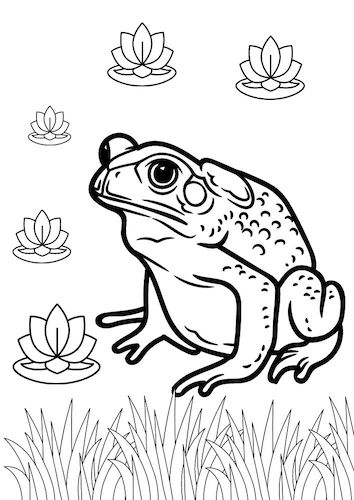
Chinese New Year Colouring Pages


Chinese New Year coloring pages are a fun and festive way for children and adults to celebrate the holiday, featuring traditional symbols like dragons, lucky red envelopes to bring the spirit of the Lunar New Year to life with vibrant colors.
Chinese New Year Activity Bundle
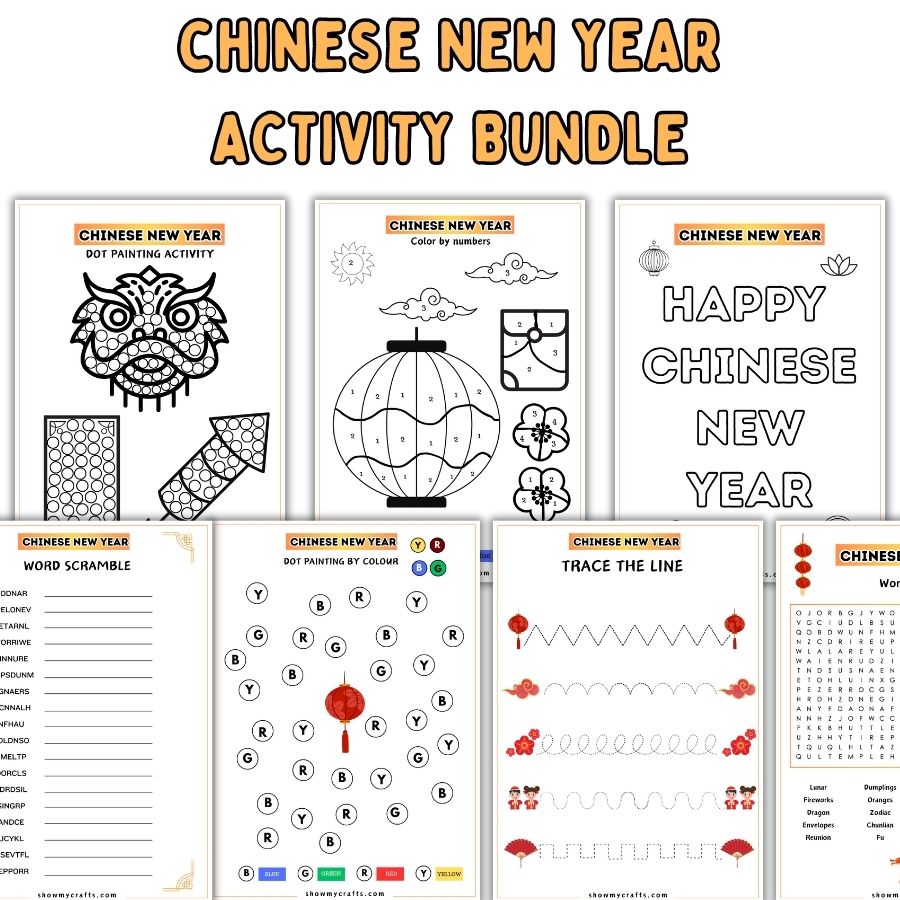

Celebrate Chinese New Year with a fun-filled activity bundle for kids! From line tracing to color by letter, these printables are free to use at home to school.
Year of the Dragon Dot painting