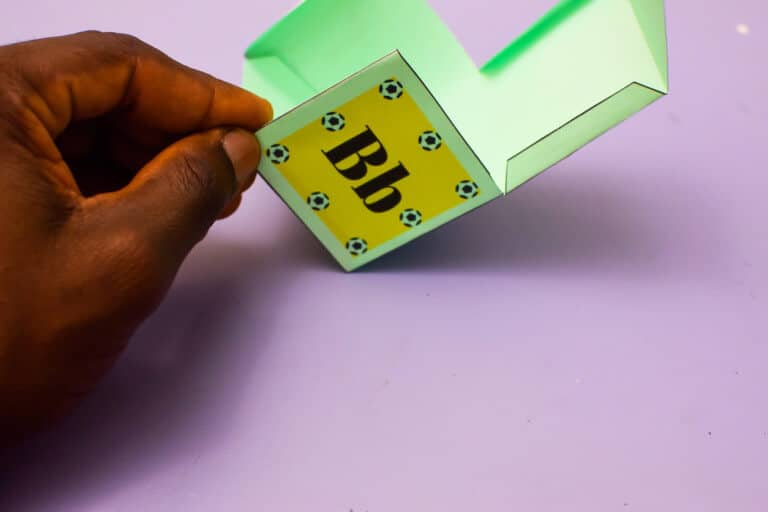
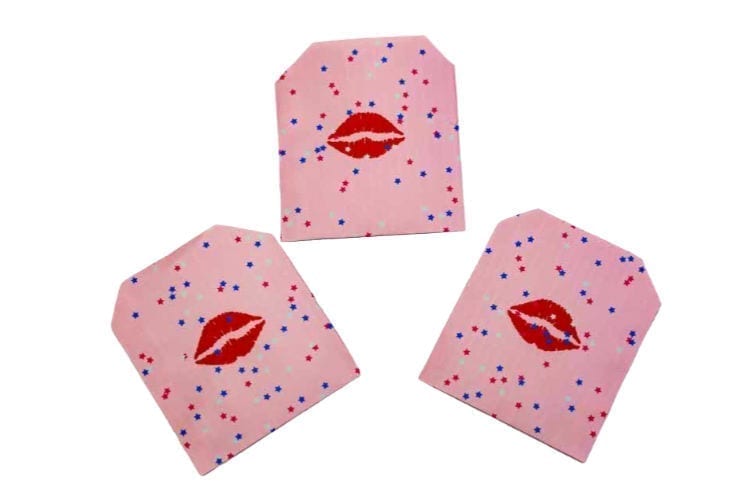
Simple Paper Pouch
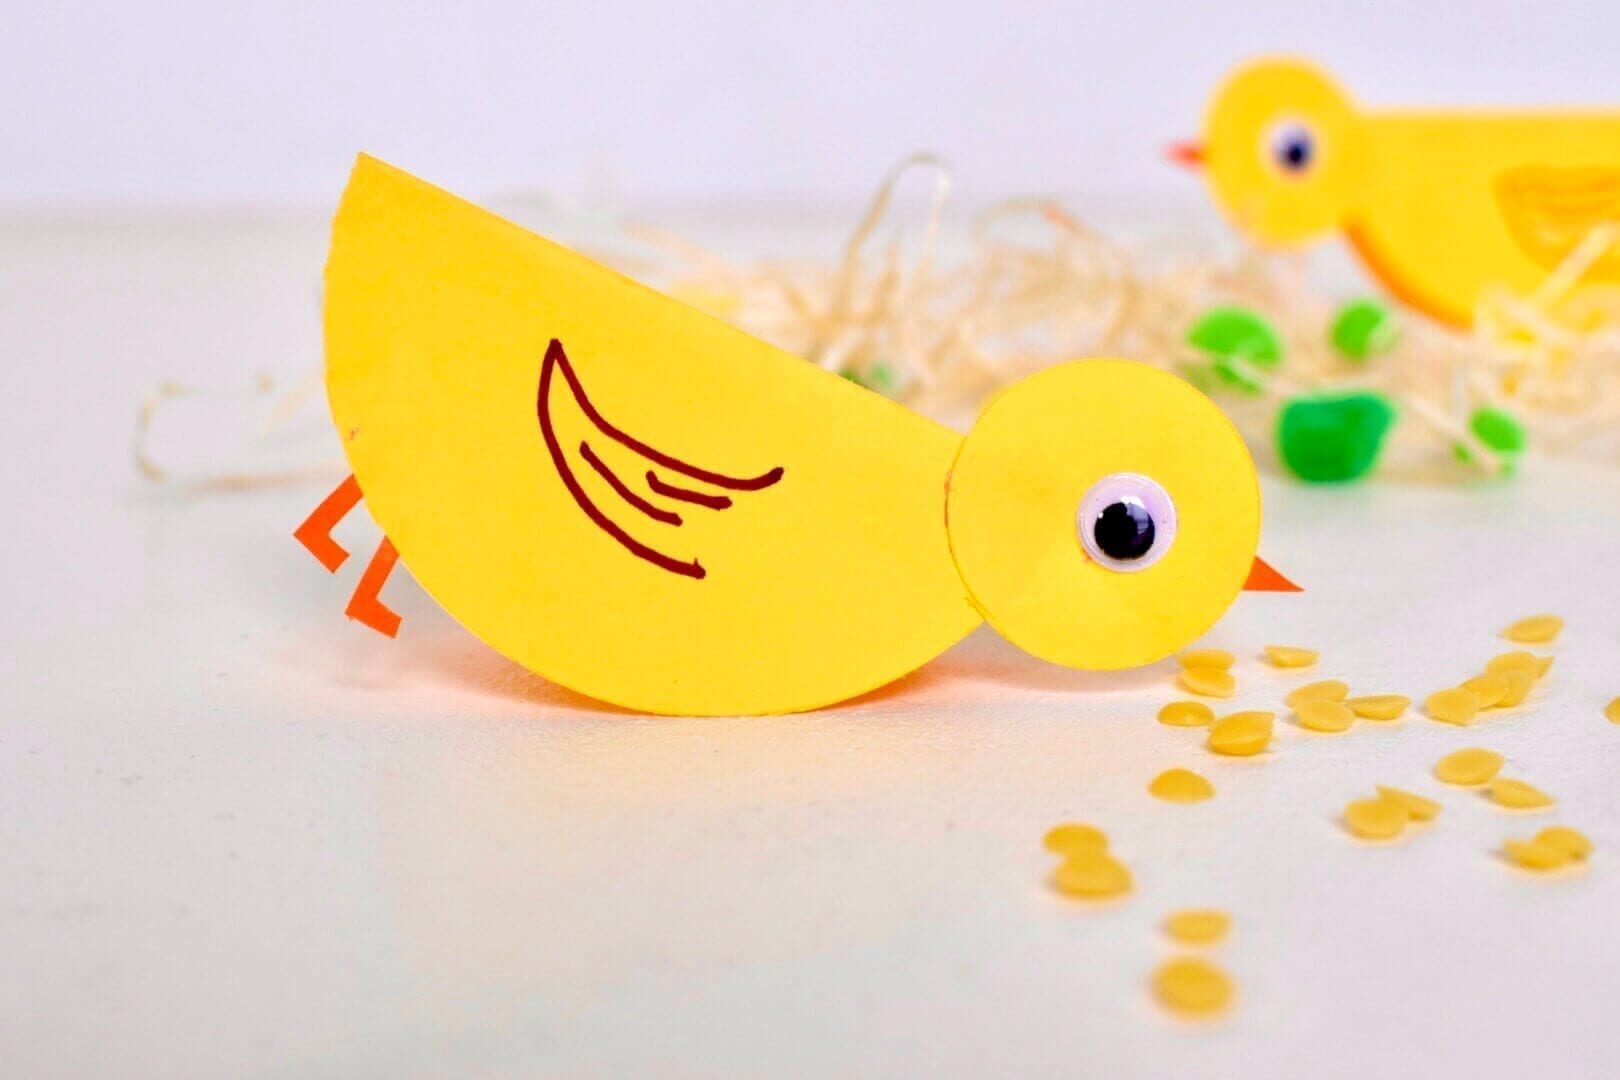
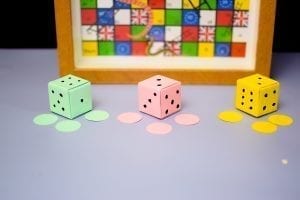
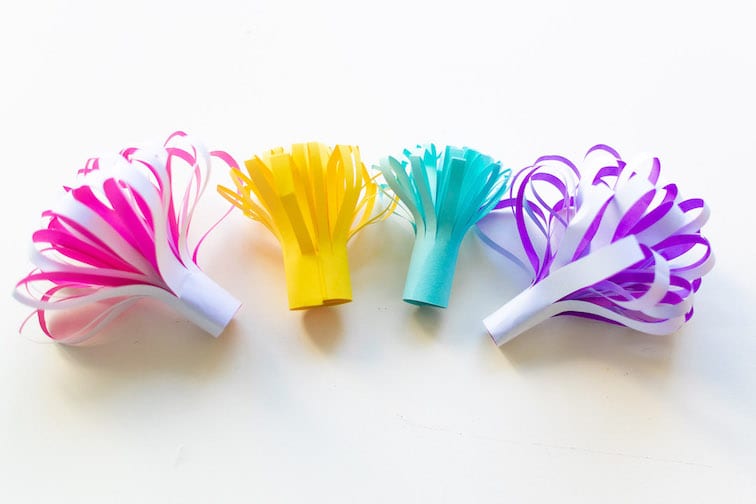
A paper pouch is a simple craft kids can make that are both eye catching and practical.
Paper pouches can be used to gift surprise tokens, sweets, jewellery or small items.
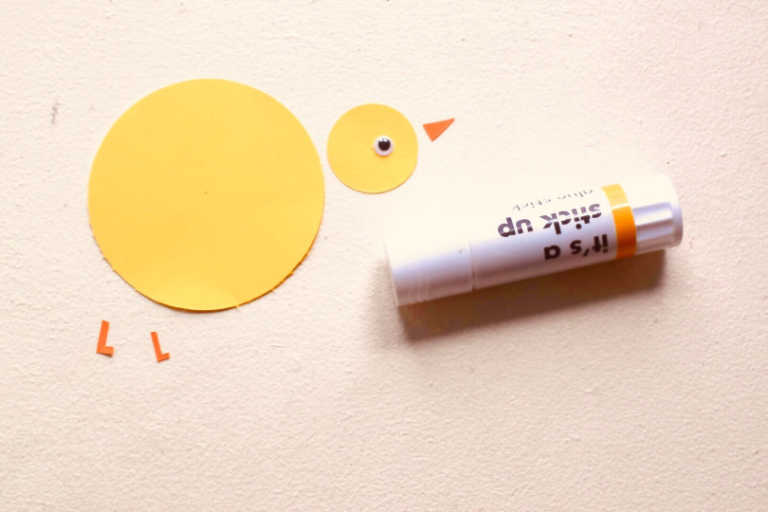
To make your origami pouches, you will need
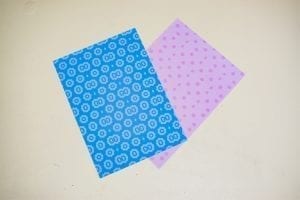
- Plain or patterned paper.
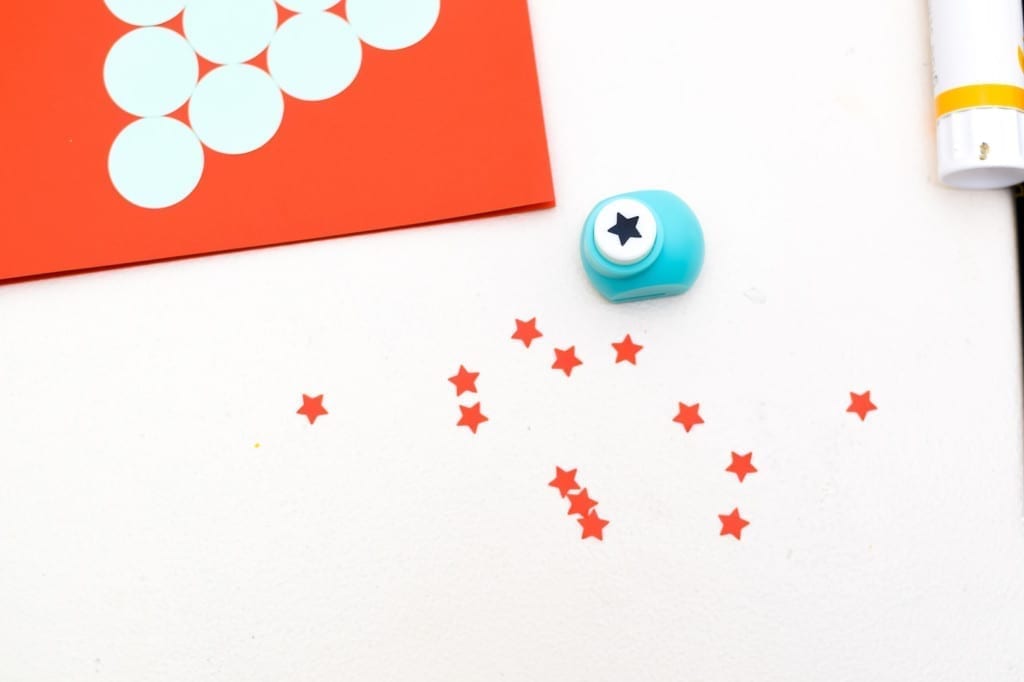
- Scissors
- Glue
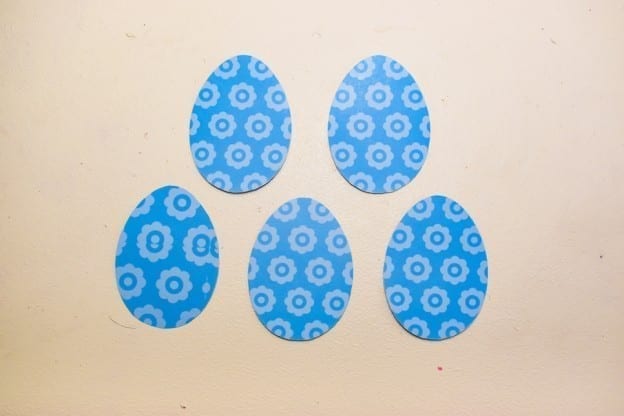
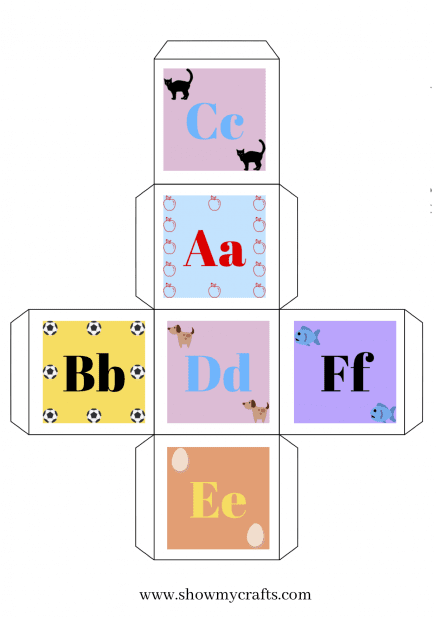
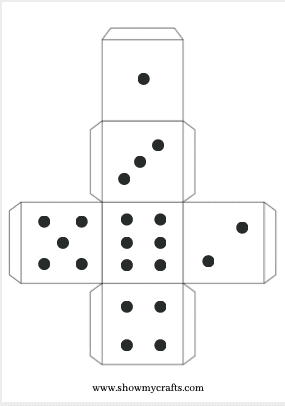
- Templates
The dimensions for the paper is 18cm by 28cm. This yields 3 pouches.
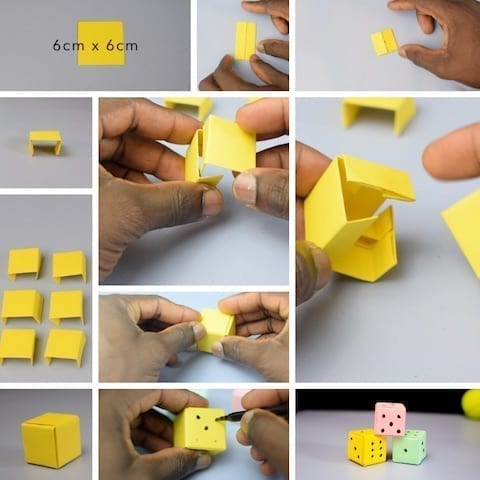
How To Make Origami Paper Pouch
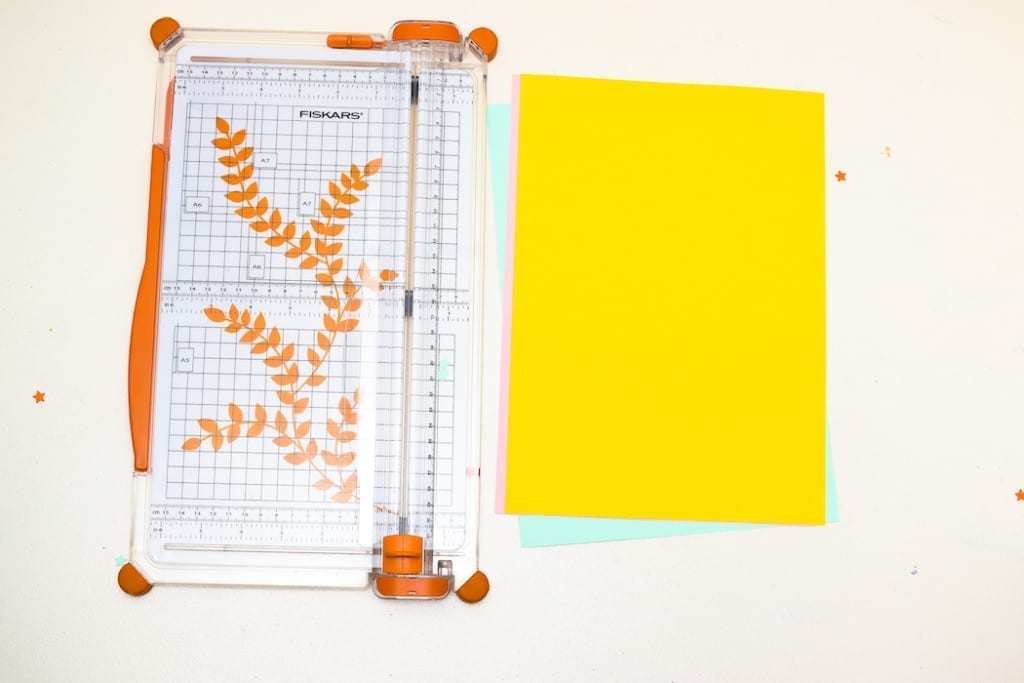
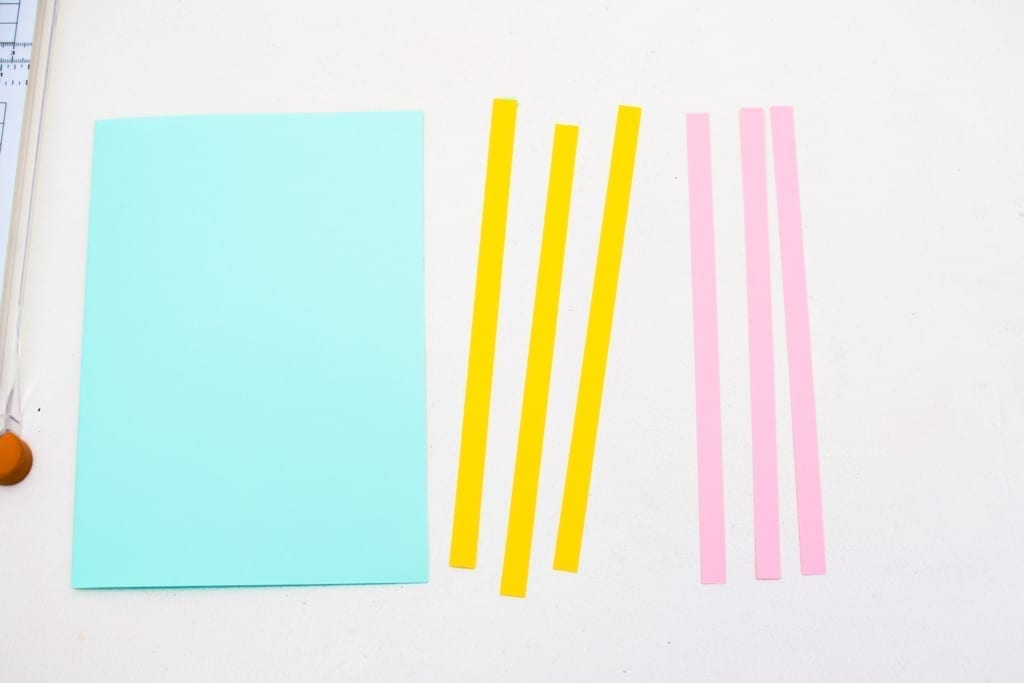
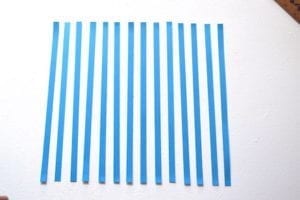
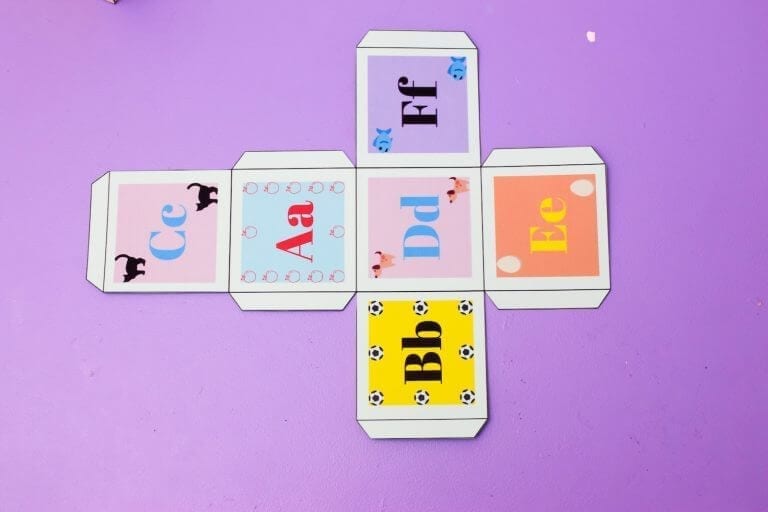
Cut a plain paper measuring 18cm by 24cm. You could also print any of the free templates

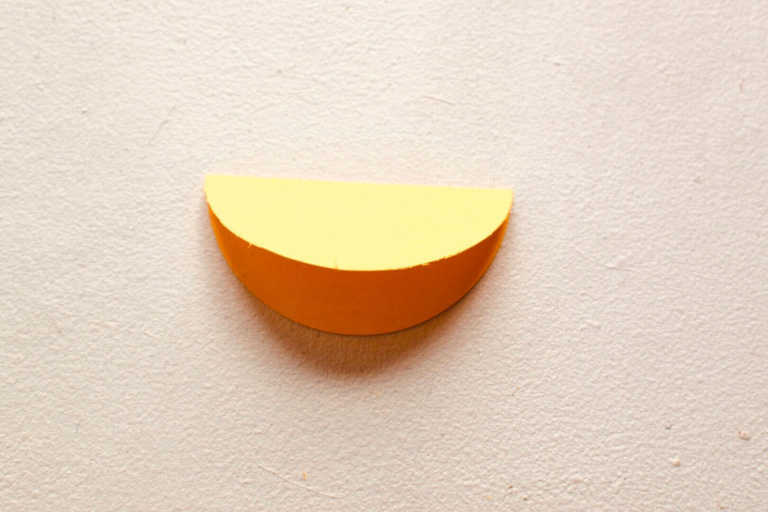
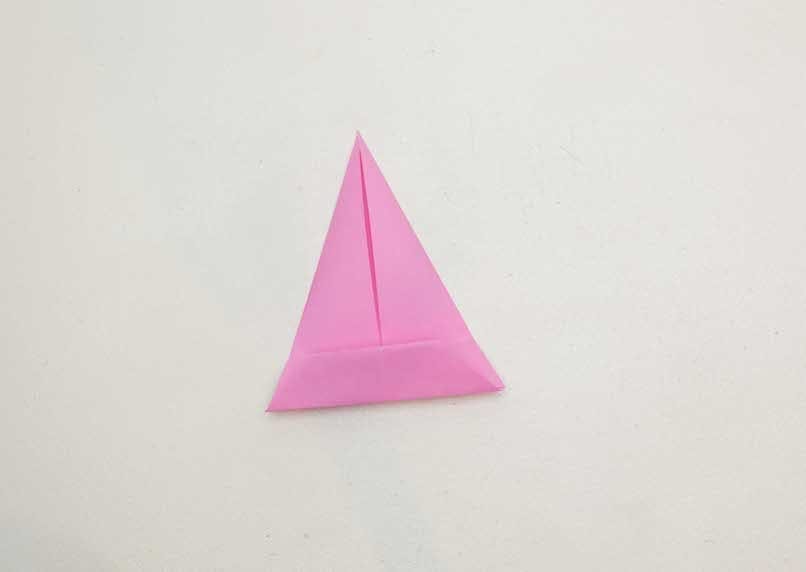
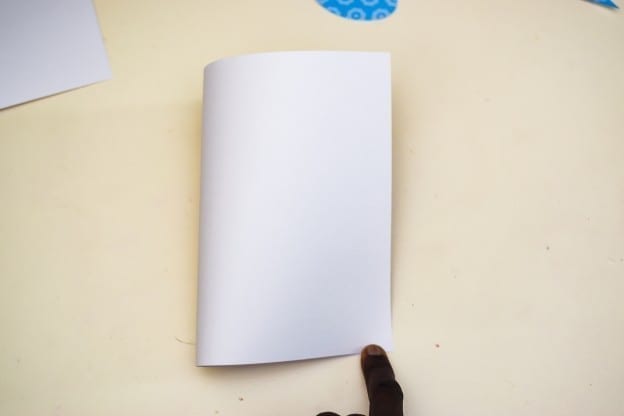
Fold in half.

Fold into equal thirds.

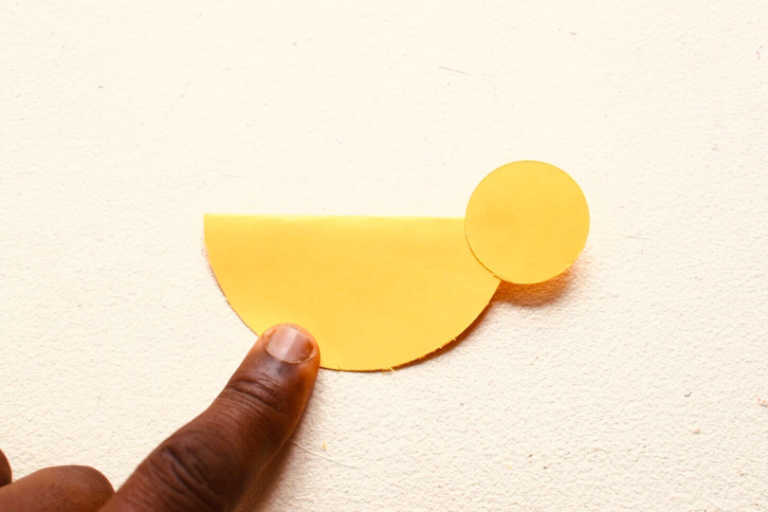
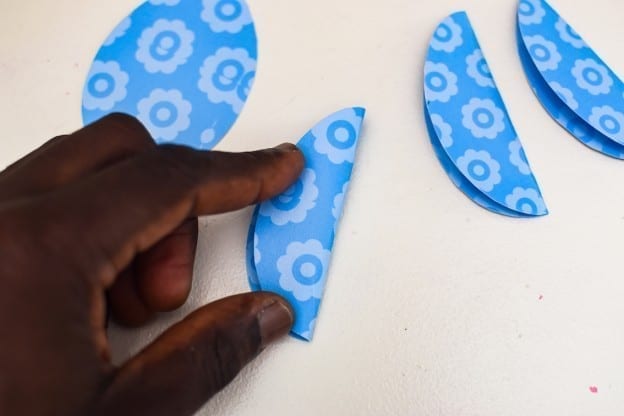
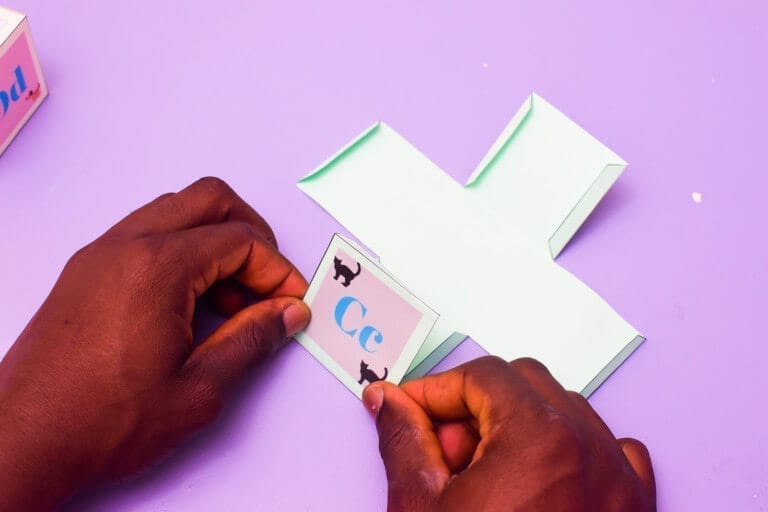
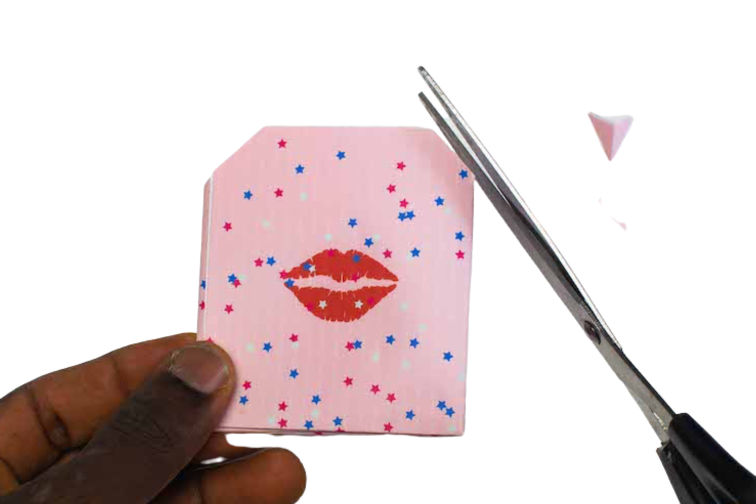
Cut a small slant on either side of the folded paper.
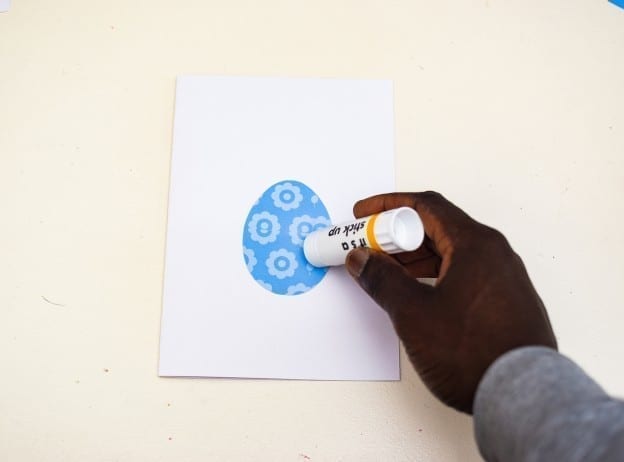
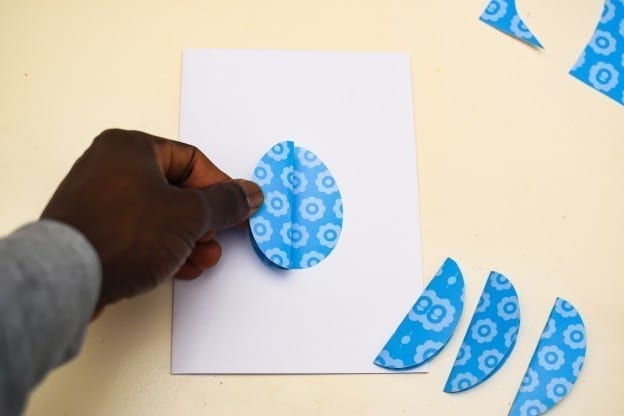
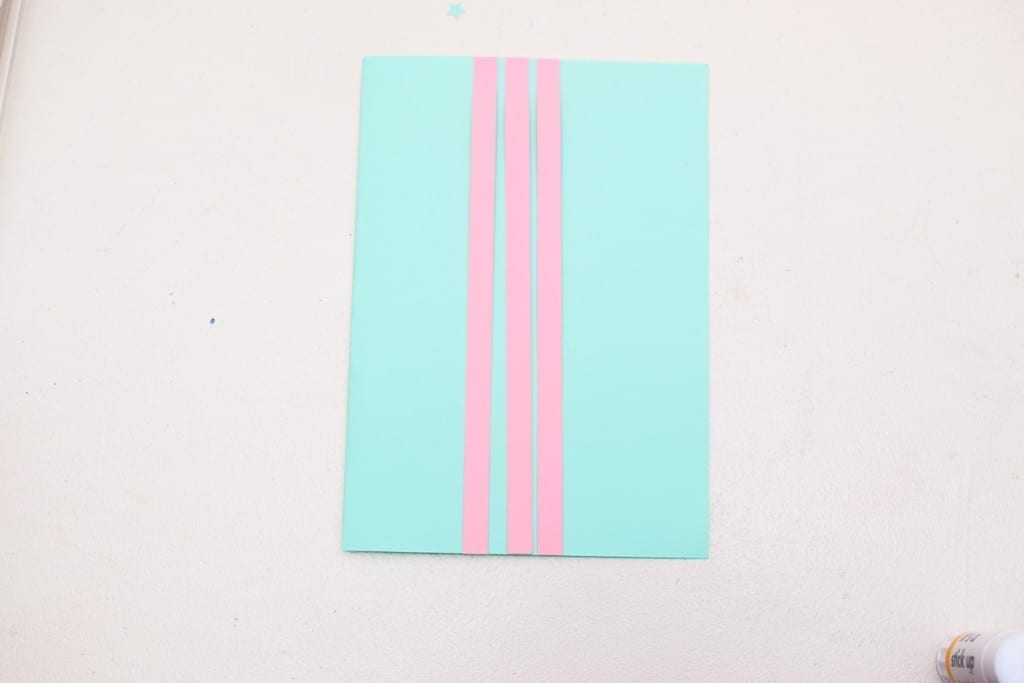
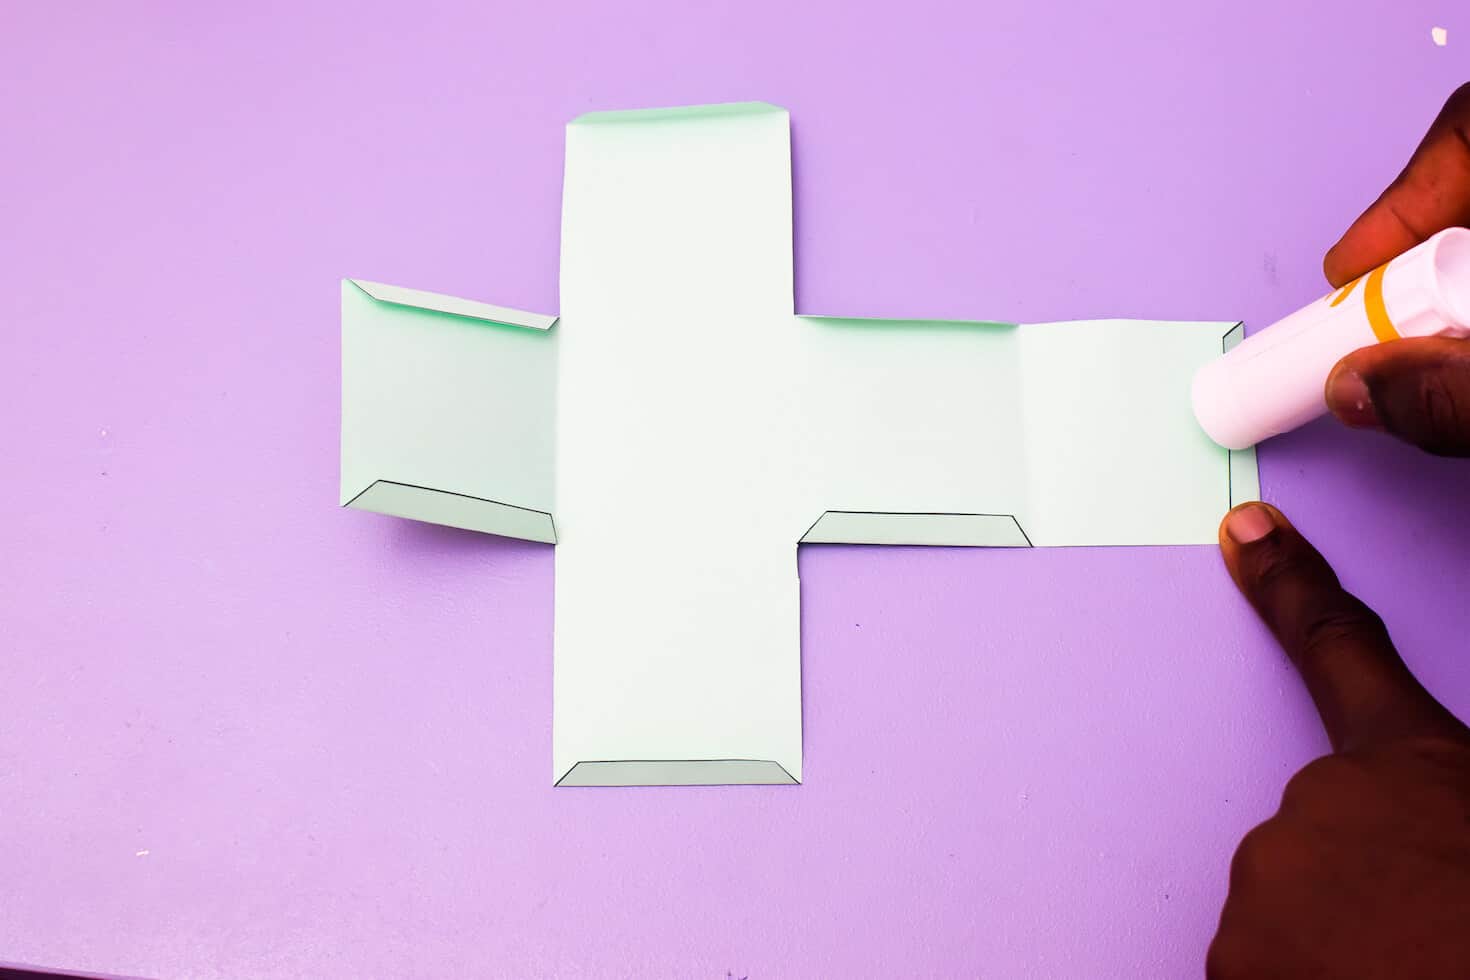
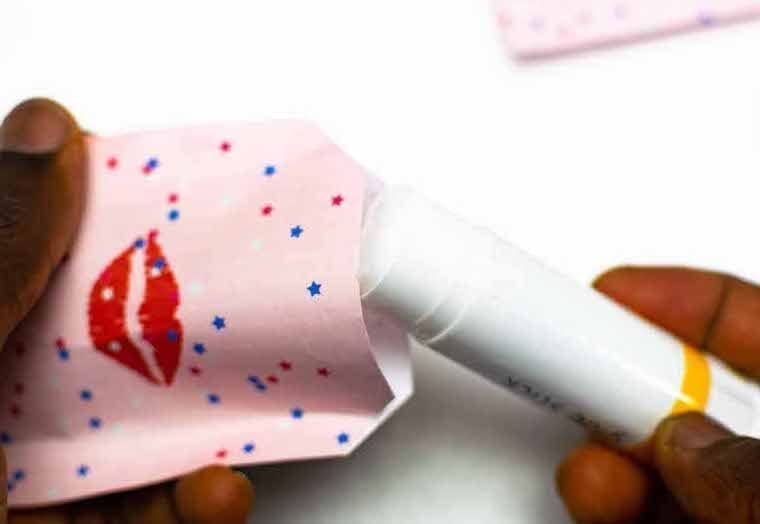
Open it up and glue the folded lines. Only apply glue to the vertical lines on one half of the paper. Then glue together. Do not glue the top.
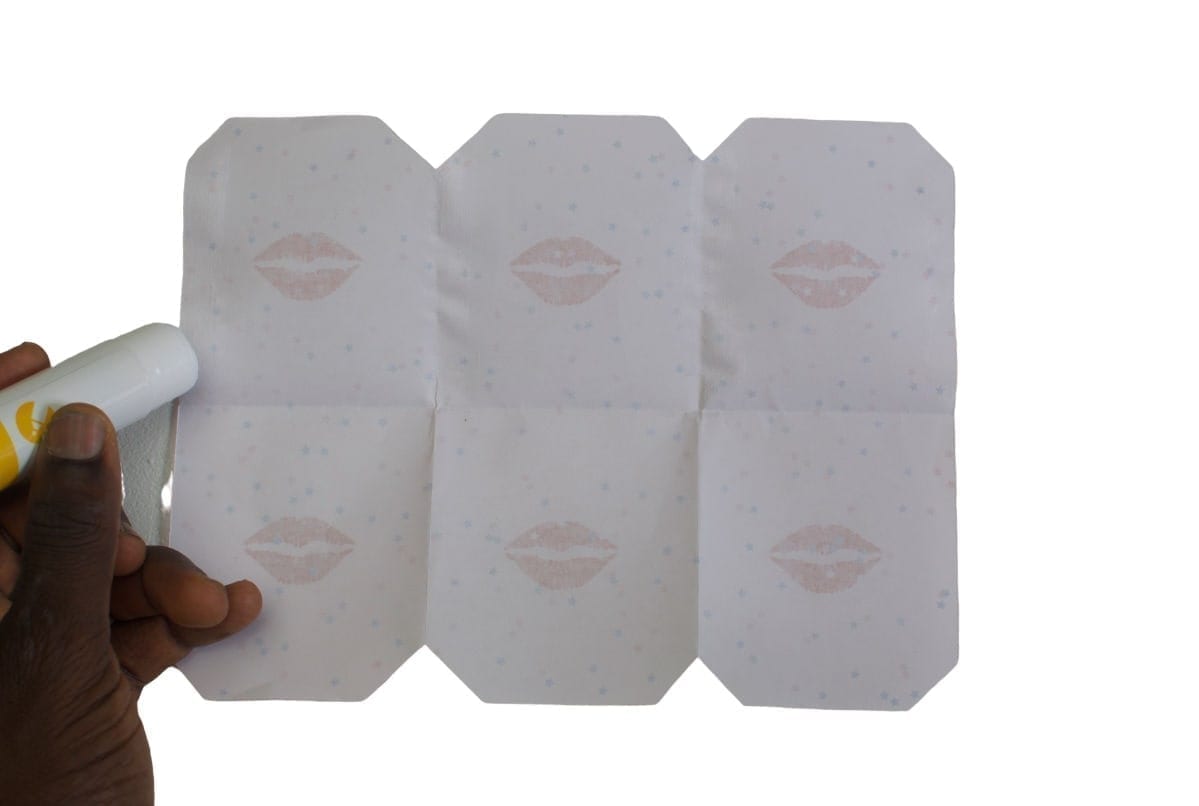

Let it dry.
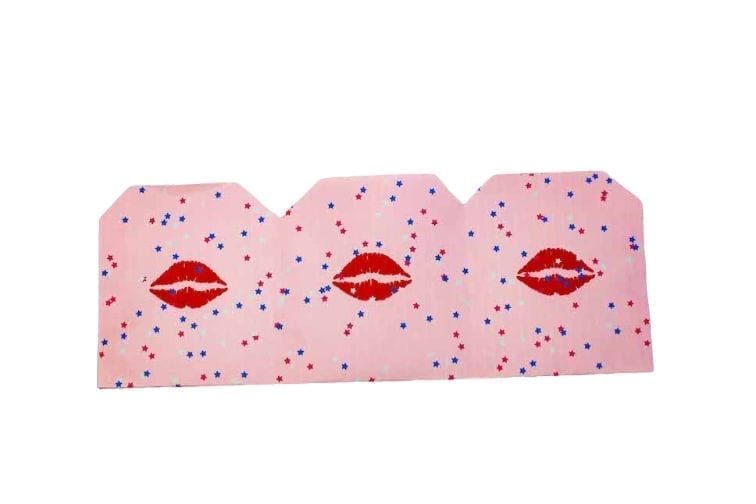
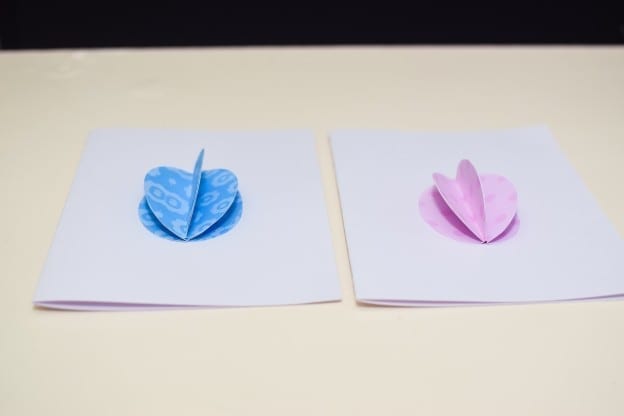
Cut the pouches.
Insert your tokens or gifts.


Seal the pouch.

Happy Crafting


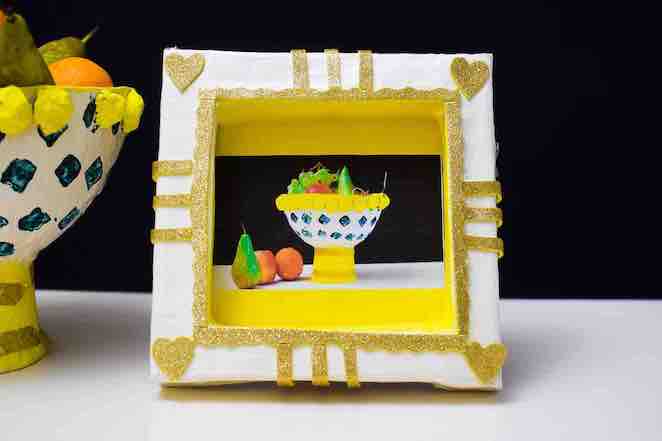
More Paper Crafts…